How to Use the Schedule Planner
This Schedule Planner allows the Scheduler or Admin look through multiple weeks at a glance and ensure schedules are planned and published as far ahead as helpful. Use this guide to understand the process of applying schedule templates and publishing through use of the Schedule Planner.
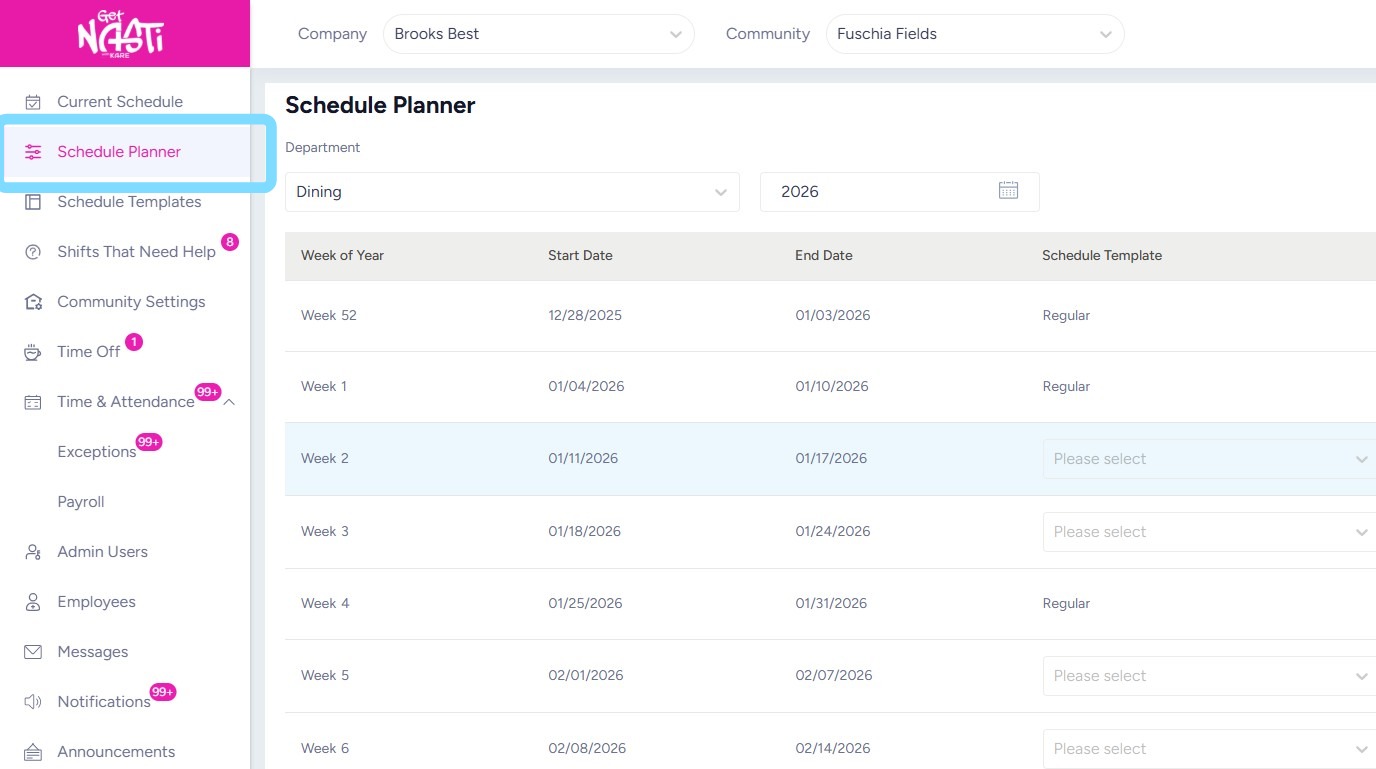
1. Navigate to Schedule Planner
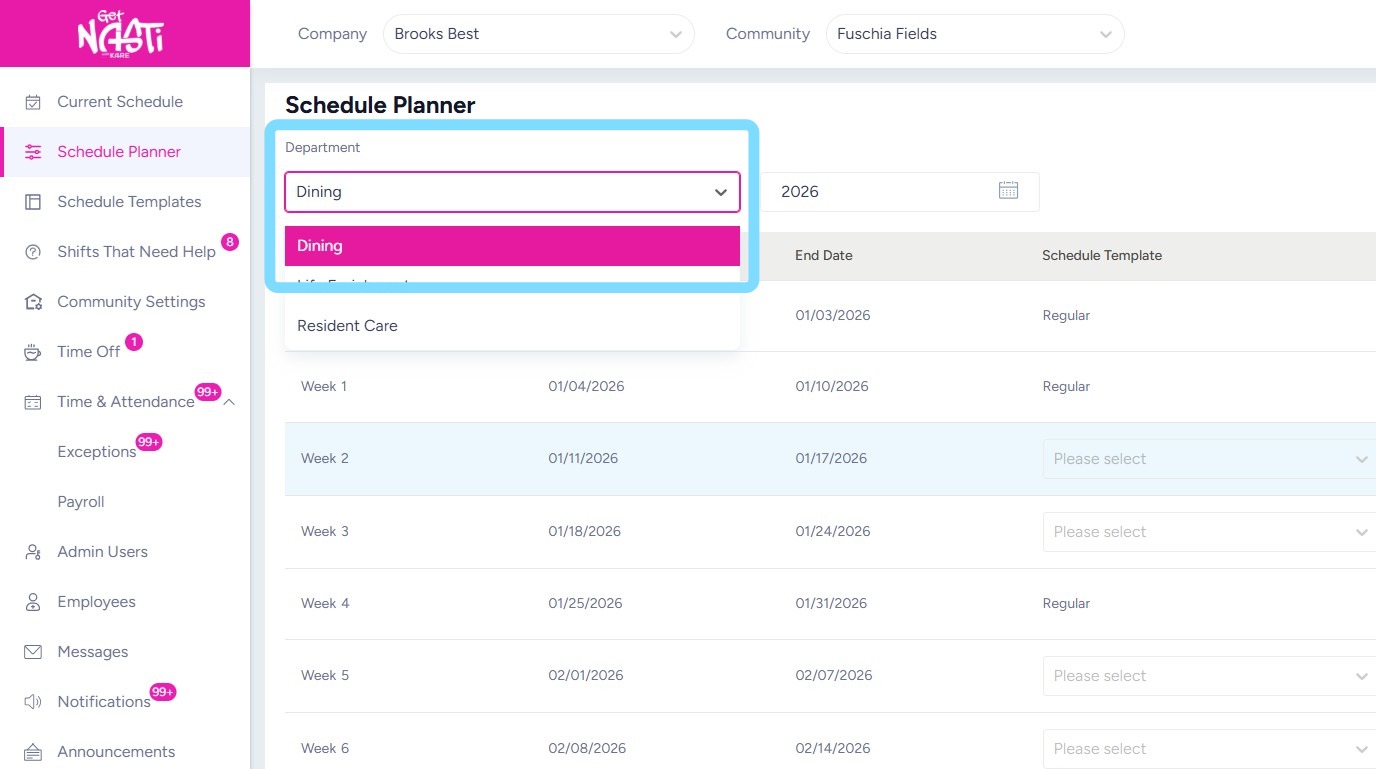
2. Schedule Templates are built and published by Department. Be sure to select the correct Department before you begin
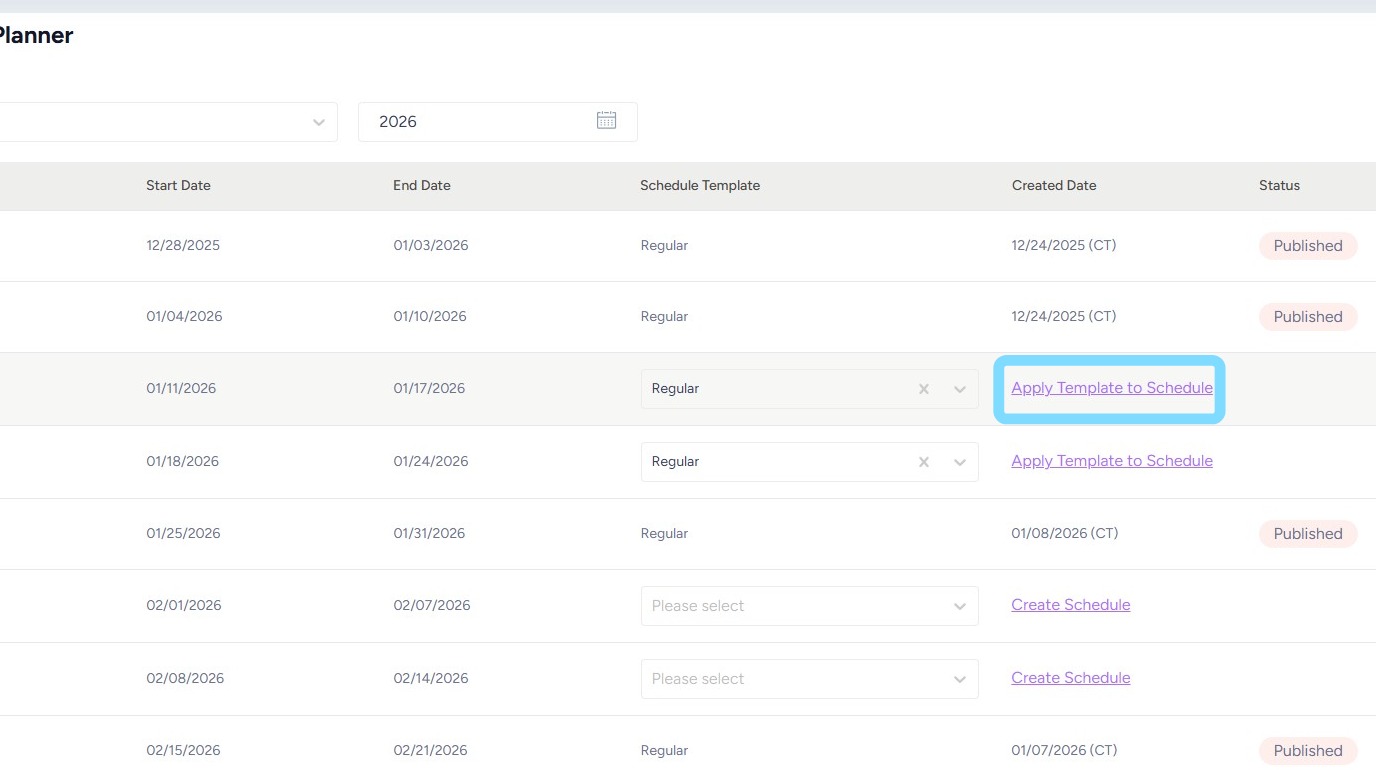
3. Note whether or not a Schedule Template was applied and published for each week of the year by looking at the Schedule Template and Status columns
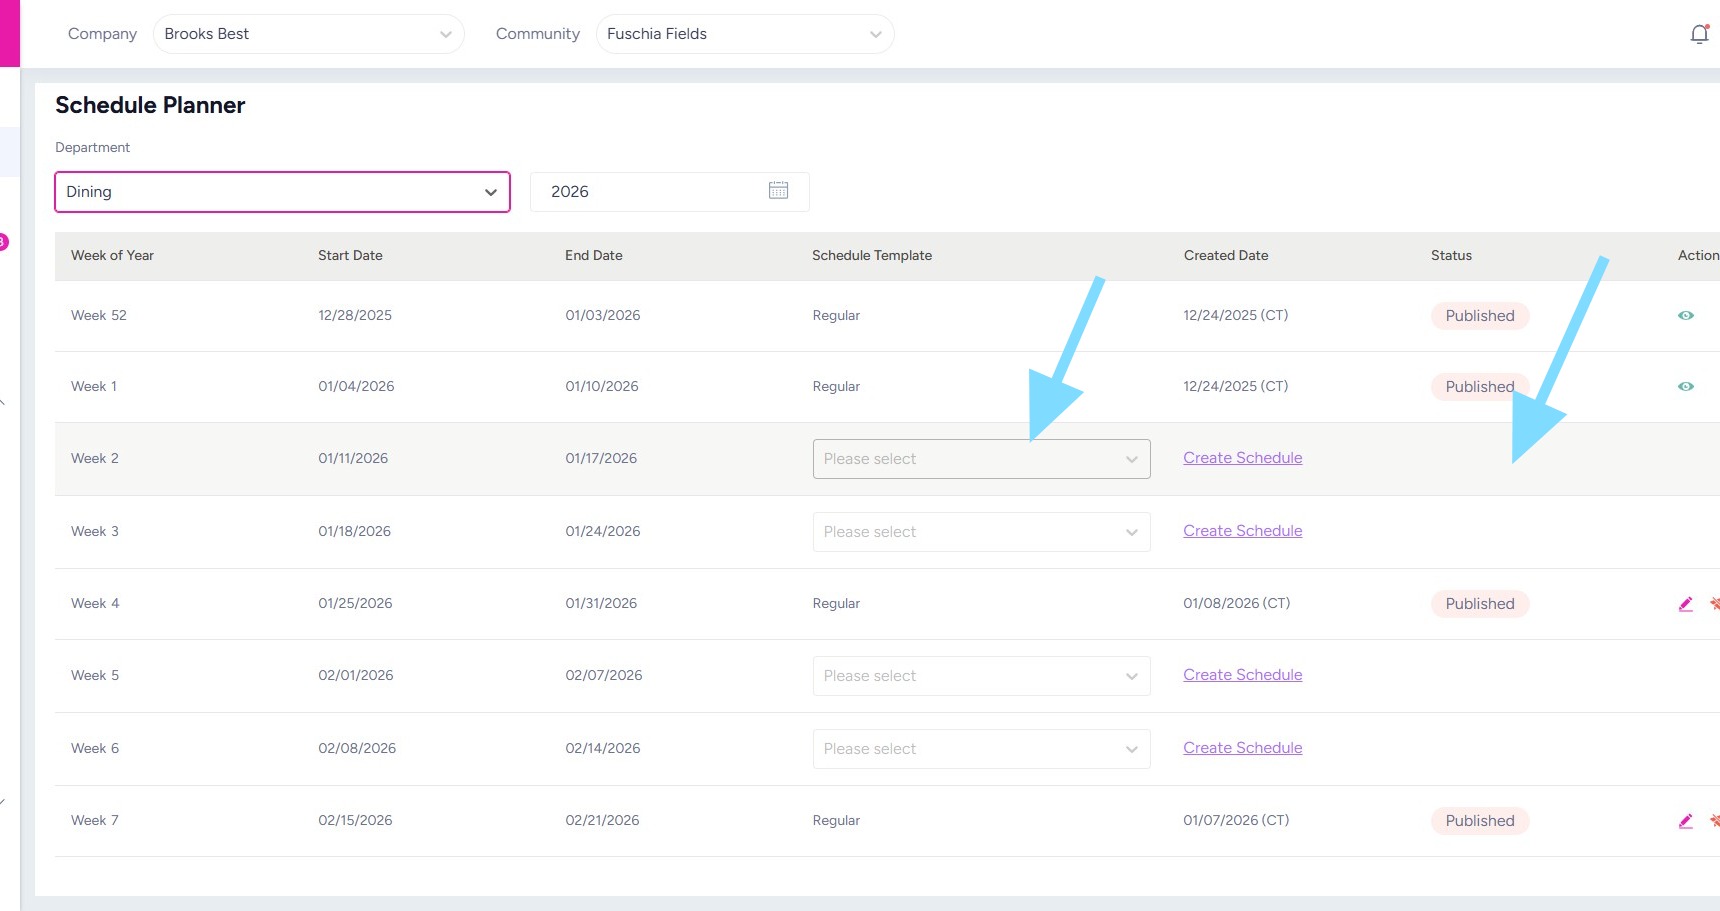
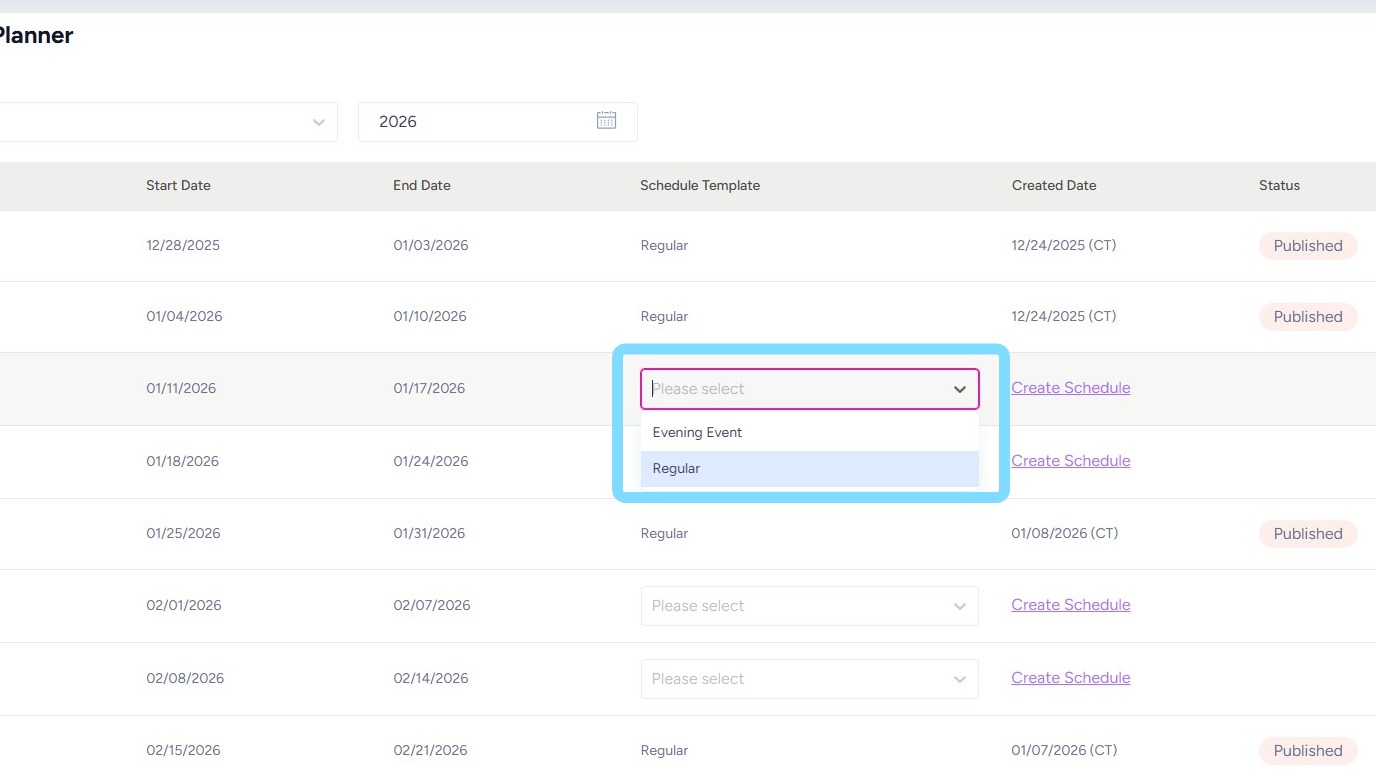
4. For weeks with missing schedules, apply a schedule by selecting from the Schedule Template dropdown box.
5. Select Apply Template to Schedule
6. Select Publish Schedule
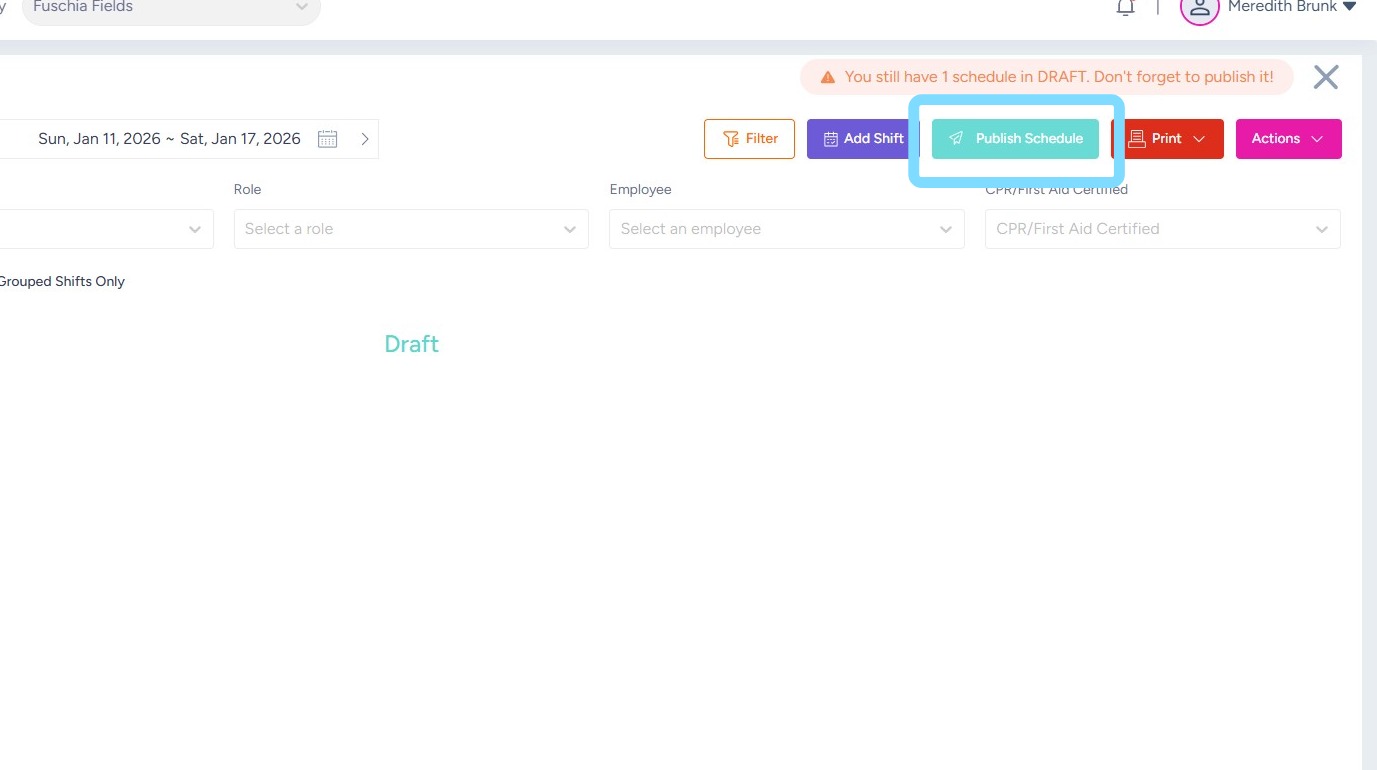
7. Now your schedules are locked in for the next few weeks! See the Status column indicating Published.
Employees can now view these schedules within the app and make swaps or claim open shifts.
Admins can edit the schedule to keep coverage tight by selecting the Edit icon.
Admins can also delete the schedule by selecting the Delete icon
