How to Set Up Roles
This guide helps you set up roles that match how your team actually works. Learn how to create and manage roles by department so scheduling stays flexible, organized, and aligned with your operations.
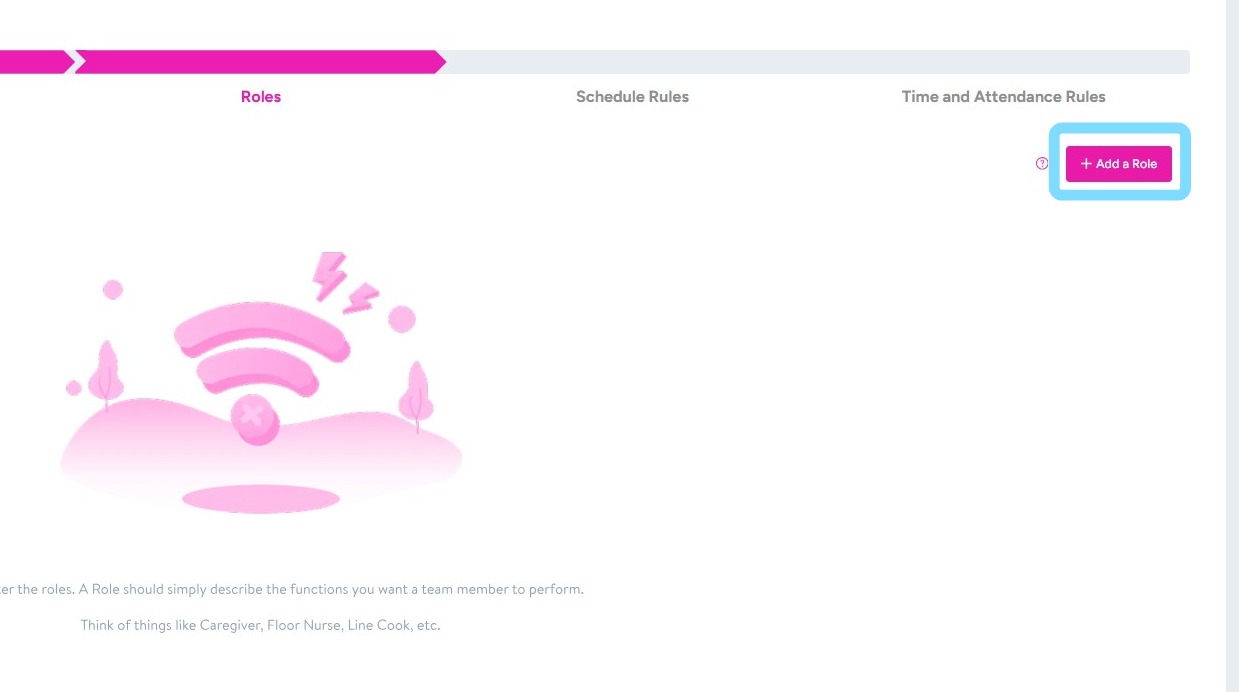
1. A Role should simply describe the functions you want team members to perform. Things like Caregiver, Floor Nurse, Line Cook, Activities Coordinator, etc.
The system can be customizable to your specific community operational structure. For example, employees can be assigned to one or multiple roles, and roles themselves can span across departments. For instance, Jimmy can be assigned to Care Partner and Housekeeper Roles. Additionally, a Care Partner role may be assigned to both Resident Care and Dining Departments, per your set-up.
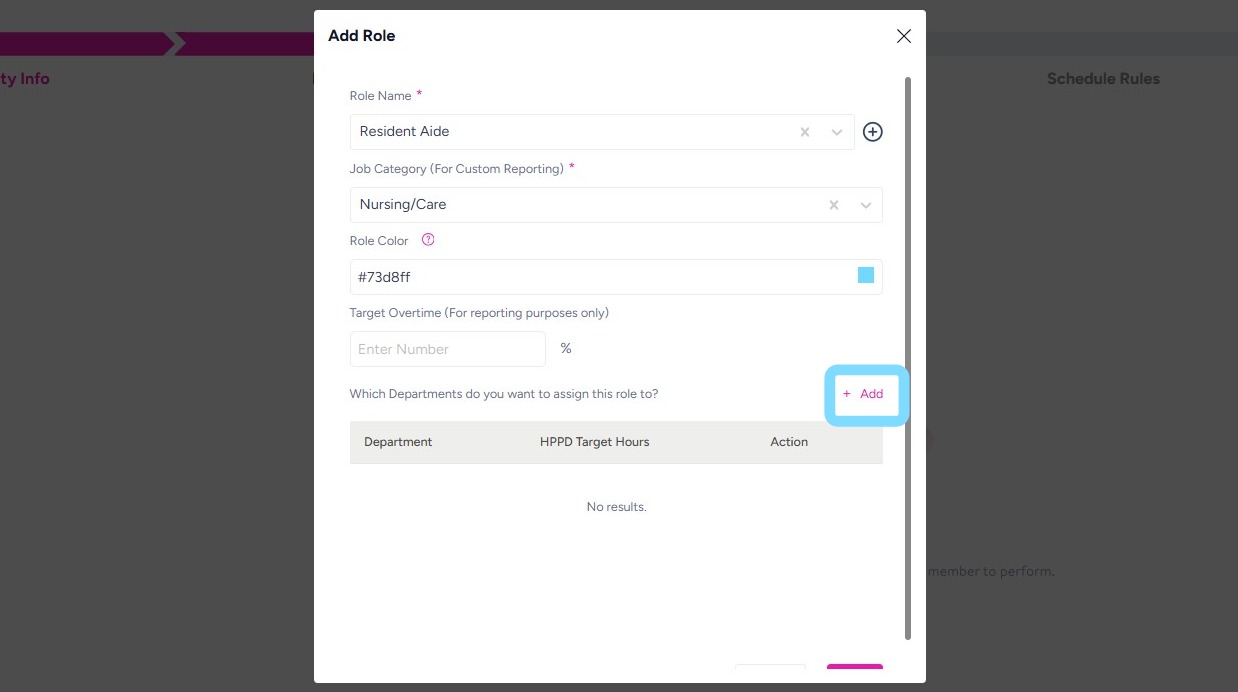
Select + Add a Role
2. Enter a Role Name by selecting from the drop down list
or select the + to create your Role Name
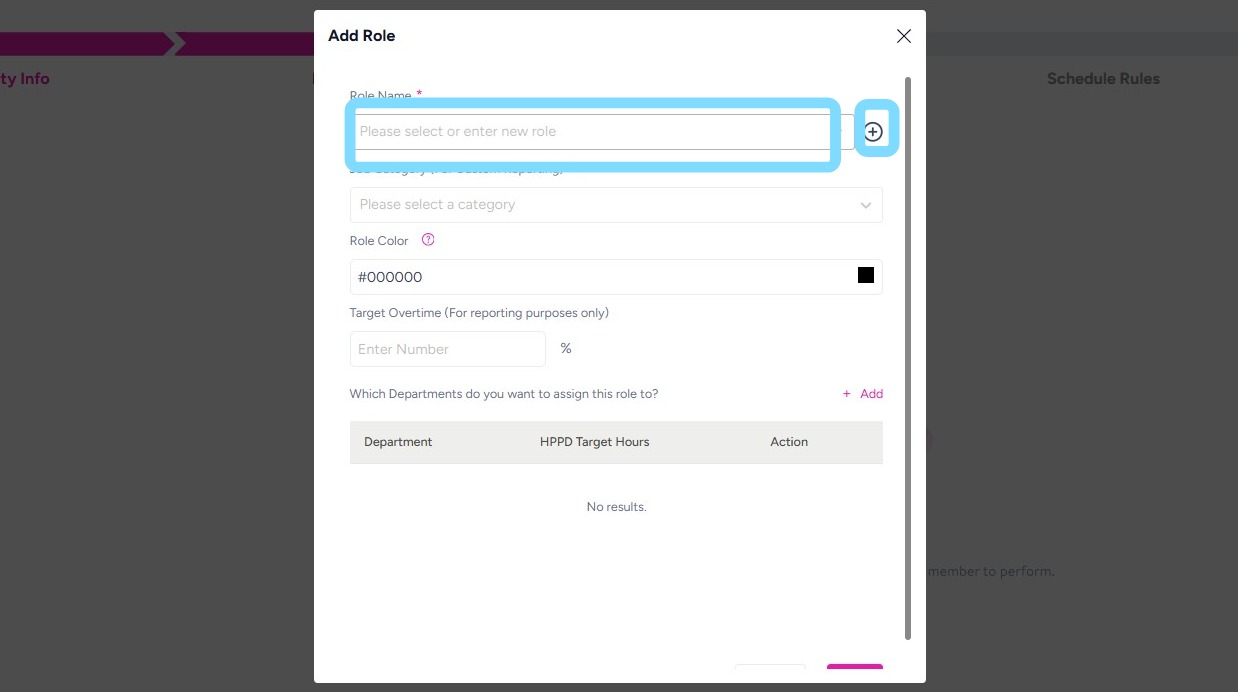
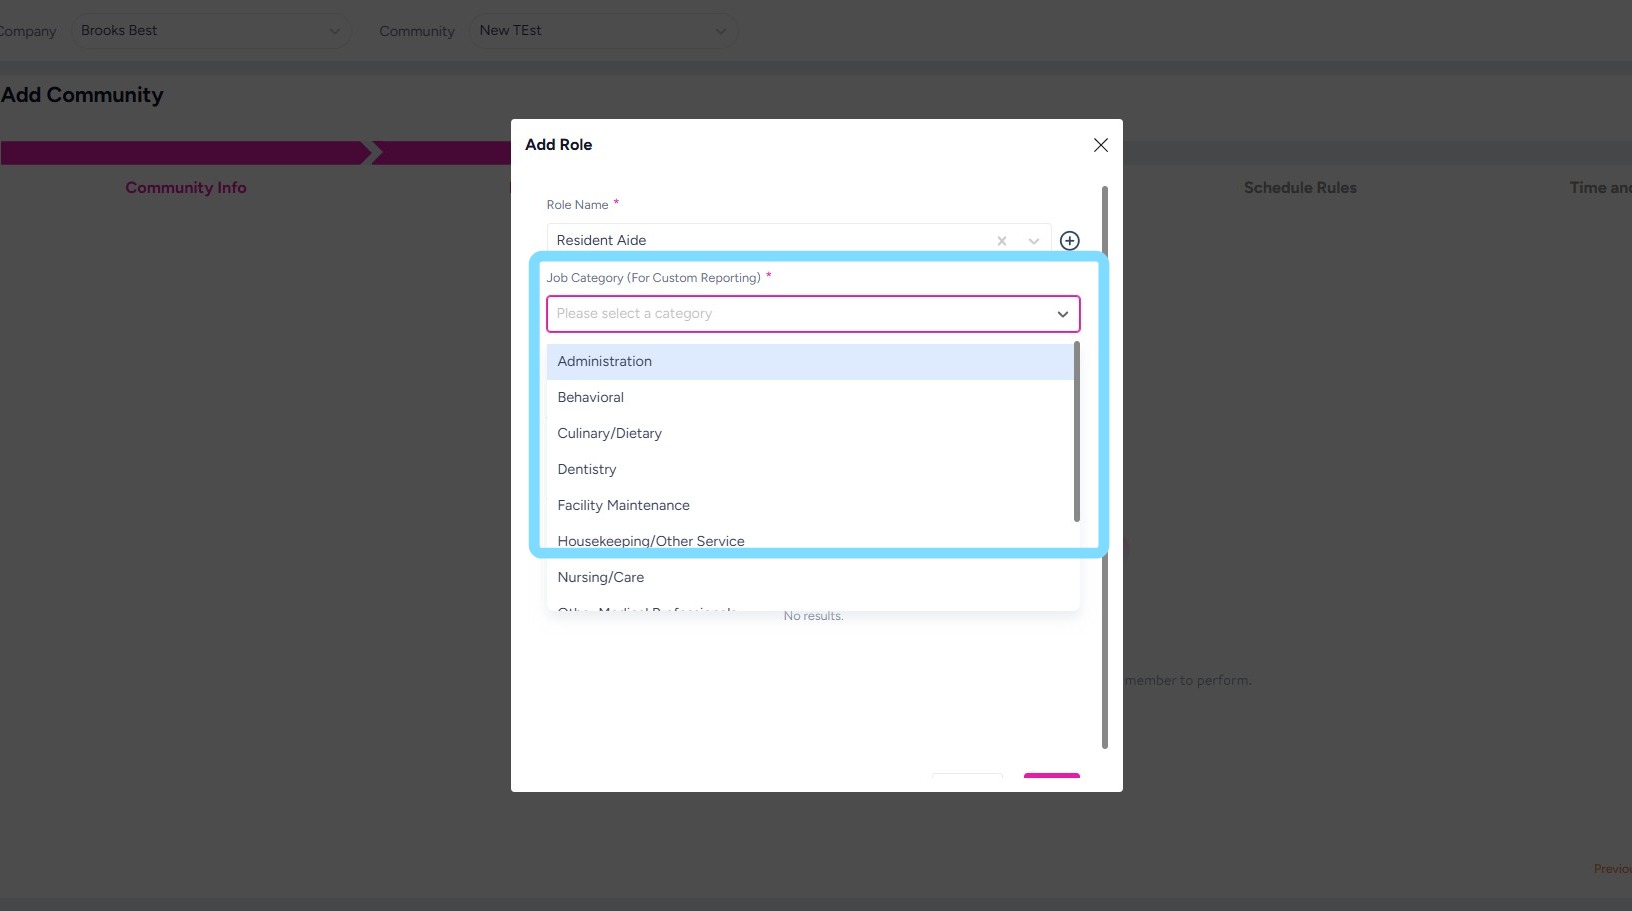
3. Complete the other required fields.
These fields allow the system to match roles to industry standard job titles and benchmark the data to eventually make available to senior living community users.
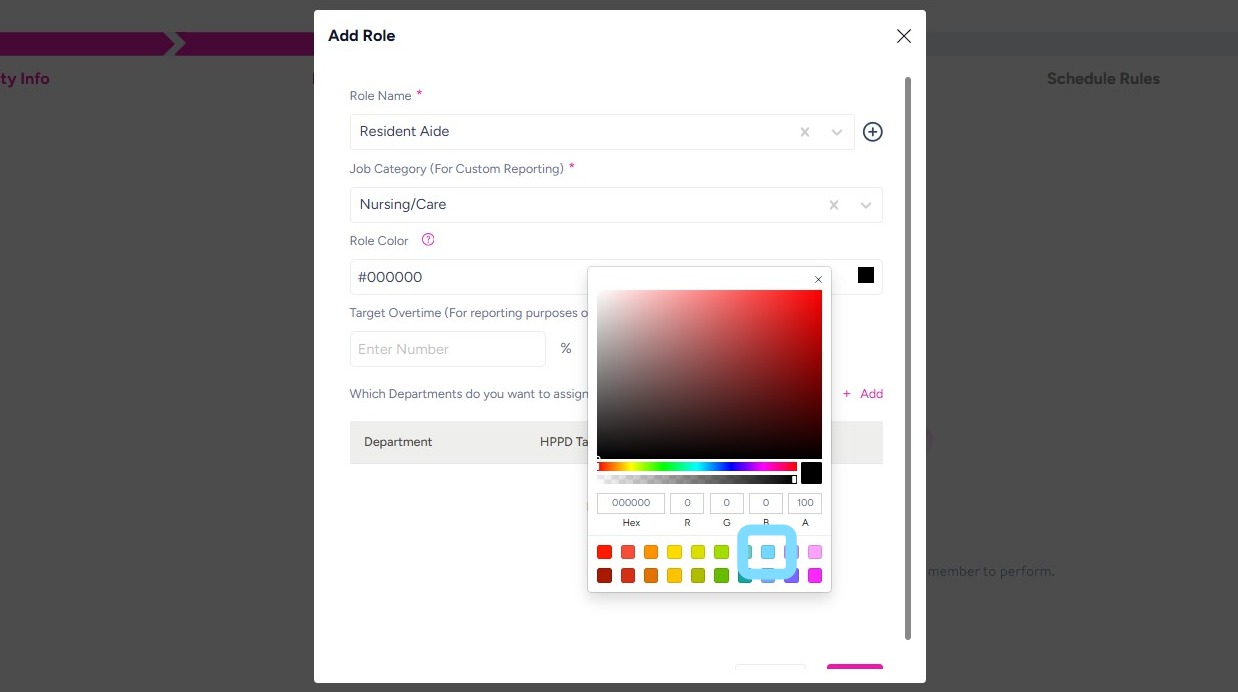
4. Select a Role Color to be able to visually identify this role on the schedule.
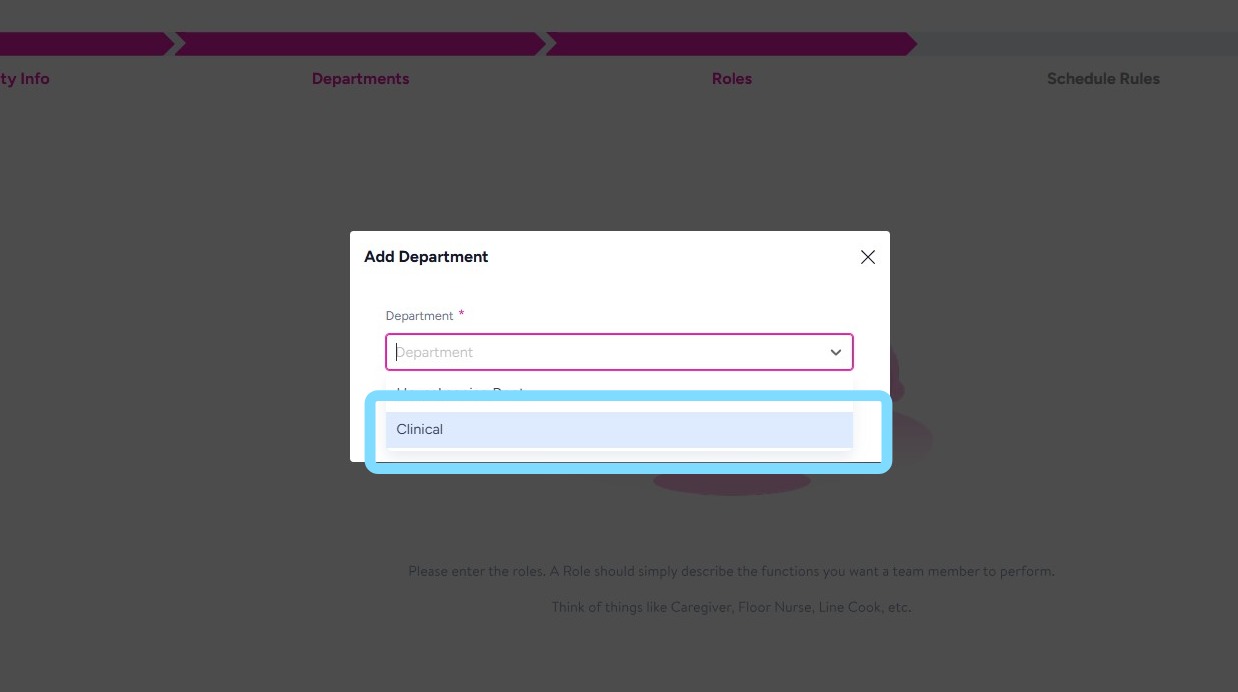
5. Select +Add to assign this role to one or multiple Departments.
For example, this role of Resident Aide will be added to the Clinical Department.
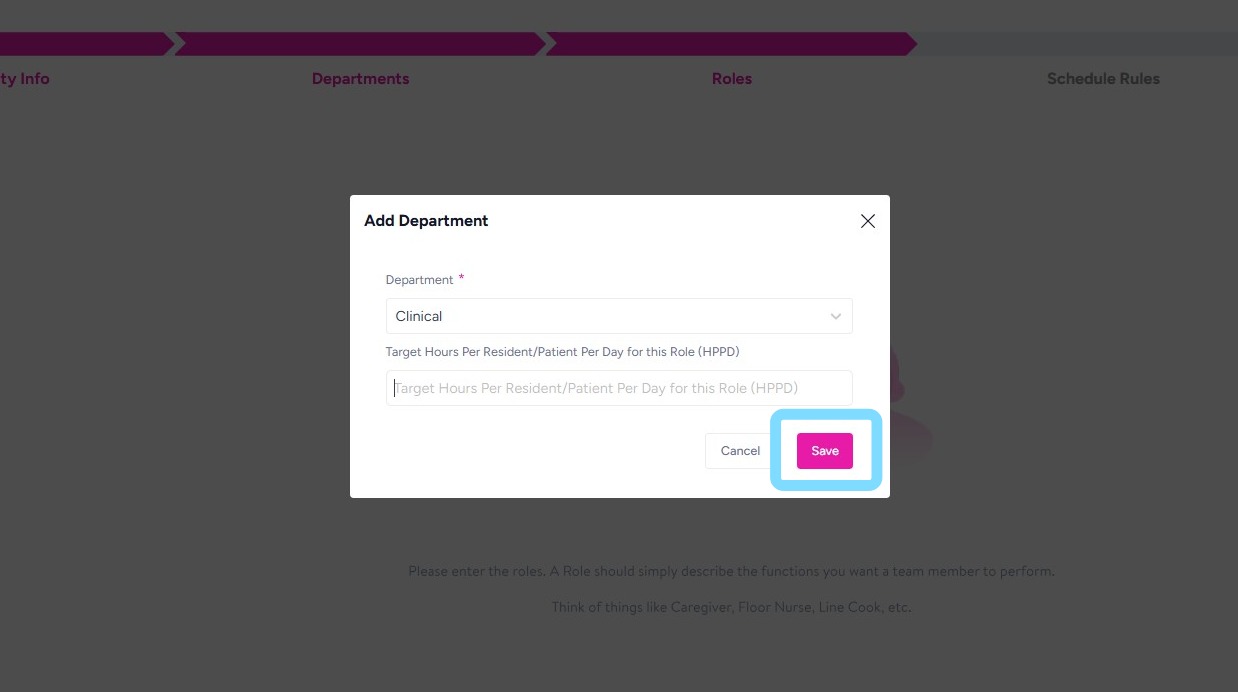
6. Select from Department drop down.
7. Optional: Enter Target Hours Per Resident Per Day for this Role, if relevant.
Select Save.
8. Add additional Roles by repeating the steps above.
Select Next to continue set-up by configuring Schedule Rules.
Congrats – Roles are set up! You may always come back and edit!
