How to Set Up a Community
When you set up a community, you’re doing more than entering data — you’re laying the foundation for how your operation runs. Think of it as building your command center. This is where you define the essentials: your community info, the departments that make up your team, and the roles that keep everything running. From there, you’ll lock in your scheduling rules— the guardrails that keep labor costs under control, prevent overtime leaks, and make sure shifts run smoothly. You got this!
1. After creating a community, the system will direct you through setting up your community.
You’ll be adding Community Info, Departments, Roles, Schedule Rules and Time & Attendance Rules! Let’s get going!
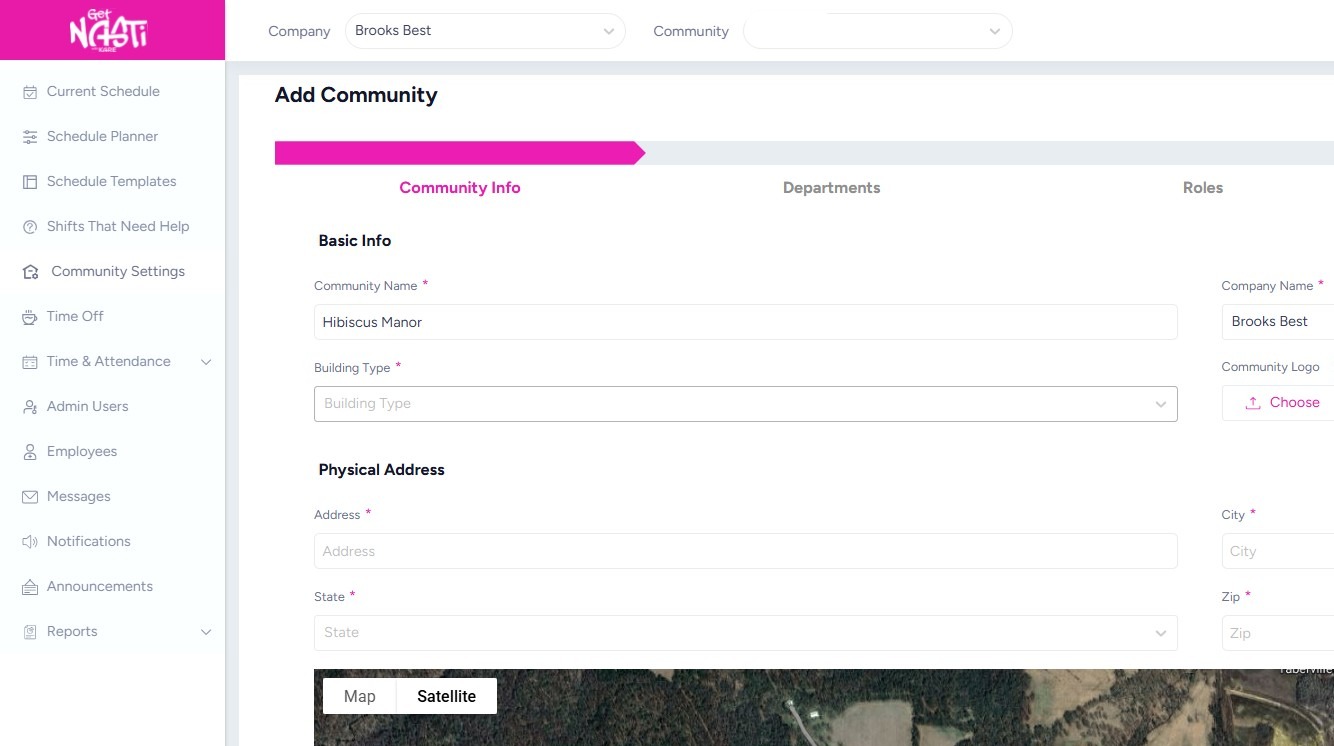
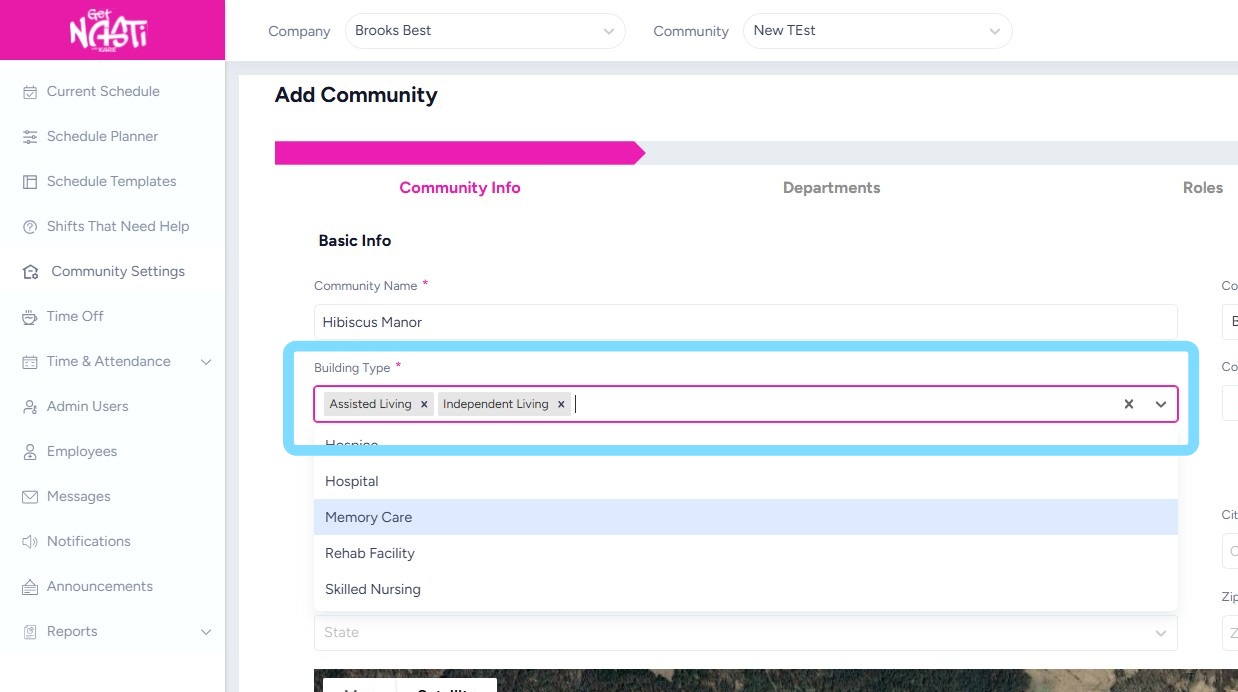
2. Complete all the required fields within Community Info section.
Add building type(s) from the drop down. Multiple types may be added.
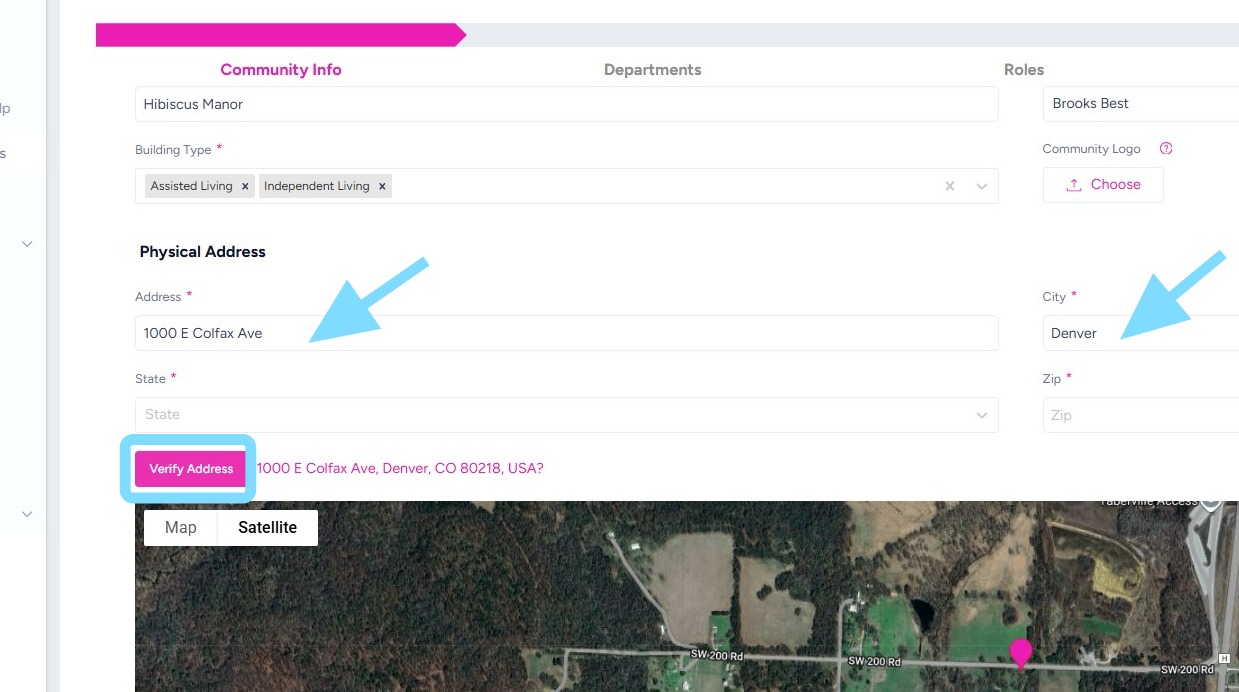
3. Enter address of community.
Select Verify Address
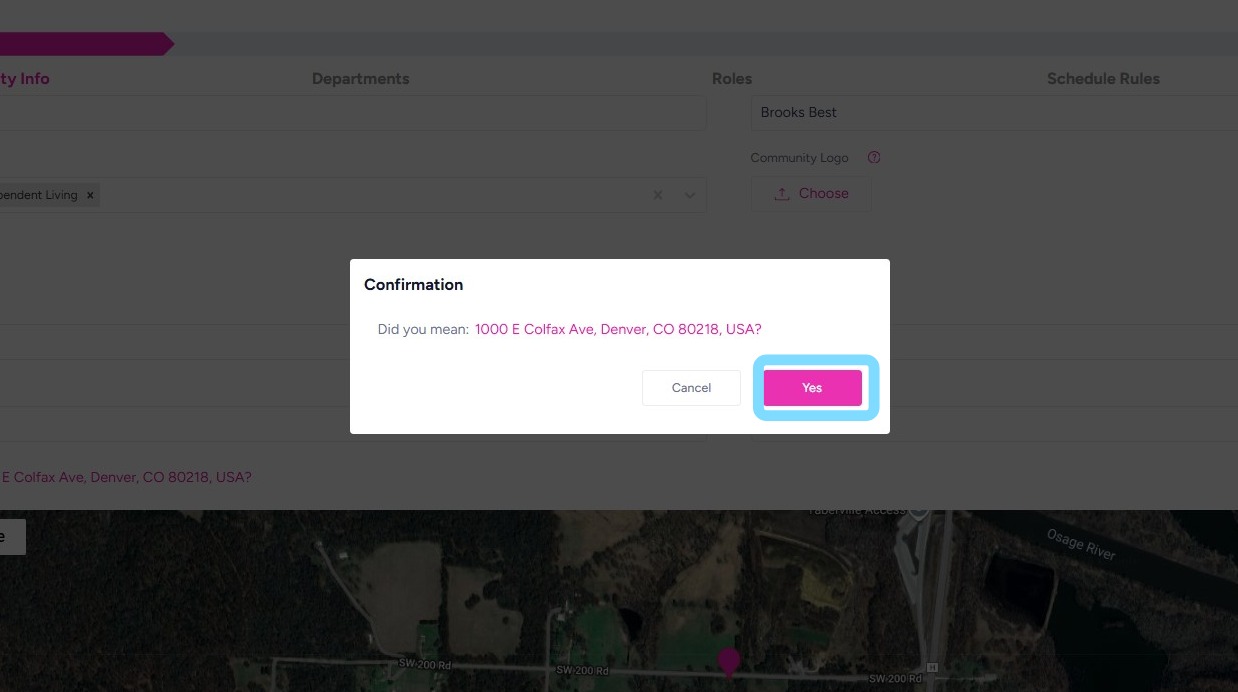
4. Select Yes to verify address of community
5. Select Start Day of Week for Schedule
Select Yes or No regarding whether you’ll be using Time and Attendance feature of this platform.
Select Yes or No if you’ll need PBJ Reporting for CMS.
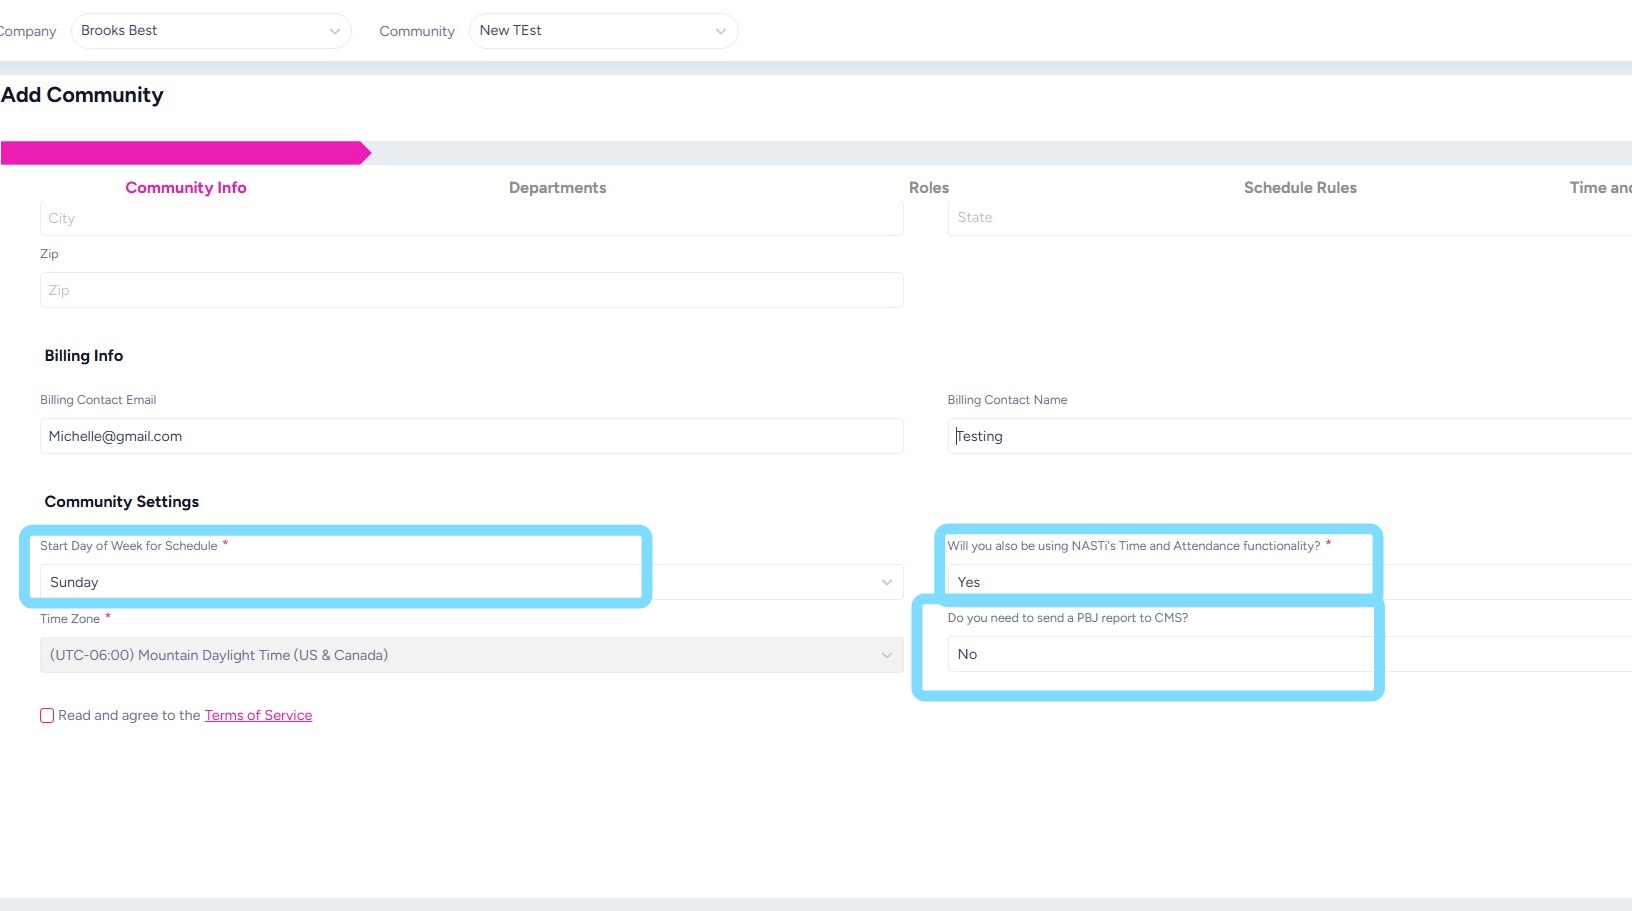
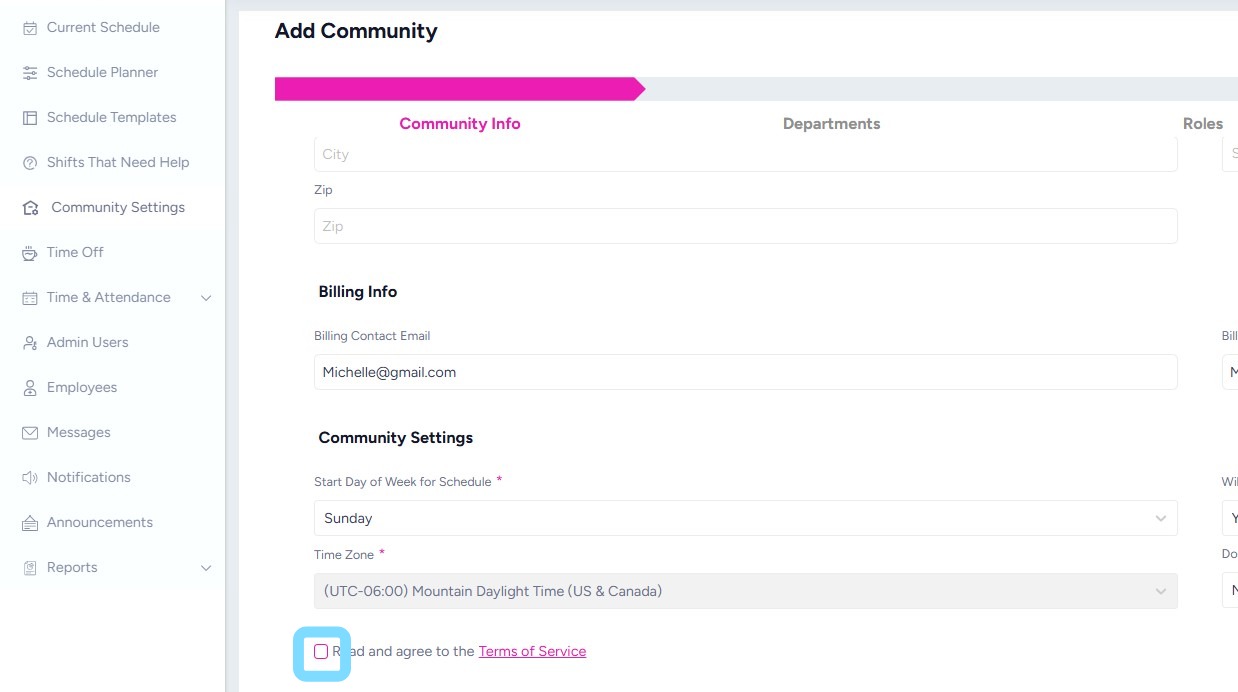
6. Select the box to read and agree to the Terms of Service
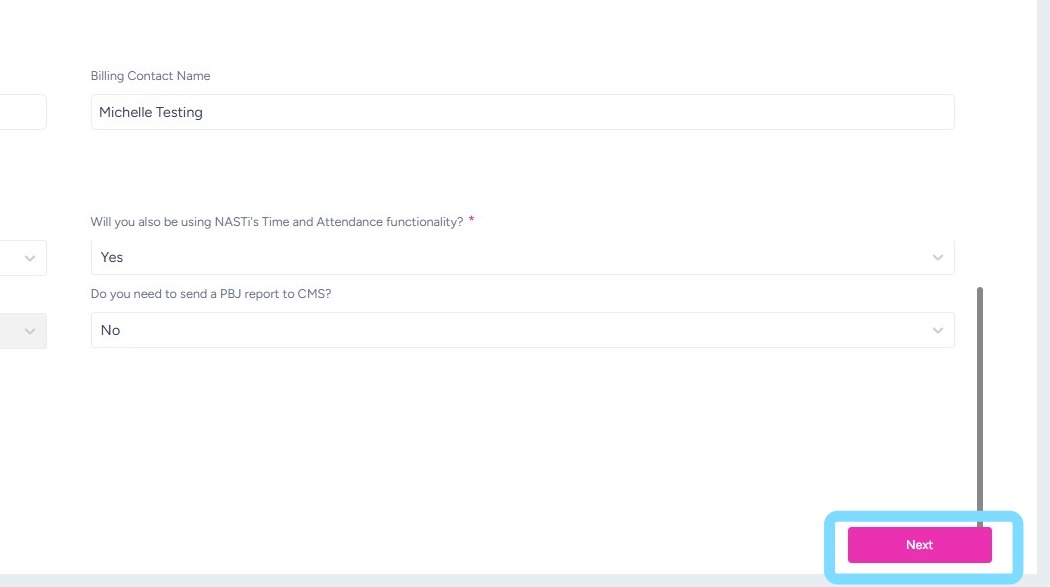
7. Select Next
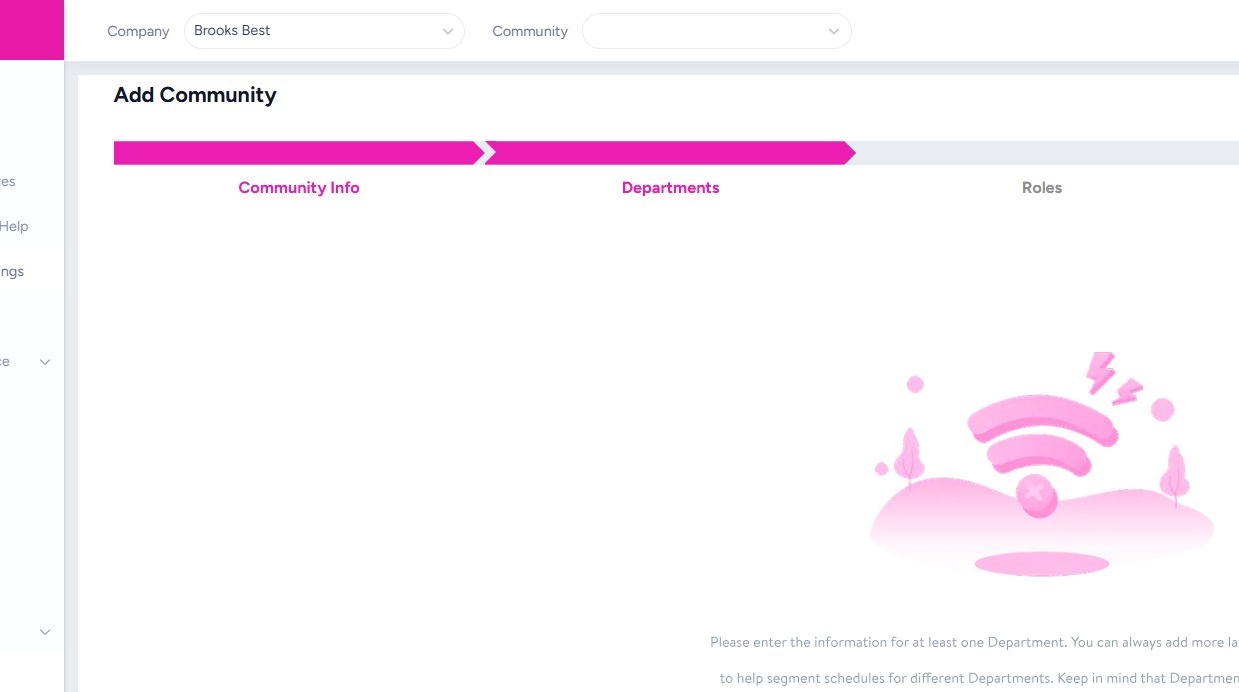
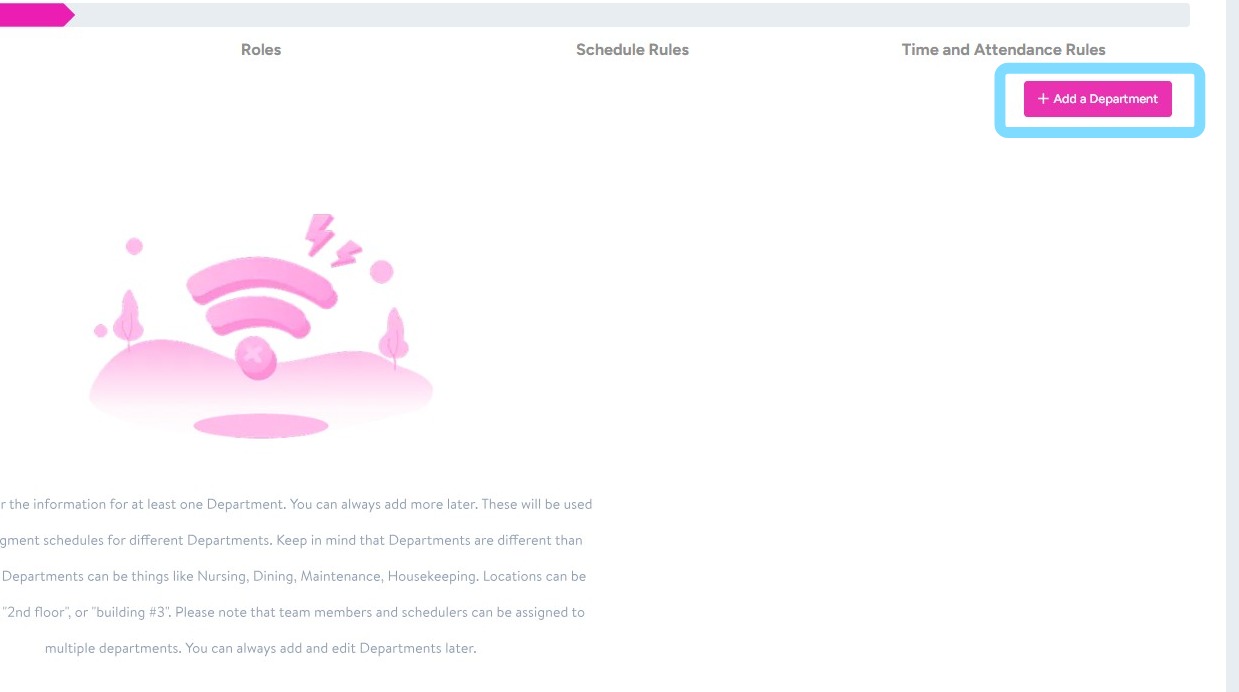
8. Now it’s time to add your Departments!
Departments can be named whatever you’d like. Examples include: Nursing, Resident Care, Dining, Maintenance, Housekeeping, Activities etc.
Please note that team members and admin users can be added to multiple Departments.
Remember you can always add and edit Departments later.
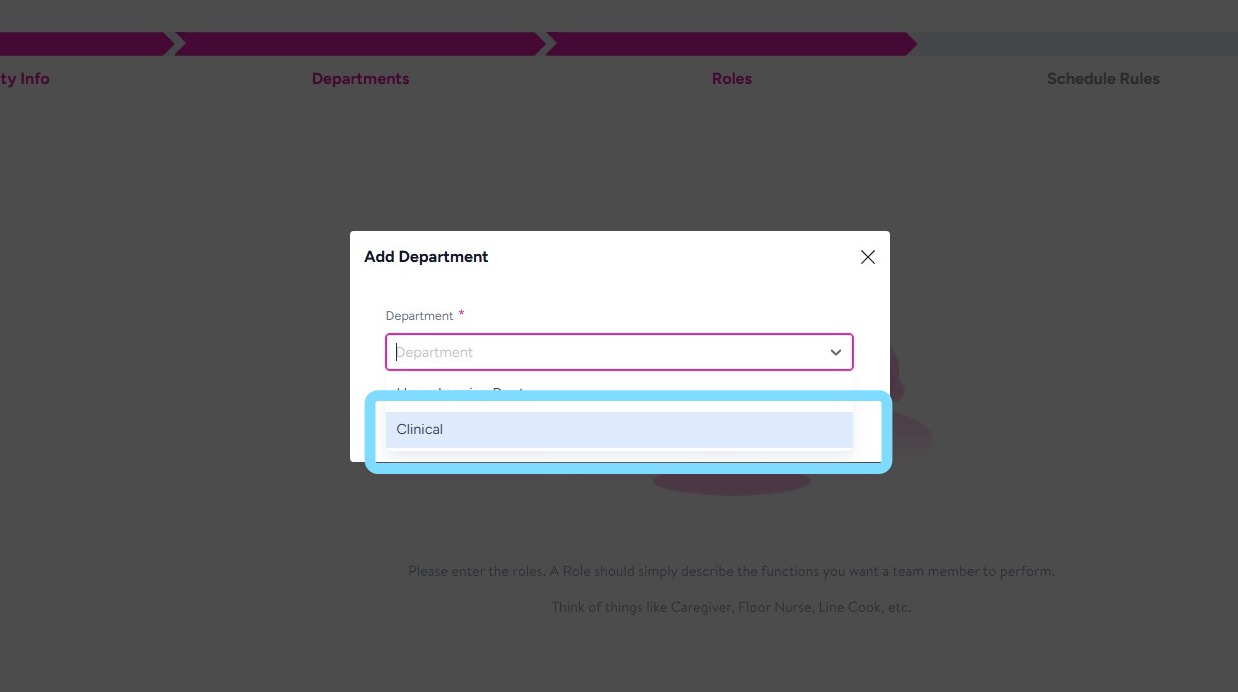
9. Select + Add a Department
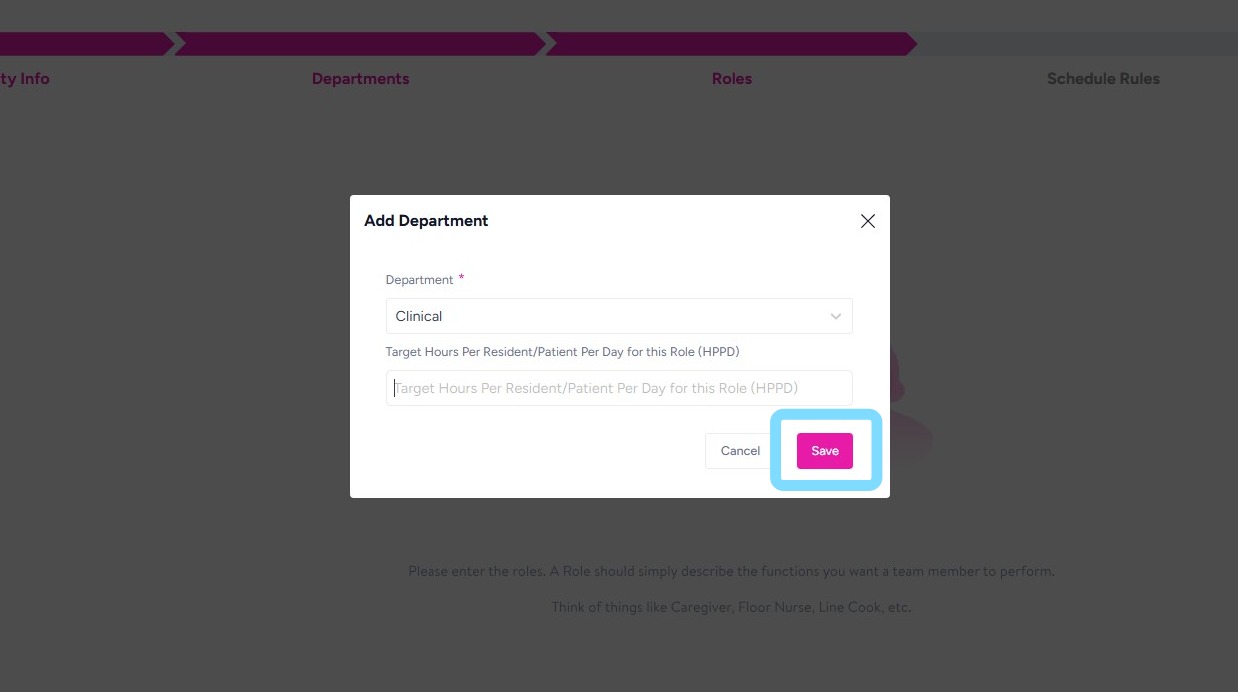
10. Select from Department Name drop down box or select the + to create your Department Name.
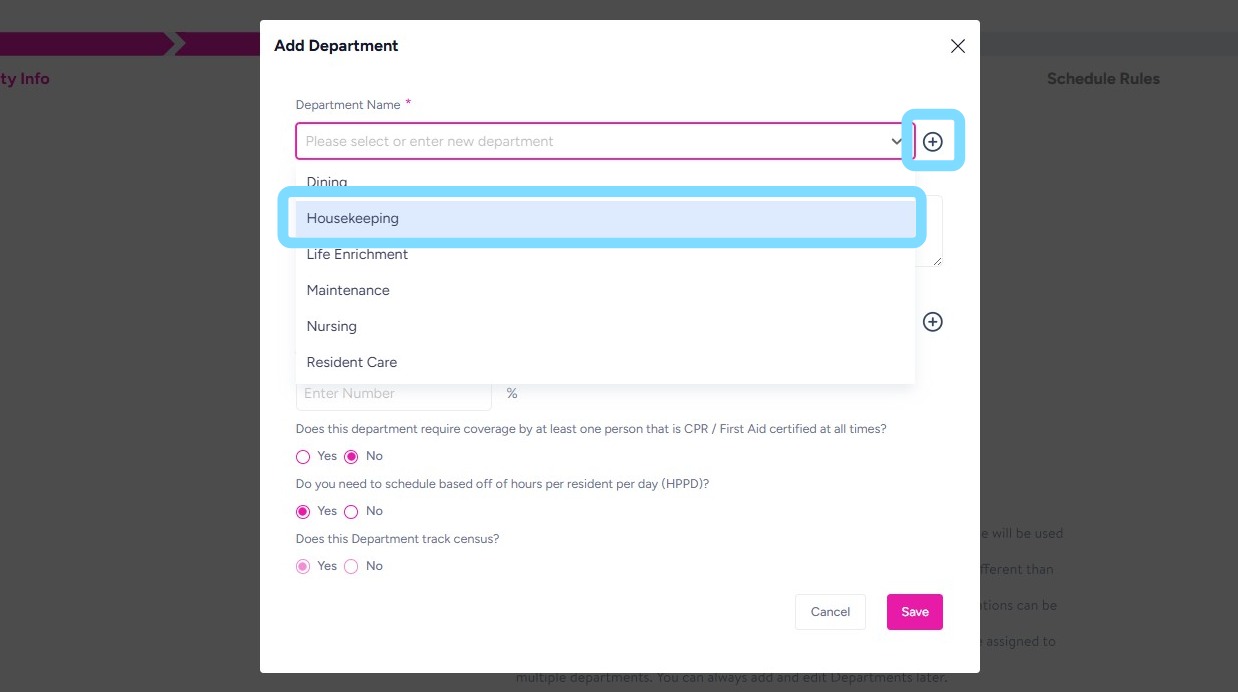
11. If creating Department Name, enter name and select Save

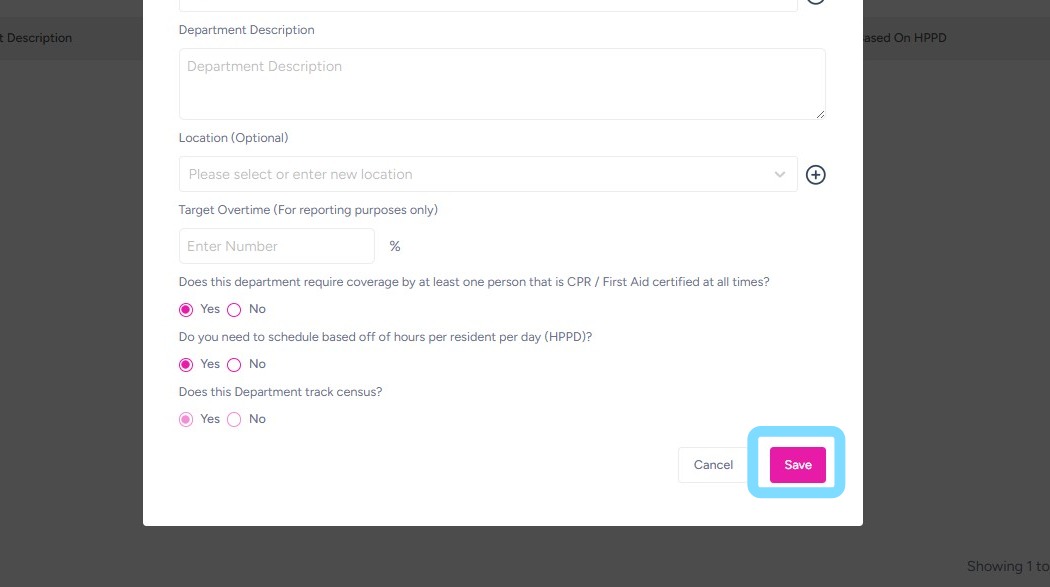
12. You may complete other information as needed. Most users leave the Department Description, Location, and Target Overtime blank. If you want your reports to show target against actual overtime per department, enter a target overtime percentage.
Most important is to select Yes or No for the questions regarding CPR tracking, HPPD, PBJ Reporting, census tracking, and time and attendance tracking.
Note: Time & Attendance tracking should only be turned off for departments that are salaried and frequently work off-site, such as Maintenance or Marketing.

13. Select Save when finished
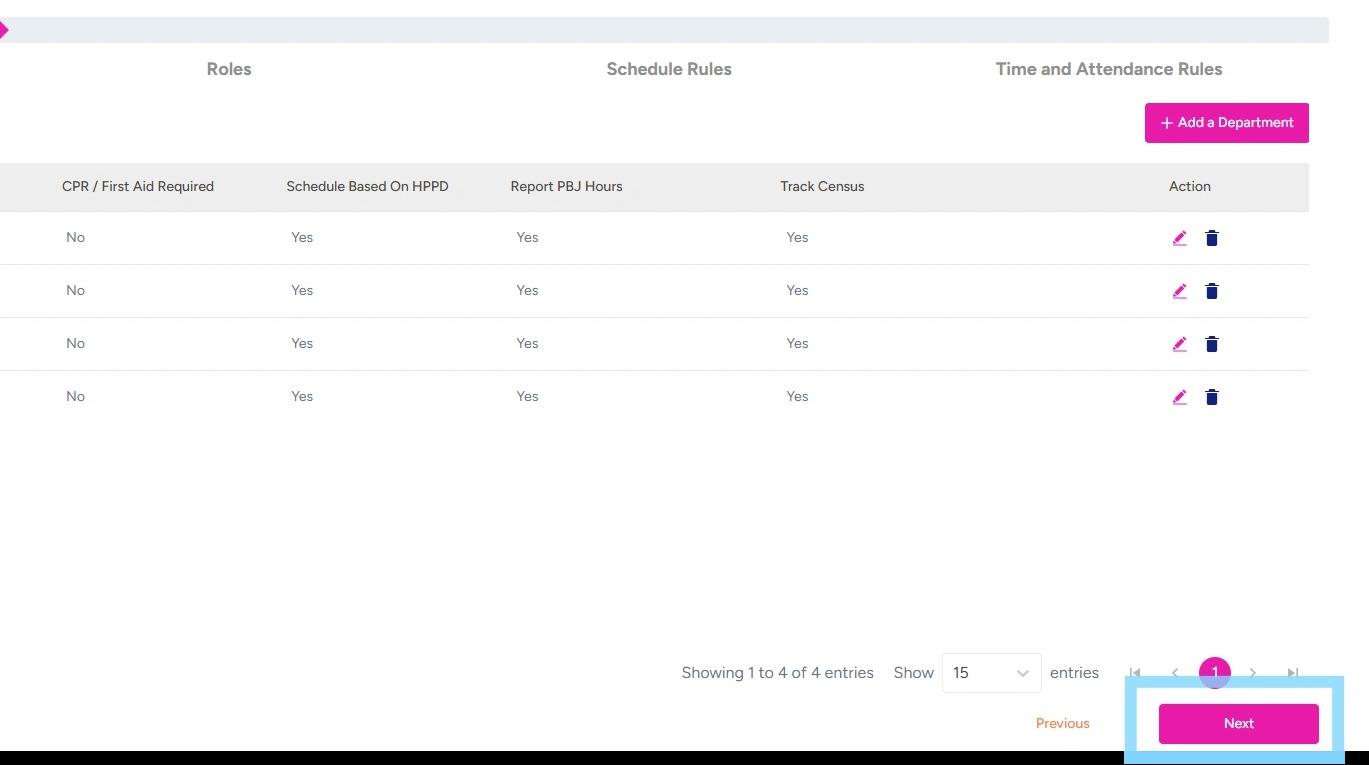
14. Add additional Departments by repeating the steps above.
Select Next to continue set-up.
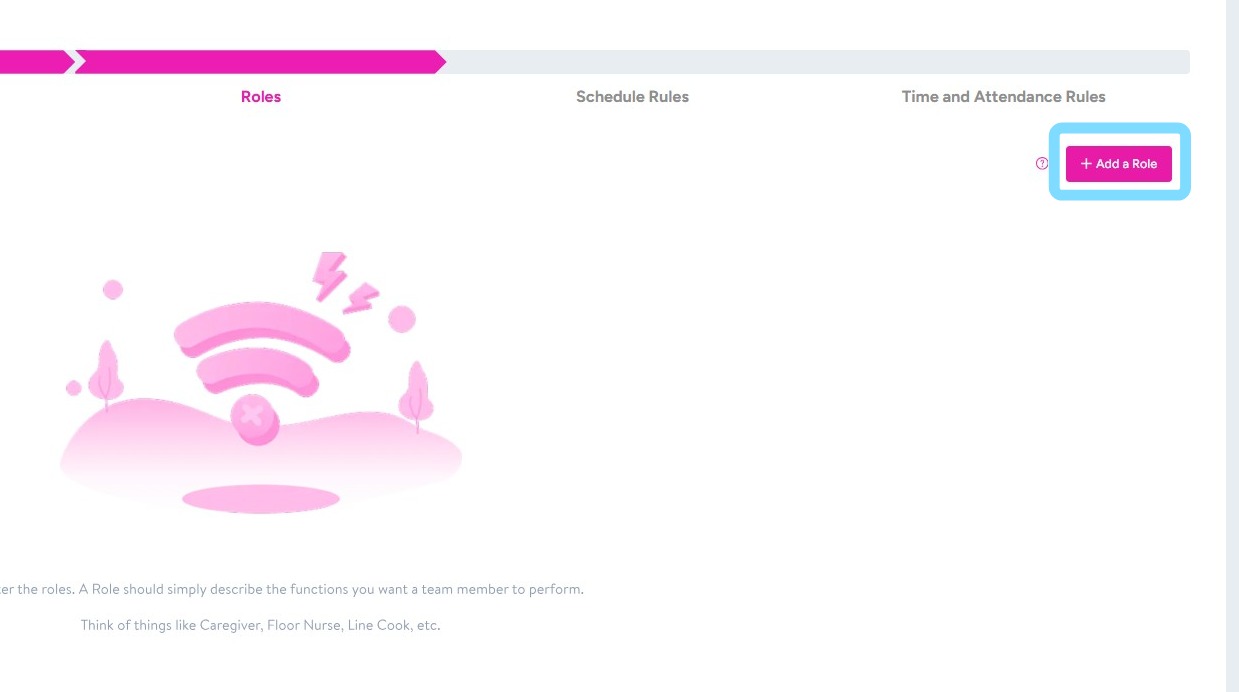
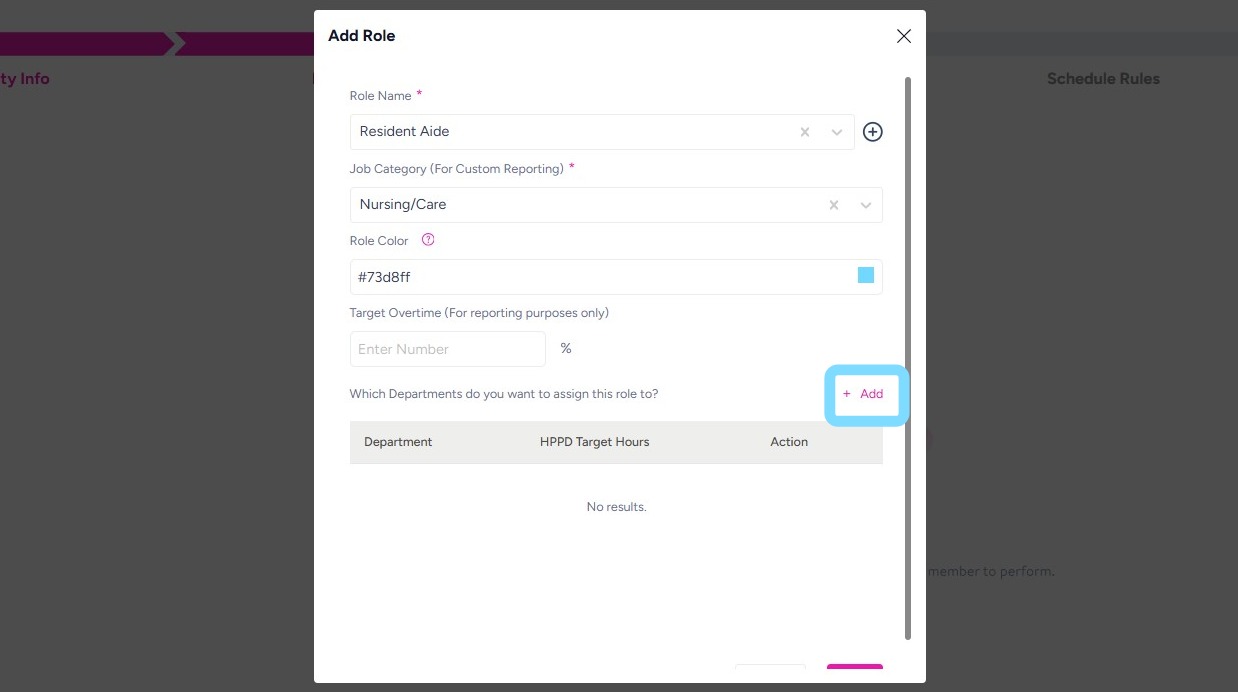
15. Now it’s time to add your Roles!
A Role should simply describe the functions you want team members to perform. Things like Caregiver, Floor Nurse, Line Cook, Activities Coordinator, etc.
The system can be customizable to your specific community operational structure. For example, employees can be assigned to one or multiple roles, and roles themselves can span across departments. For instance, Jimmy can be assigned to Care Partner and Housekeeper Roles. Additionally, a Care Partner role may be assigned to both Resident Care and Dining Departments, per your set-up.
Select + Add a Role
16. Enter a Role Name by selecting from the drop down list
or select the + to create your Role Name
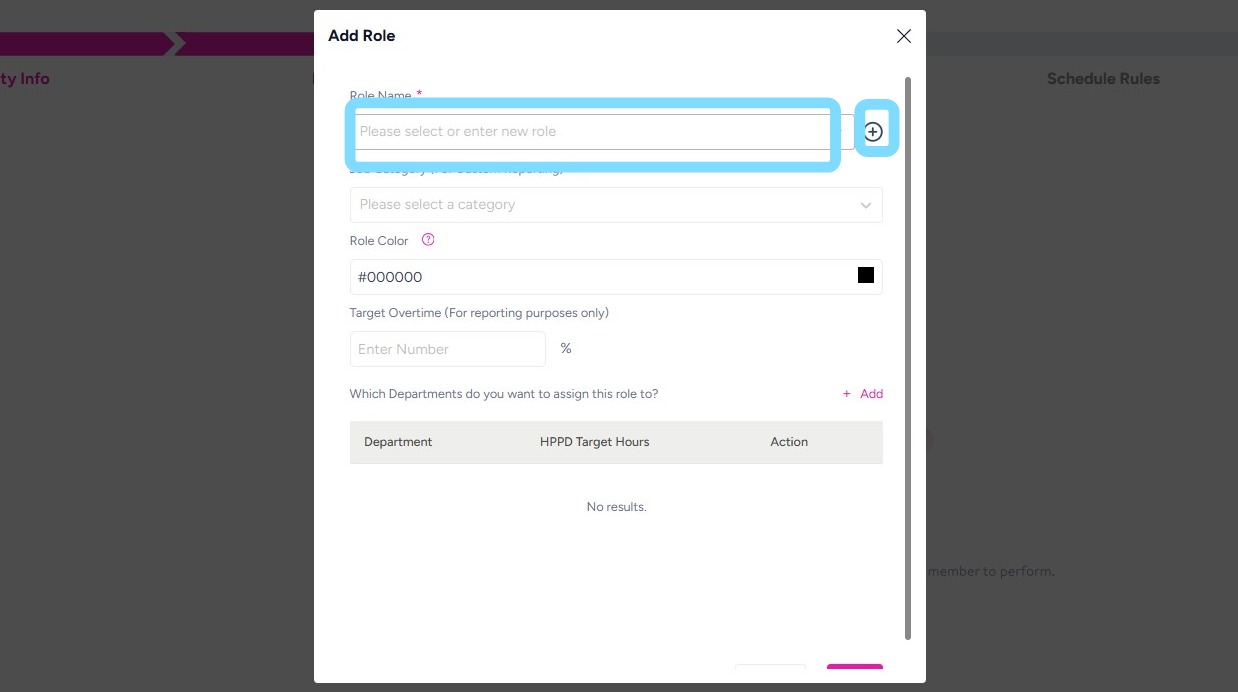
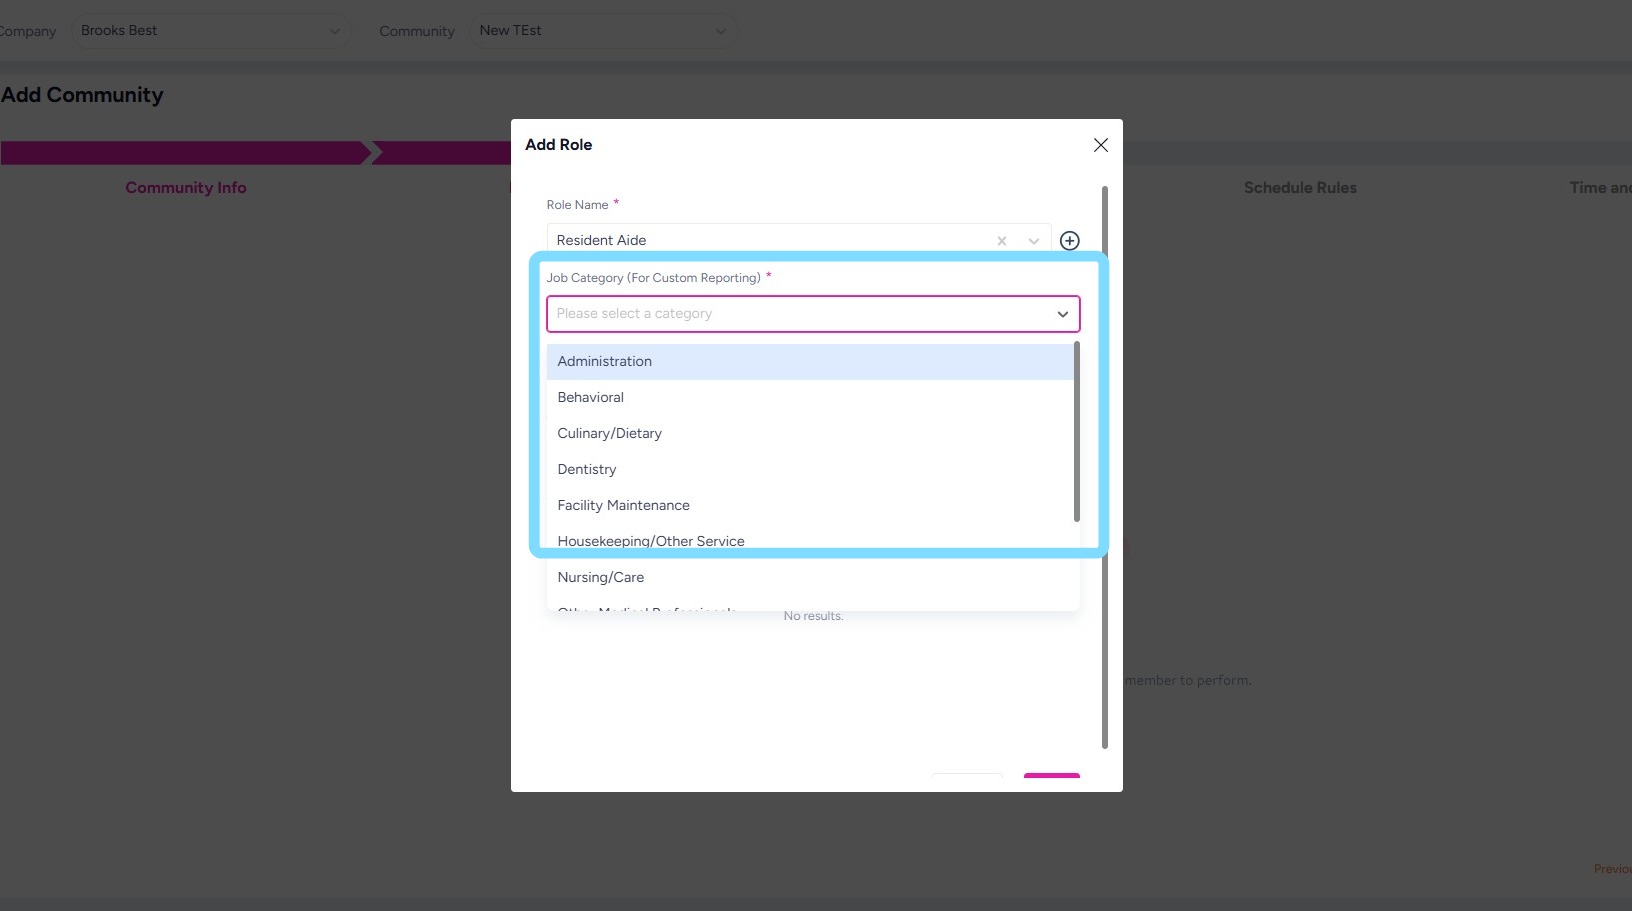
17. Complete the other required fields.
These fields allow the system to match roles to industry standard job titles and benchmark the data to eventually make available to senior living community users.
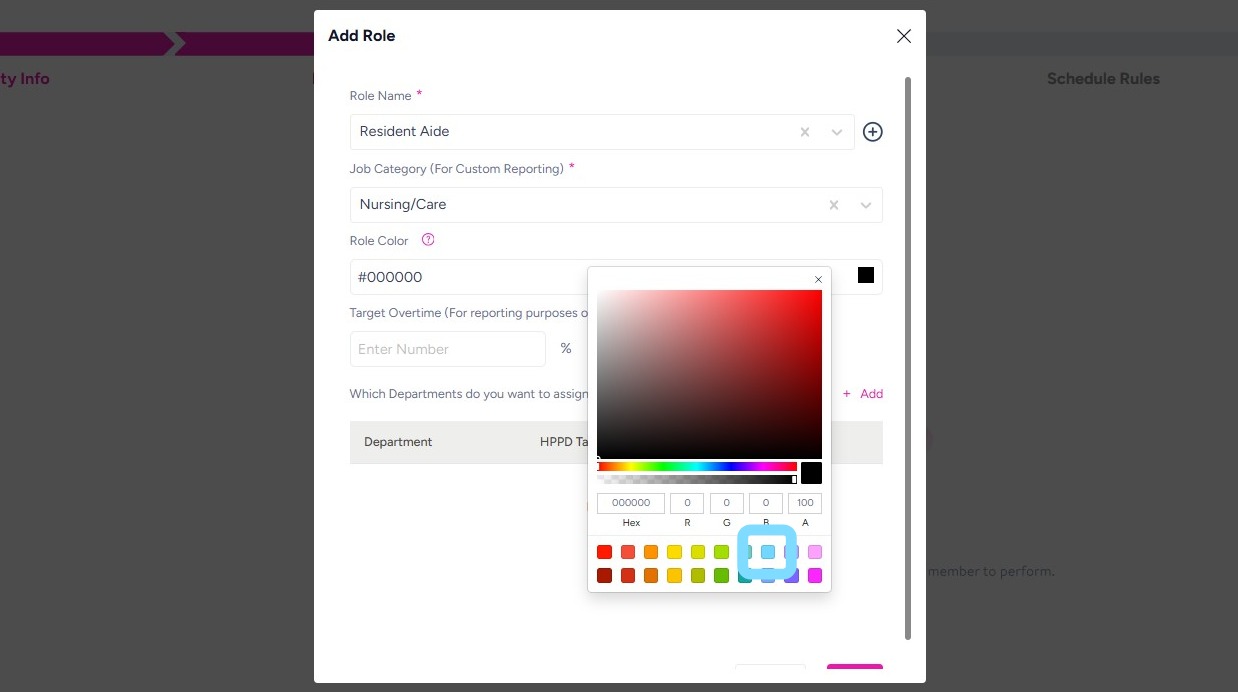
18. Select a Role Color to be able to visually identify this role on the schedule.
19. Select +Add to assign this role to one or multiple Departments.
For example, this role of Resident Aide will be added to the Clinical Department.
20. Select from Department drop down.
21. Optional: Enter Target Hours Per Resident Per Day for this Role, if relevant.
Select Save.
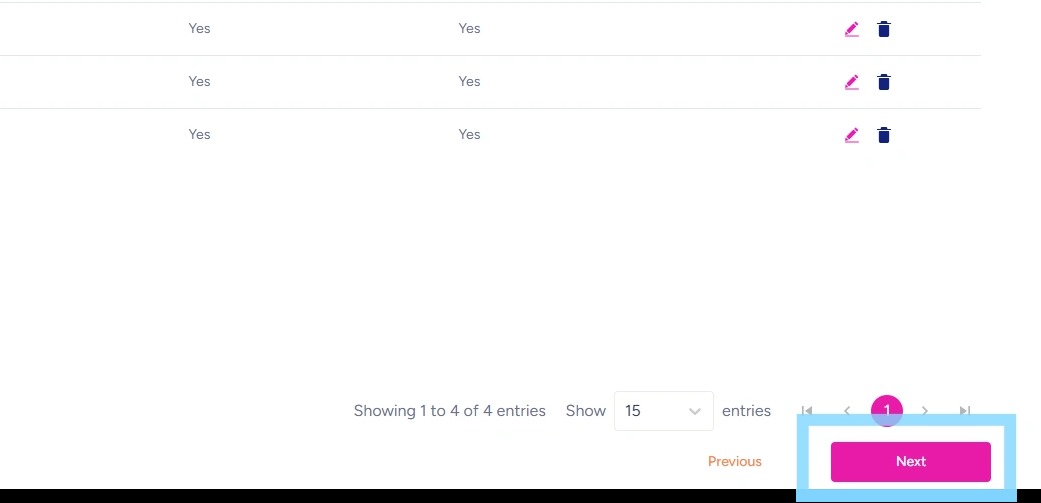
22. Add additional Roles by repeating the steps above.
Select Next to continue set-up by configuring Schedule Rules.
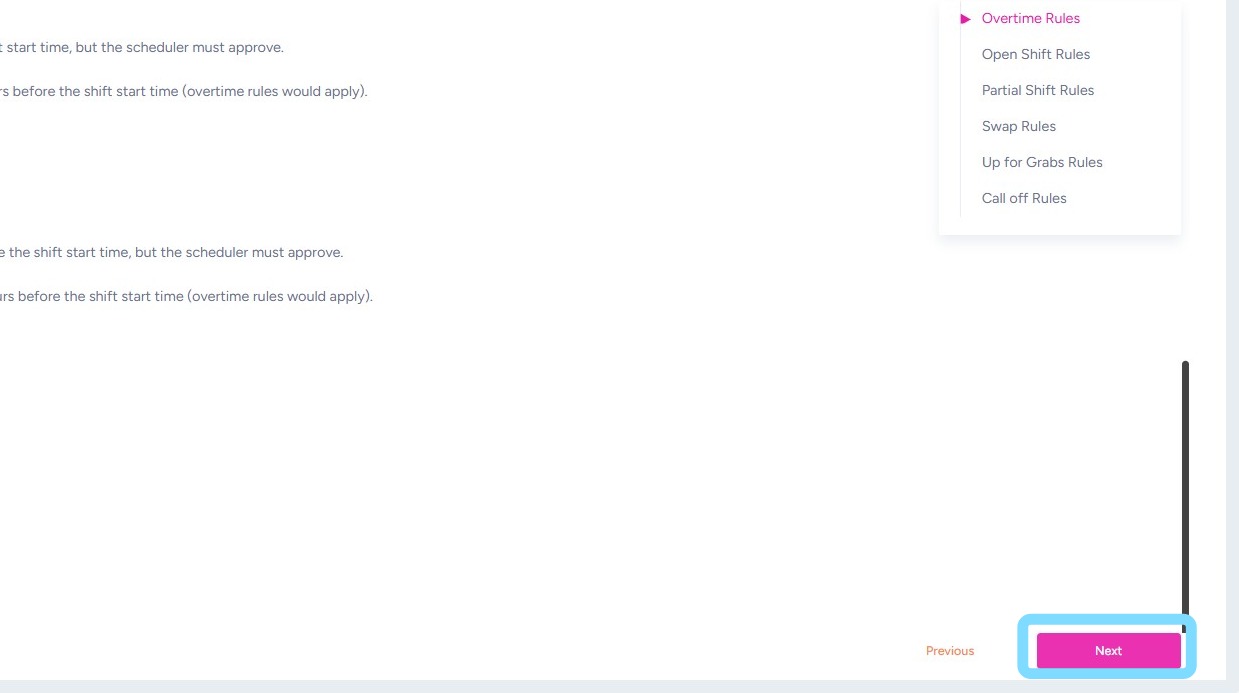
23. Schedule Rules is where the magic happens! These are the guardrails that keep labor costs under control, prevent overtime leaks, and make sure shifts run smoothly. Once defined, NASTi enforces your rules in real time to stop costly staffing mistakes before they happen. For example, if overtime is not allowed, employees will not be able to be assigned shifts that put them into overtime, nor will they be eligible to take “open” or “up for grabs” shifts.
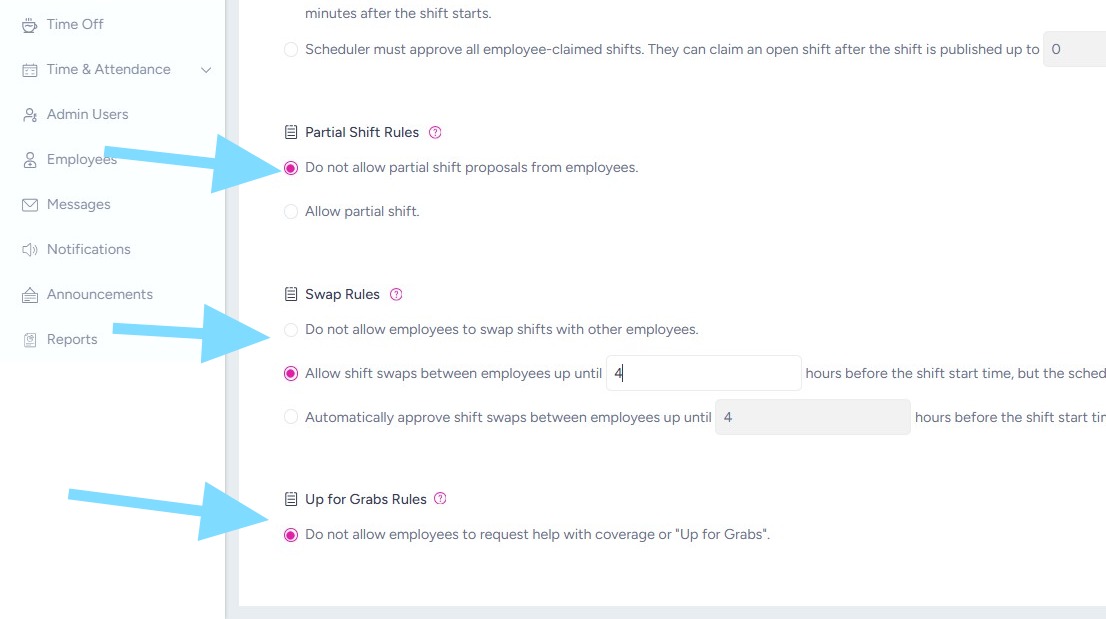
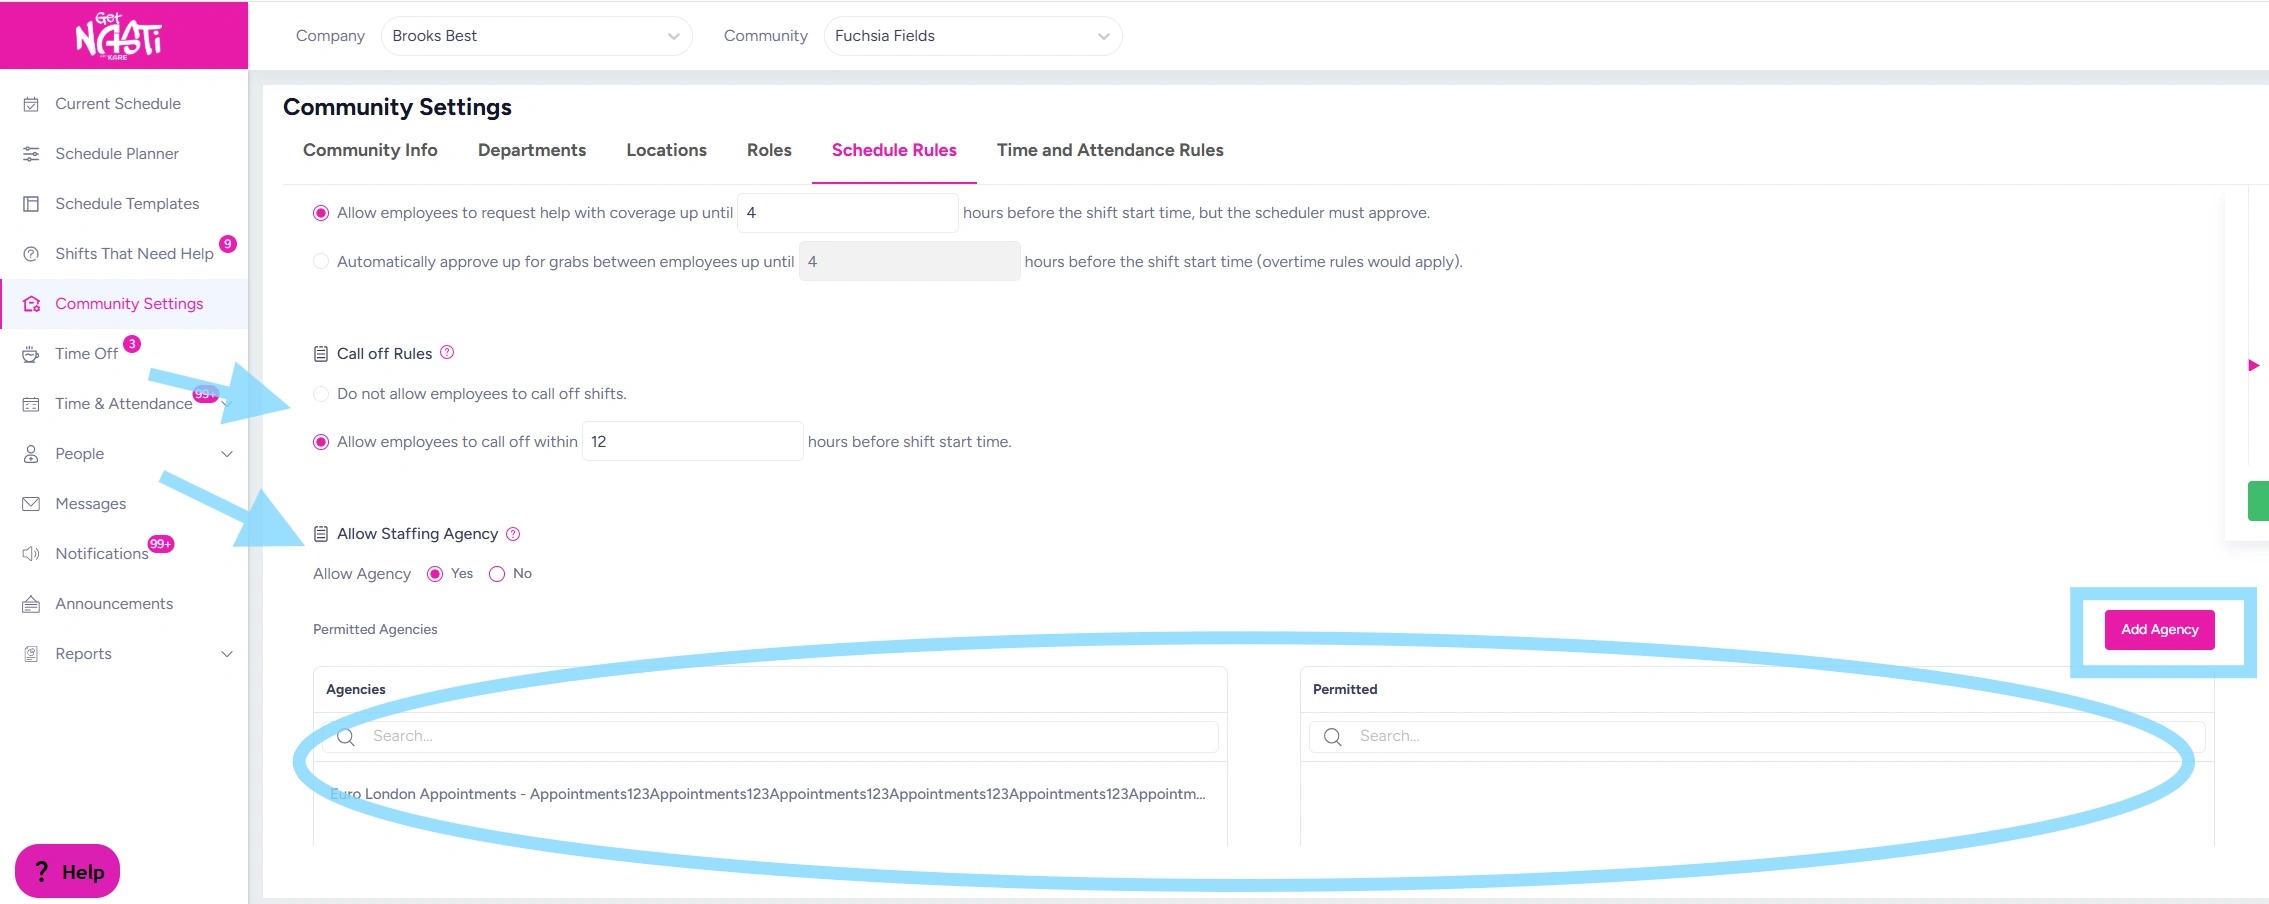
You’ll choose rules for: Overtime, Open Shifts, Partial Shifts, Up for Grabs Shifts and Call Offs.
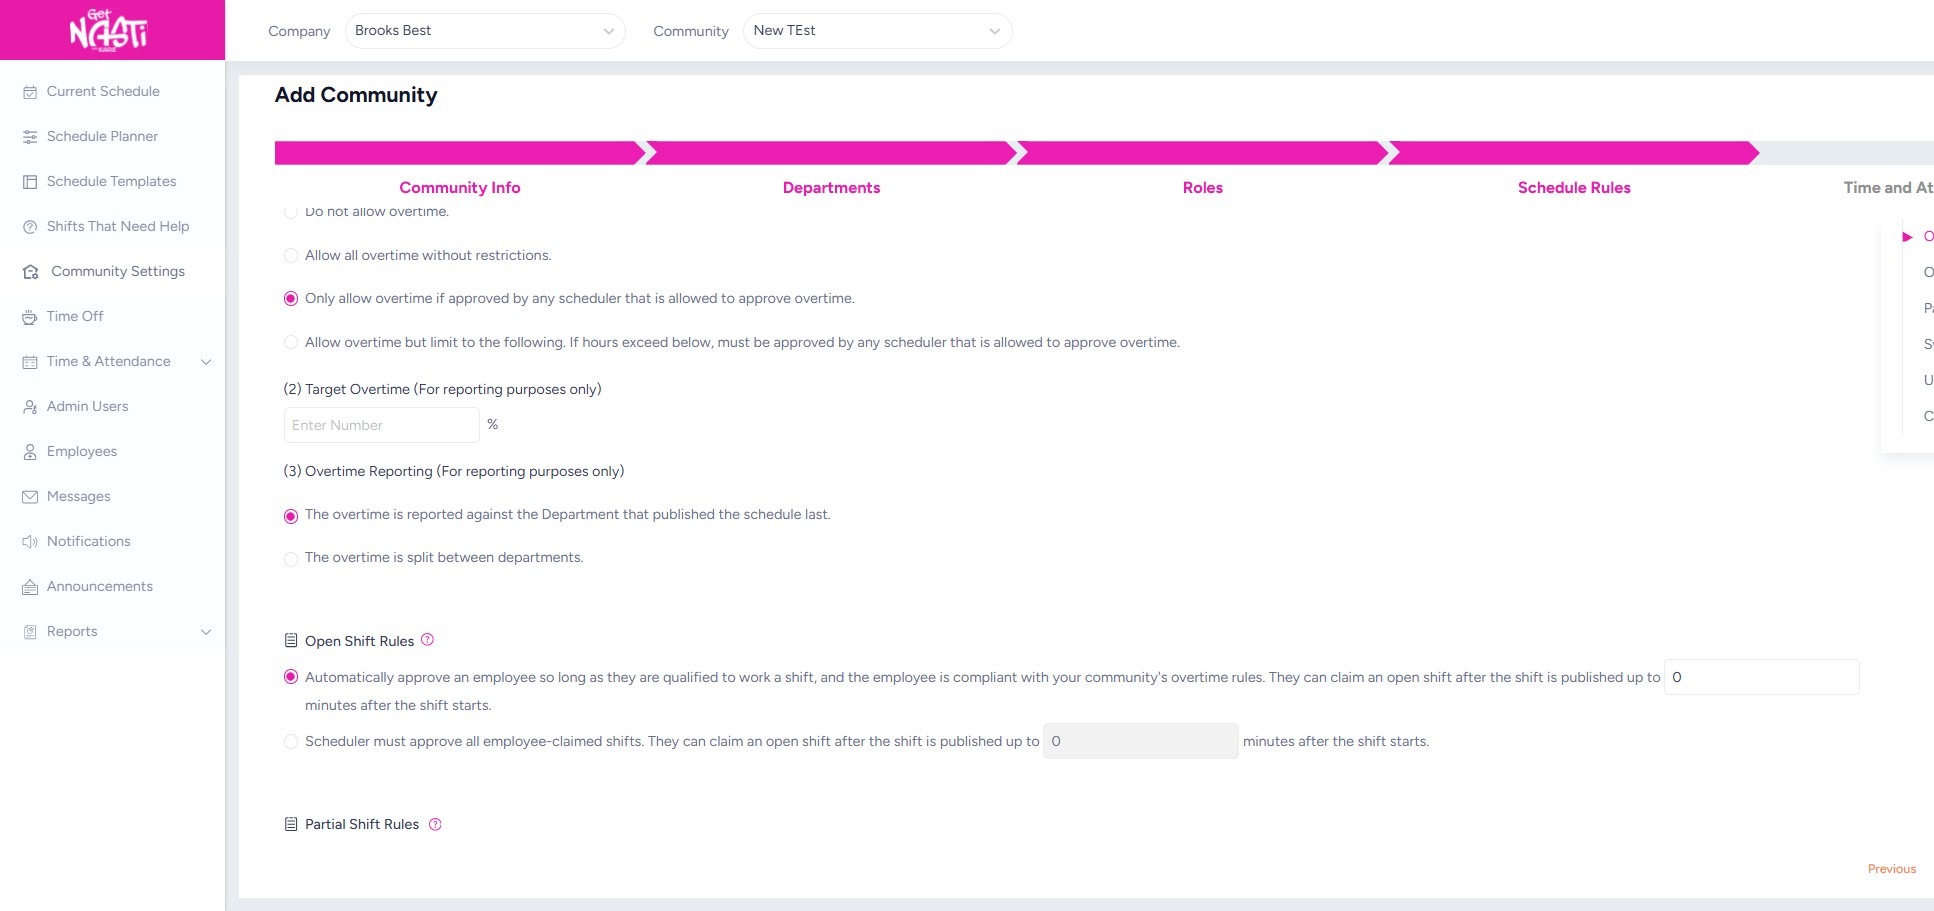
24. Scroll through each section and make selections to lock in your rules.
Hover over the ? icons to better understand the rules you’re setting.
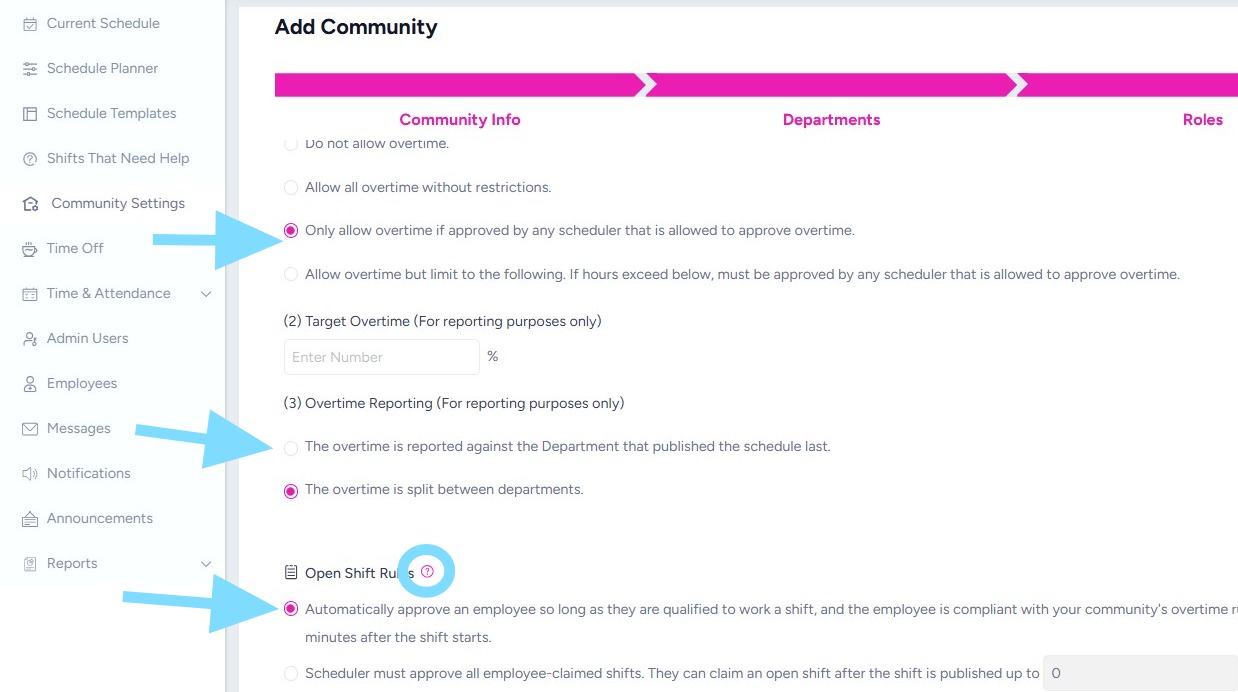
25. Continue setting rules.
Remember, you may always edit these later, when controls need to be tightened or loosened to support your operational needs.
26. For Allow Staffing Agency – this refers to whether you’ll want to add outside, agency staff into your schedule. If you select Yes, you’ll want to select Add Agency to add the agencies you plan to use.
27. Once Schedule Rules are set, select Next
28. You’ve arrived at the last step in the community set-up process: configuring Time & Attendance Rules!
If you are utilizing Time and Attendance, continue through these steps. If Time and Attendance is turned off for your community, you’ll only be prompted to edit Break Time Rules for shift time-keeping and report purposes.
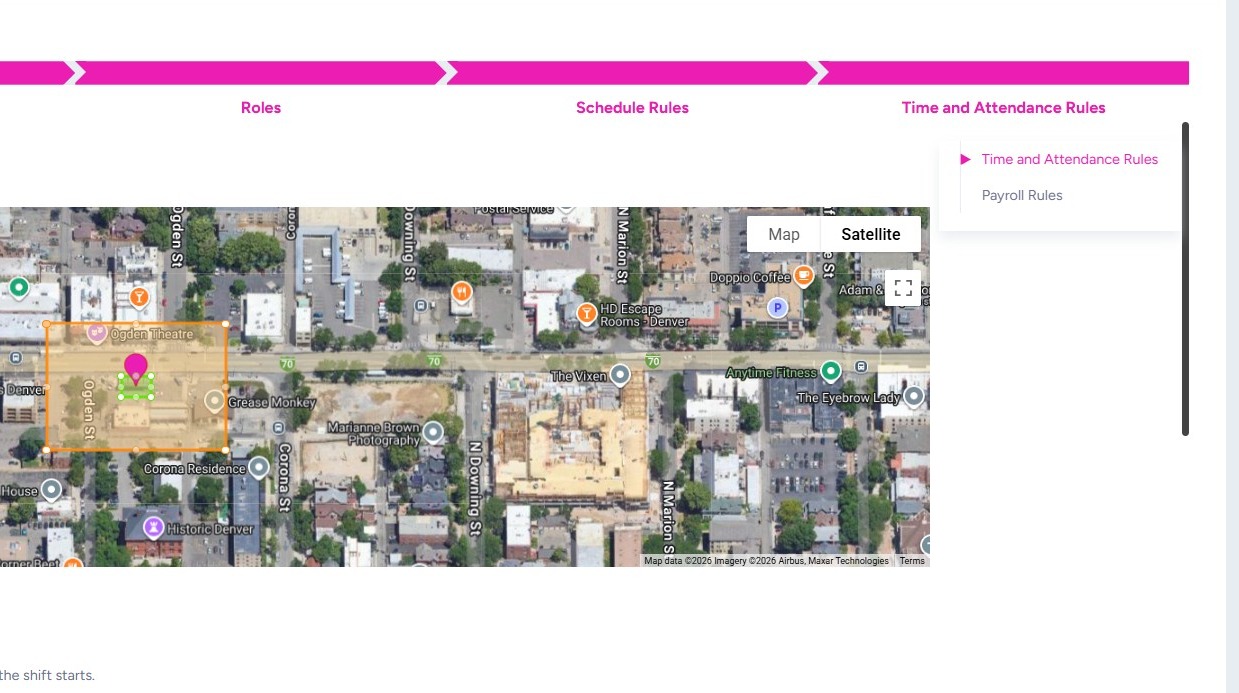
29. Set up your geofence boundaries by clicking and dragging the corners of the green and orange areas. Select the green checkmark to save your changes.
-
Green area: Check-in boundary
-
Orange area: Check-out boundary
How geofenced automatic check-in and check-out works:
-
When employees enter the green area during their scheduled shift time, they are automatically checked in.
-
When employees exit the orange area at the end of their shift, they are automatically checked out.
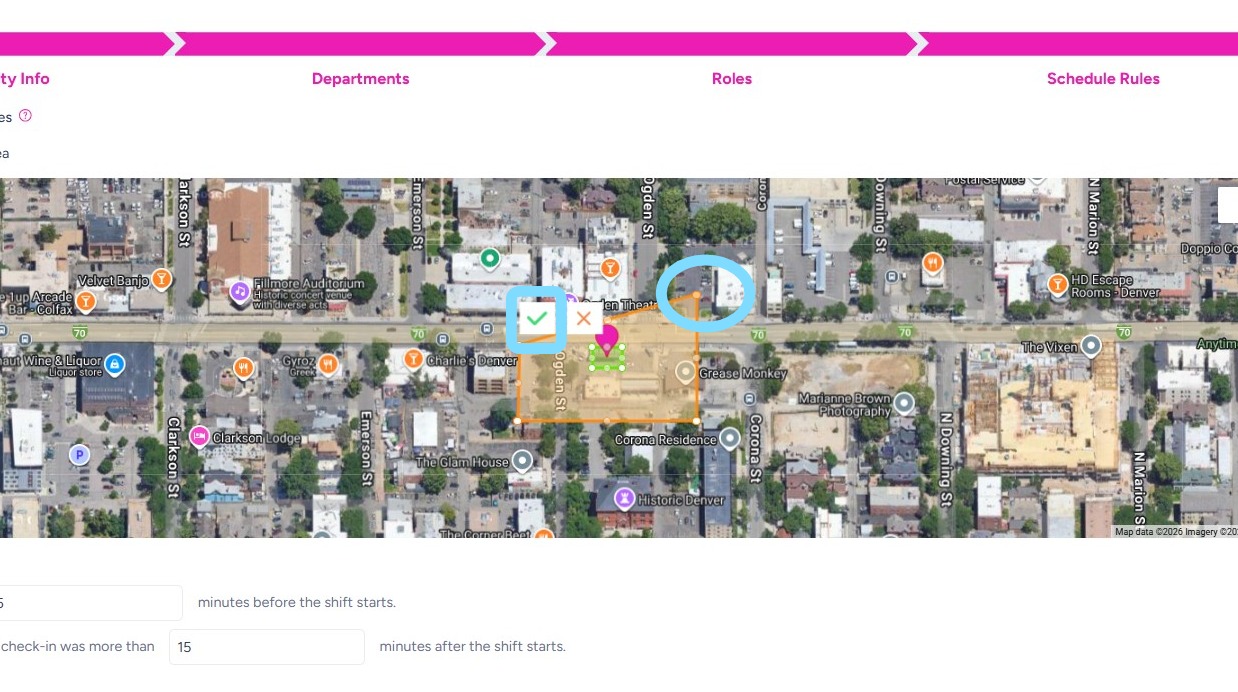
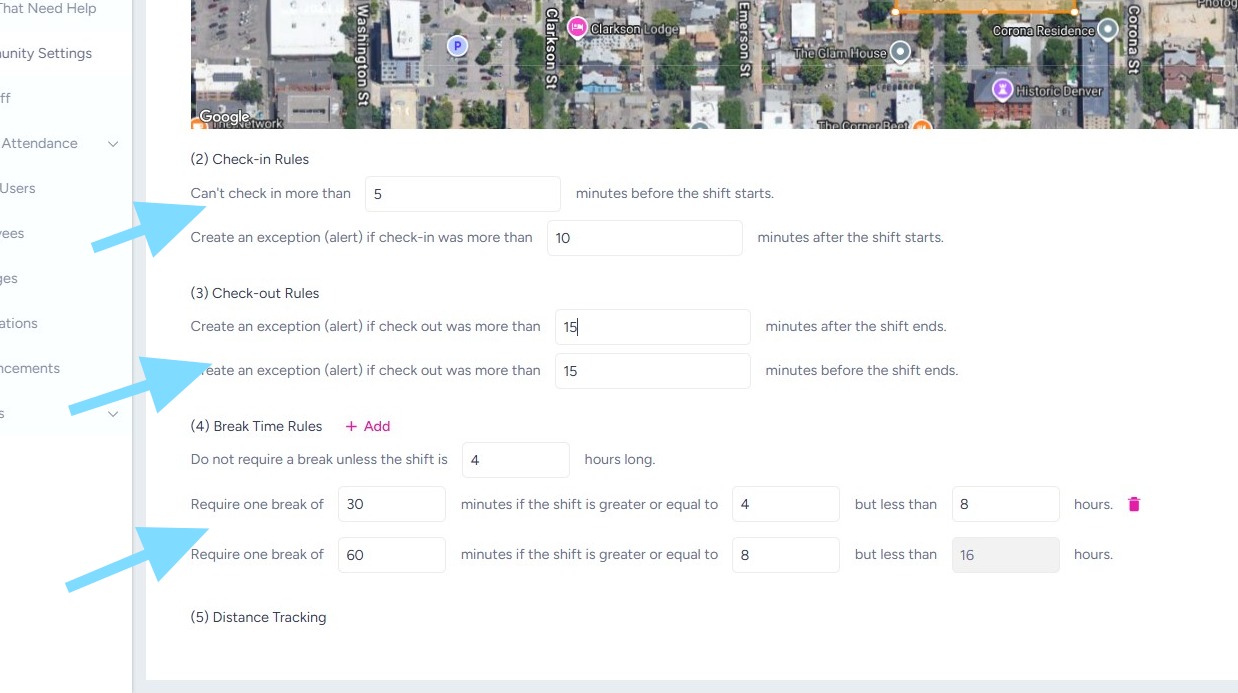
30. Once the boundaries are set, configure your Check-In and Check-Out Rules and Break Time Rules. These rules help prevent time clock leakage by keeping punches aligned with scheduled shift times.
Note: Exceptions are alerts sent to a Scheduler or Admin for review and approval.
For example, per this check-out rule, if an employee checks out more than 15 minutes after their shift ends, an exception is generated and sent to an Admin to approve the late check-out.
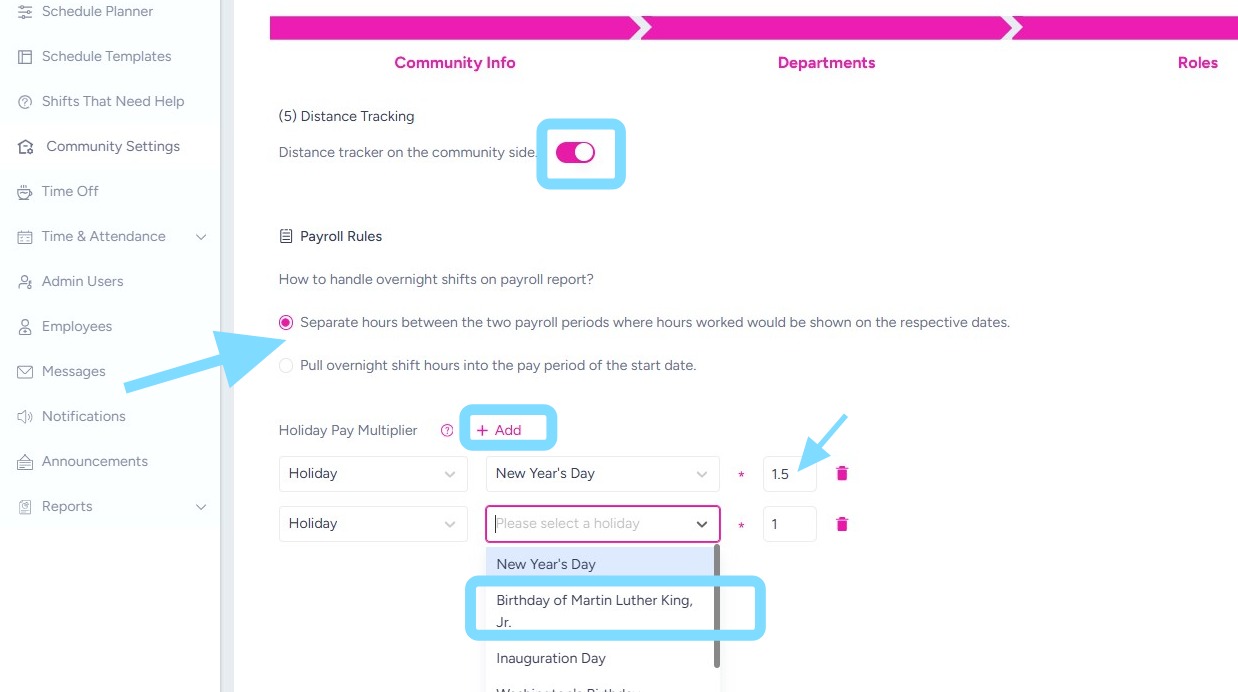
31. Turn Distance Tracking on or off. This allows an Admin User to see how many miles away an employee is after they’ve hit “Ready to Go” for their shift.
Indicate how to pull overnight shifts into payroll
Add Holiday Pay Multipliers by selecting +Add and from the drop downs. Enter the pay multiplier amount as 1.5, 2, etc.
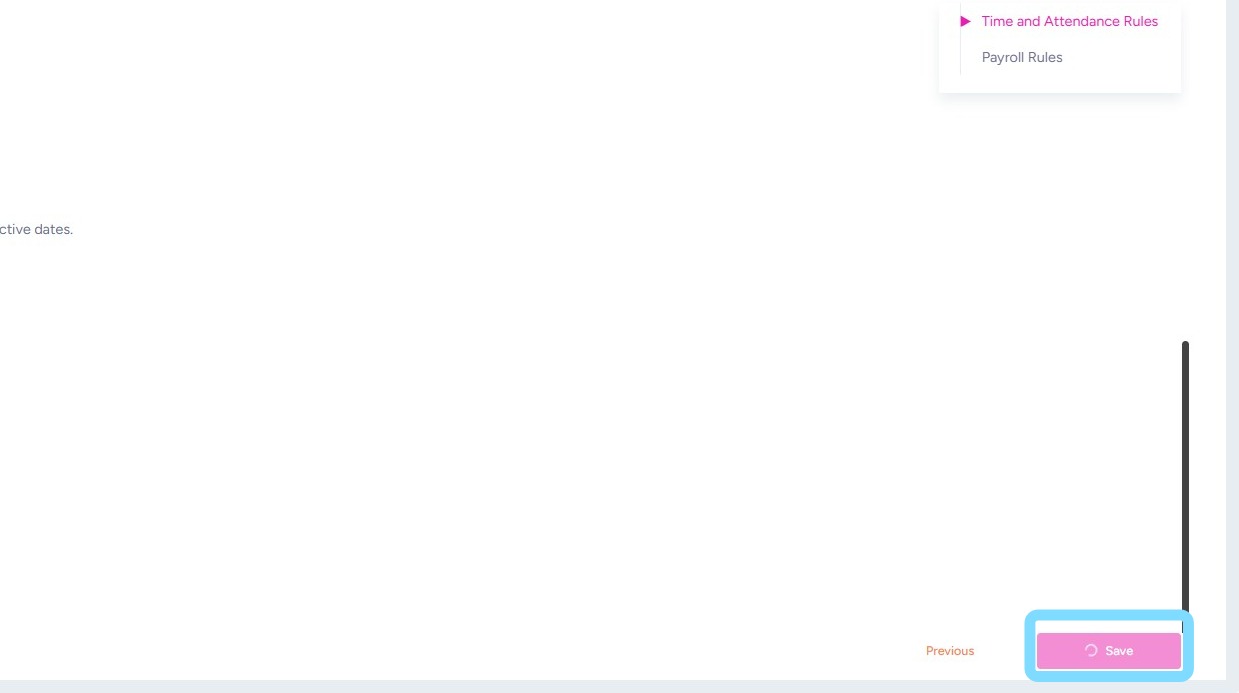
32. Select Save when finished editing Time and Attendance Rules
33. Congrats — the rules are set, the system’s yours!! Schedule chaos and overtime leaks don’t stand a chance!
Now invite your employees and get schedules ready!