How to Publish a Schedule
Publishing a schedule turns your planning into action by taking the templates you’ve built and making them live. Once you hit “Publish” your schedule is live and your employees are instantly notified in the app. It’s the final step that ends the scramble, cuts wasted labor and gives your team autonomy to own their shifts.
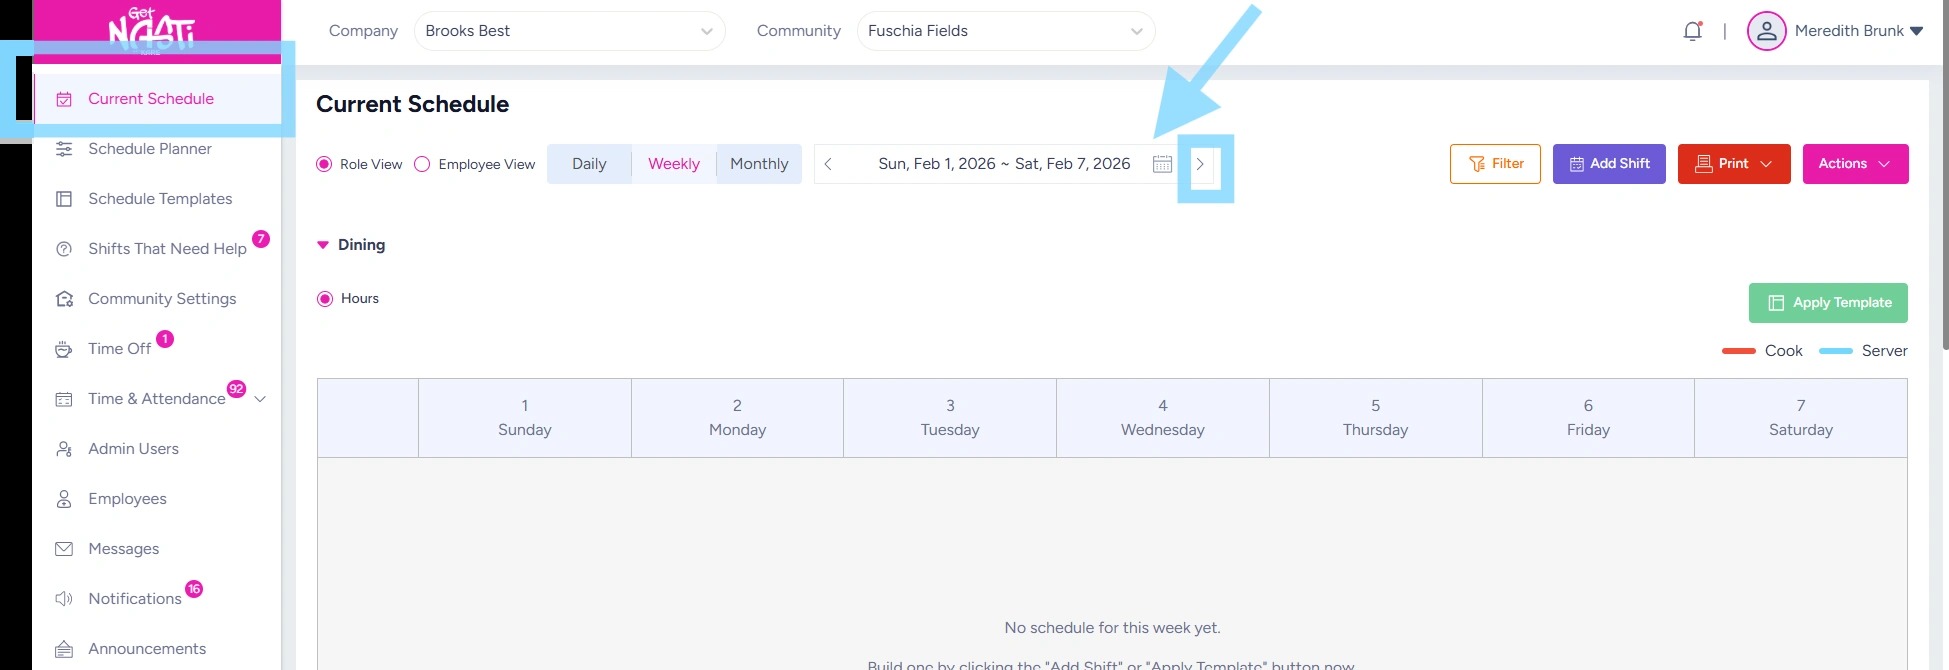
1. Navigate to Current Schedule
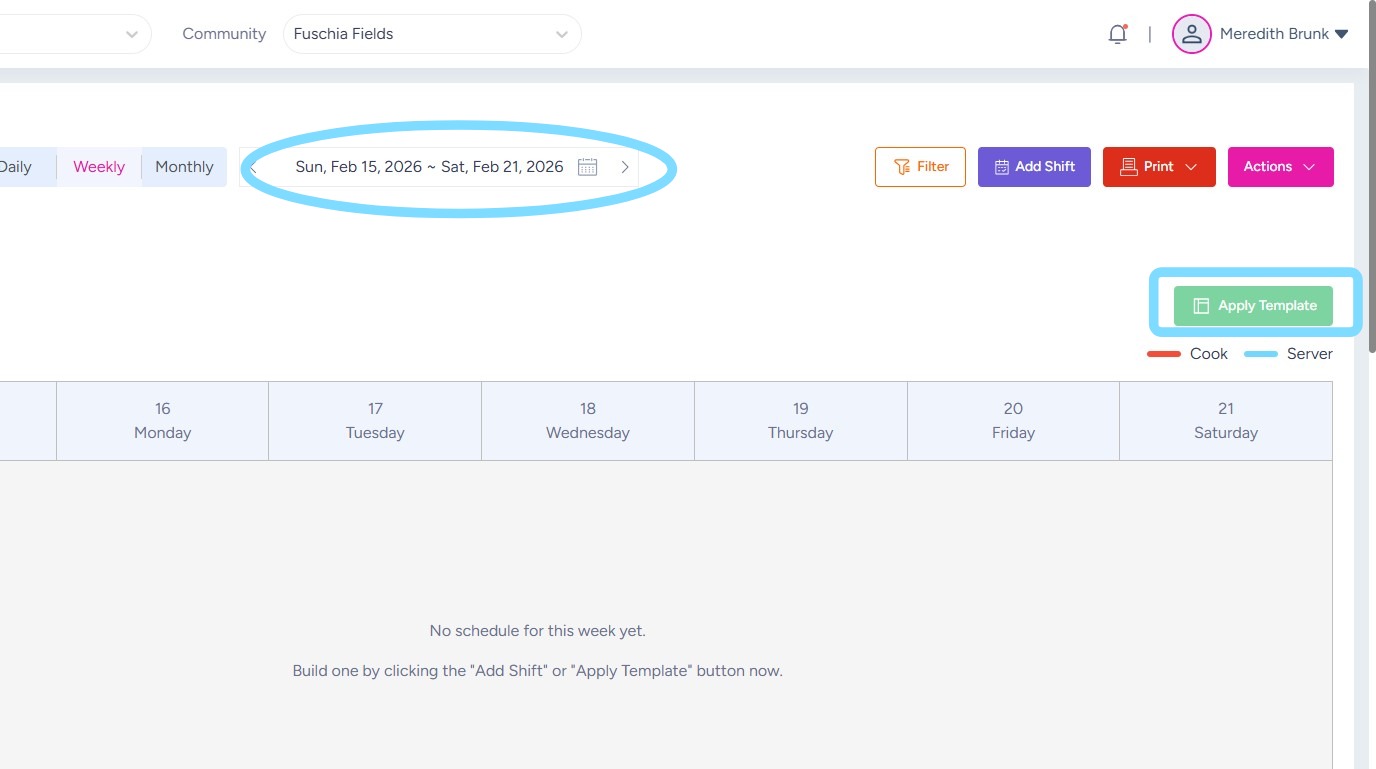
Use the arrows on either side of the week’s date to navigate to past or future weeks.
2. After navigating to the desired week, select Apply Template.
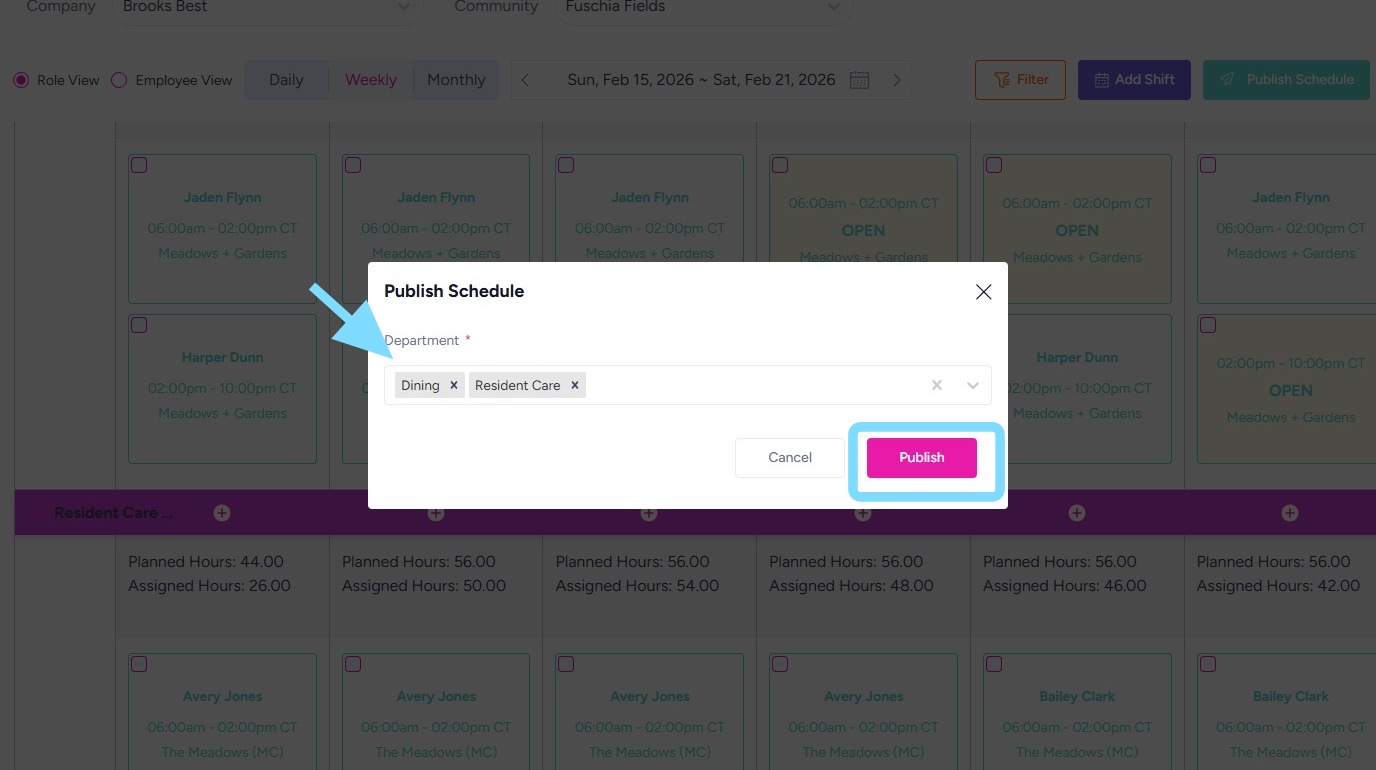
3. Review Department(s) for which the schedule will be applied.
Select Publish.
4. You did it! No more schedule chaos or wasted labor. The schedule optimization revolution starts now! 🎉
Note: Edits can still be made to published schedules. Any saved changes will immediately appear in the employee app, and impacted employees will receive a notification about the schedule update.

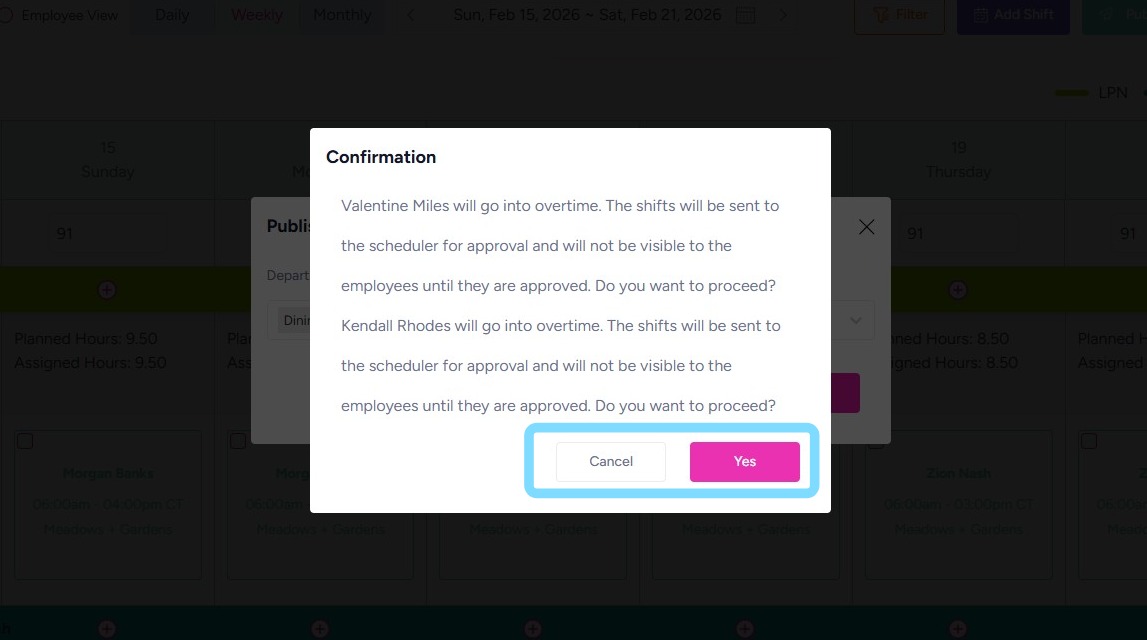
5. In some cases, like the example shown, the system will prompt you to confirm publishing the schedule if one or more employees will enter overtime. Depending on your community’s schedule rules, those overtime shifts may be sent for approval.
In this situation, you can:
-
Select Yes to confirm and publish the schedule.
-
Select Cancel to review the schedule and reassign or unassign shifts to prevent overtime.