How to Filter and Customize Schedule View
This guide shows how to filter and customize the schedule view so you can see exactly what matters—by department, location, or role. Different views help cut through the noise, spot issues faster, and keep schedules dialed in and under control.
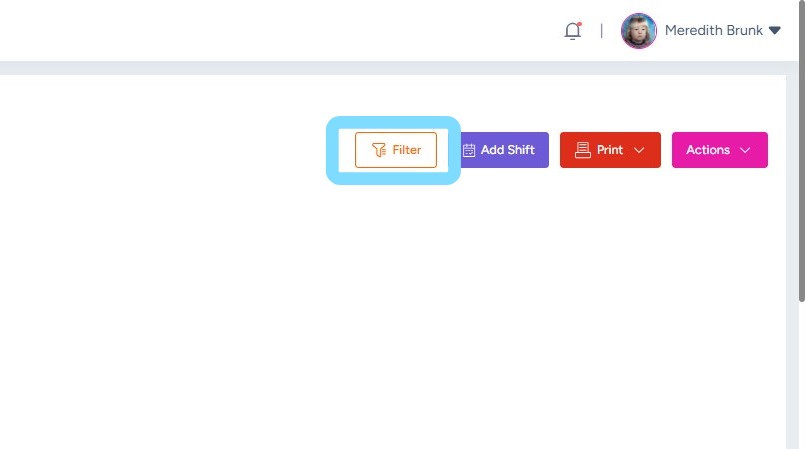
1. On Current Schedule, select Filter
2. Filter view by Department, Location, Role, Employee, or CPR Certification by selecting from the dropdowns.
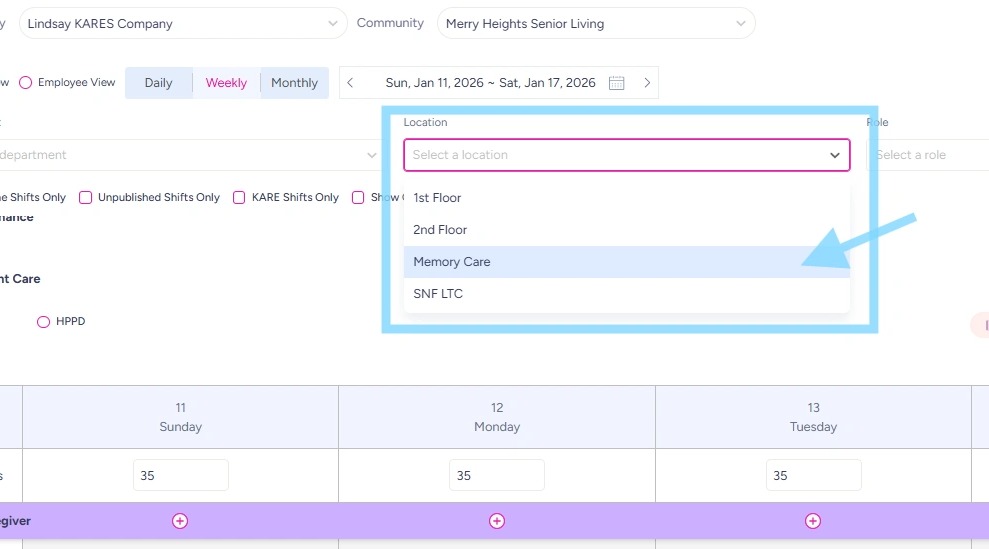
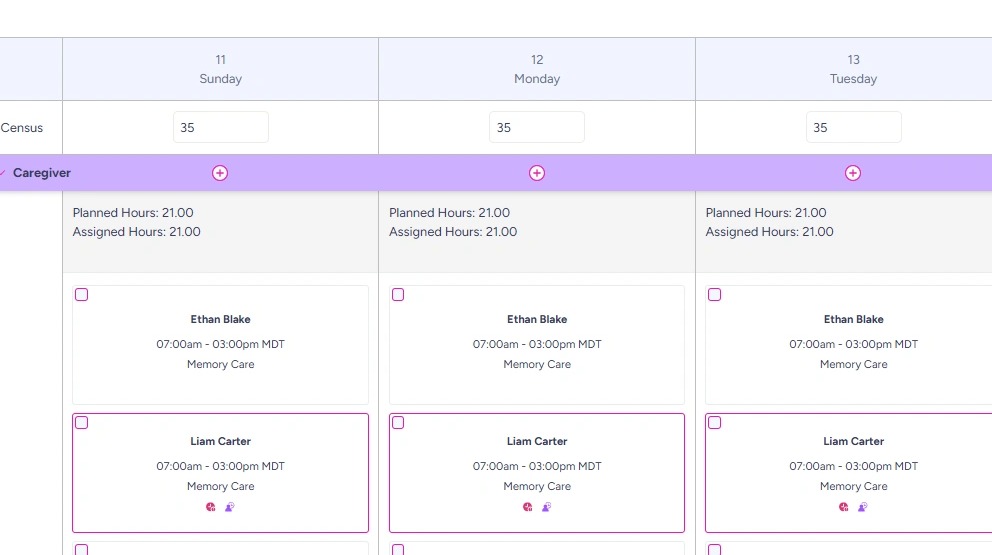
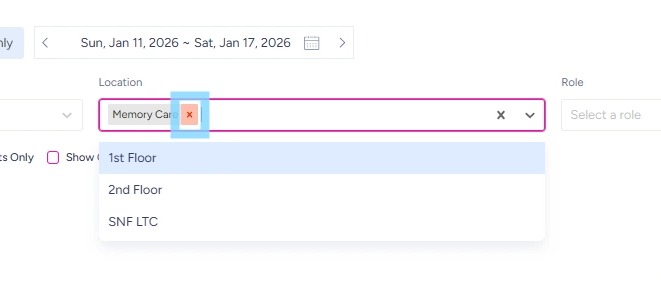
3. This example shows the Current Schedule filtered by Location – Memory Care.
Now the user is only viewing the schedule with shifts assigned to Memory Care location.
4. To remove filter, select “x” on the filter(s).
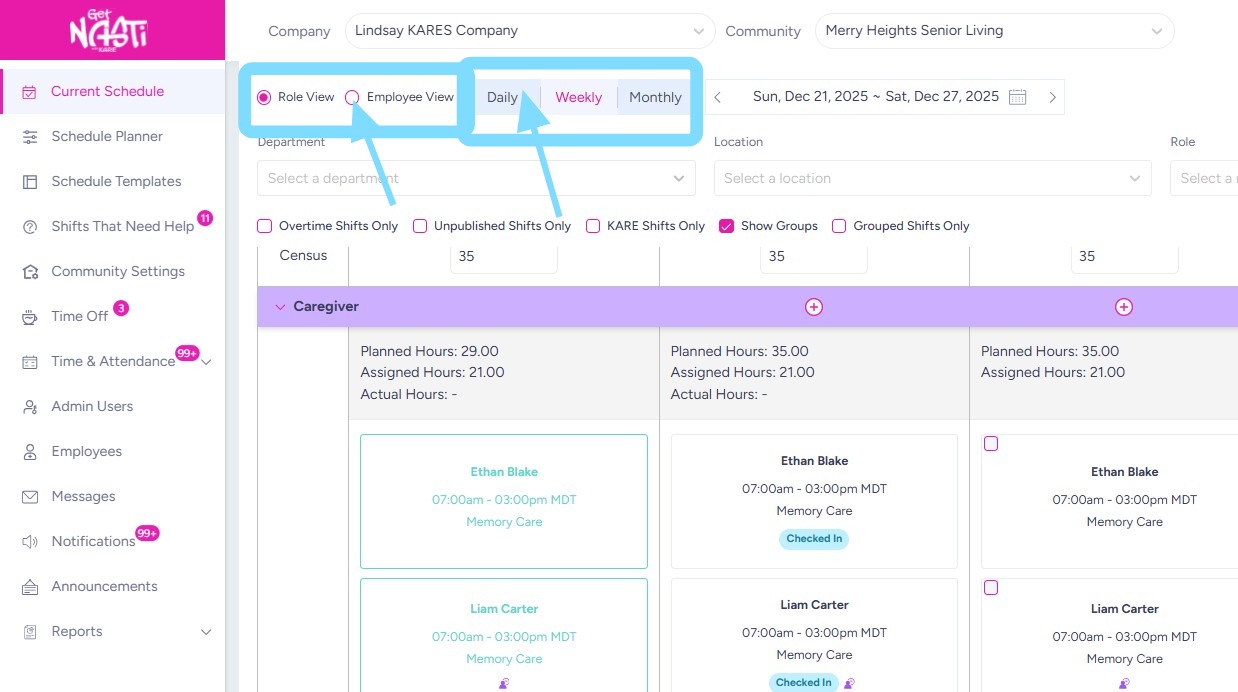
5. In addition to filters, users may also customize their view of the Current Schedule by Role View, Employee View, or Daily, Weekly, or Monthly views. The default setting is Role View and Weekly view.
To change view:
-
Select Role View or Employee View
and
-
Select Daily, Weekly, or Monthly view
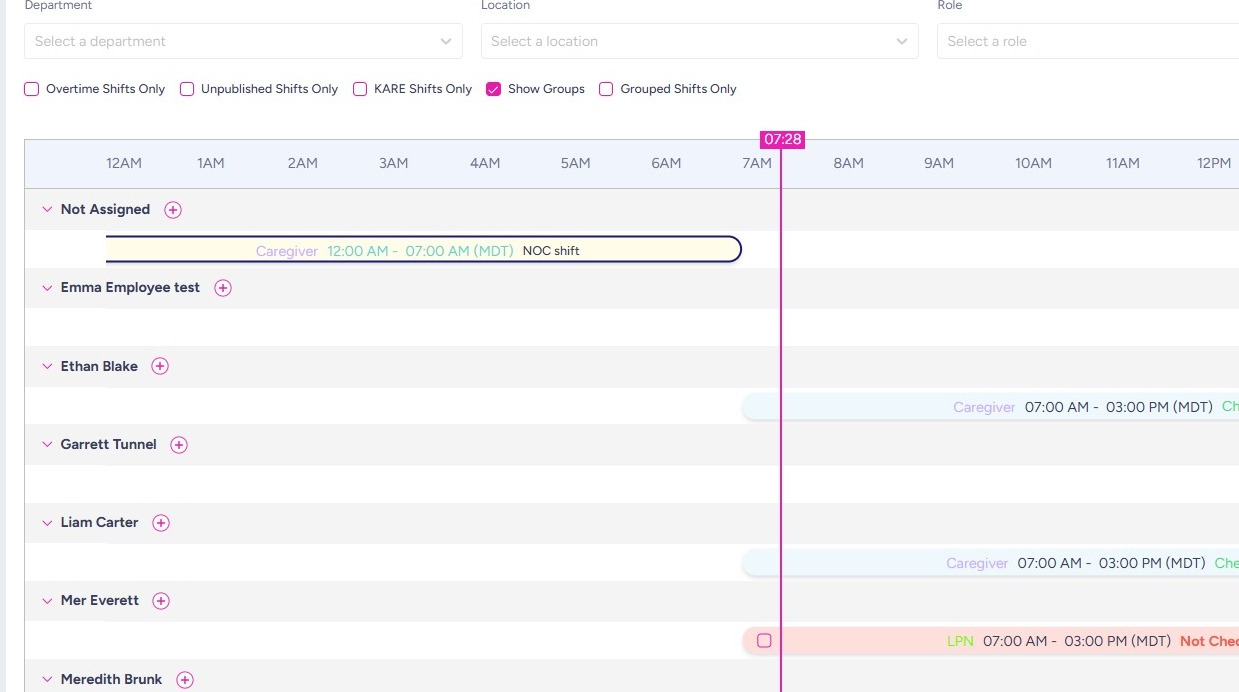
6. Example: Using the Employee View + Daily view, the user can see which employees are currently checked in.
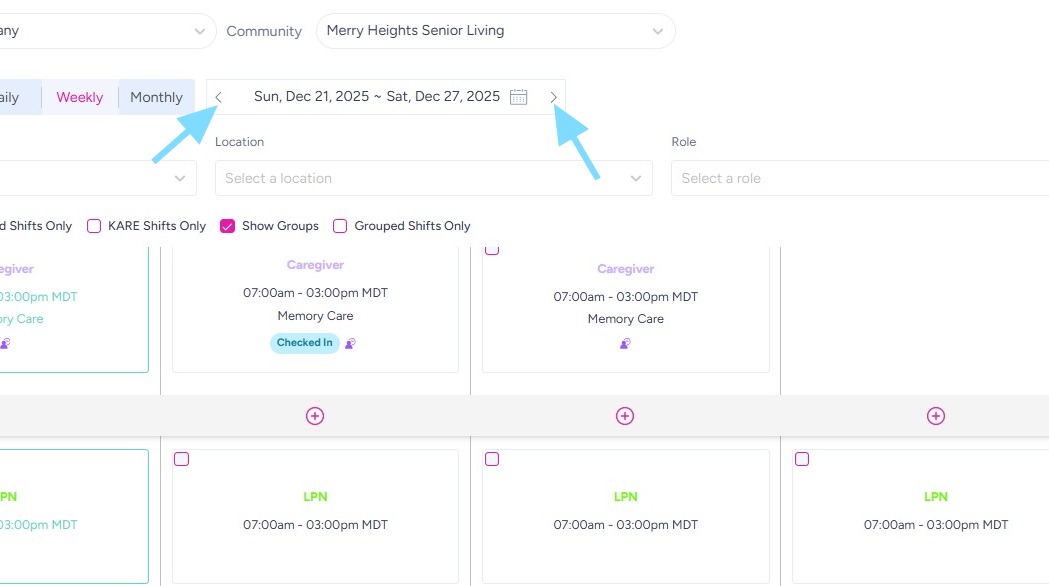
7. Additionally, users can navigate between weeks by selecting the < or > arrows next to the date.
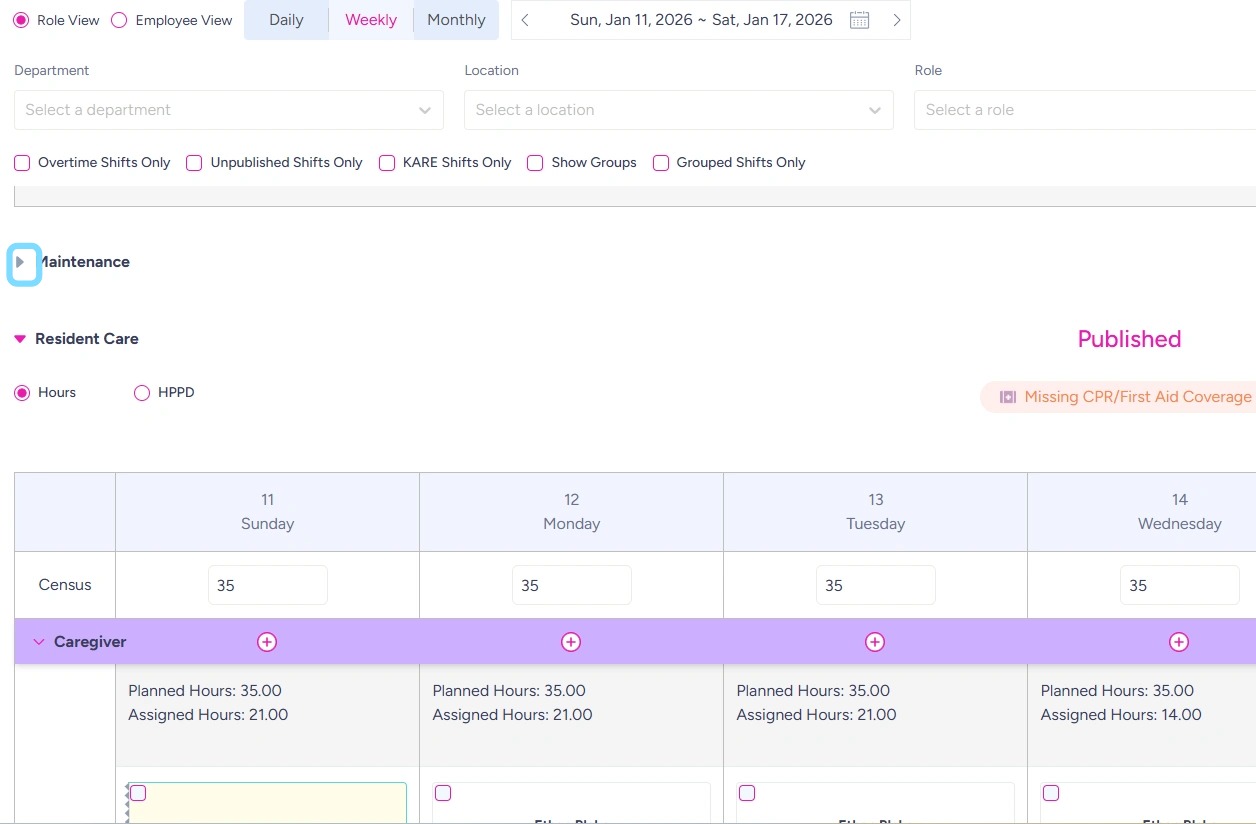
8. Users may also collapse certain Departments to hone in on viewing a preferred or typical Department.
Select arrow icon next to department name to collapse it.
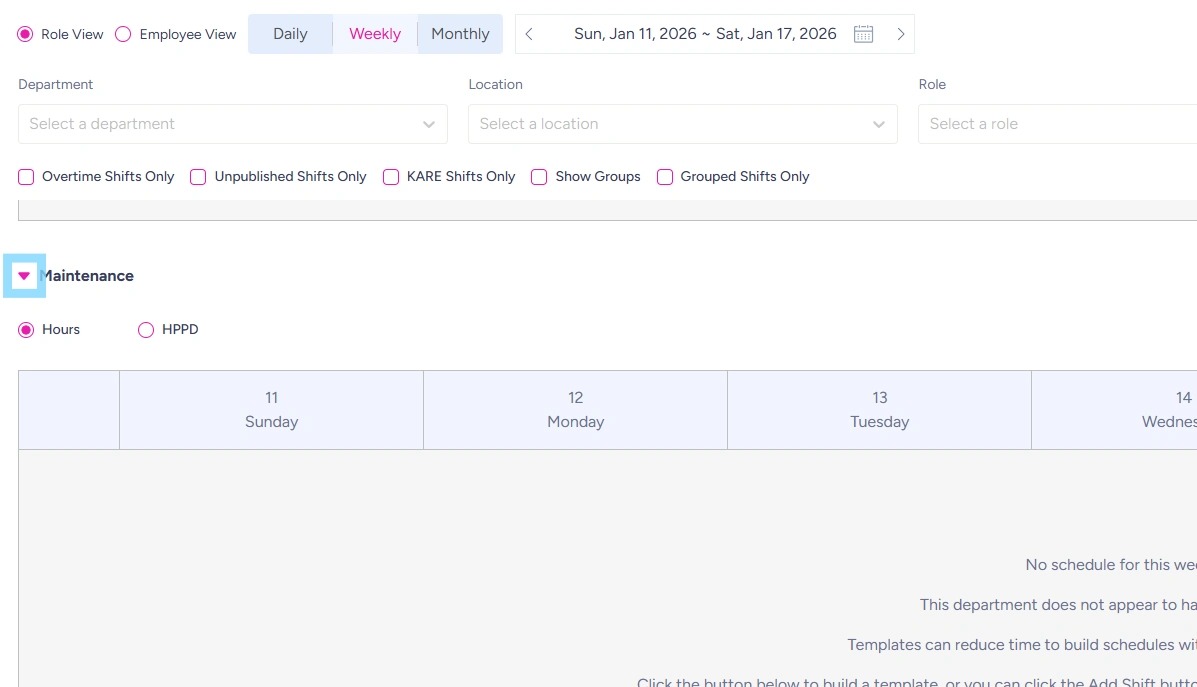
9. Example: the Maintenance department schedule is now collapsed so that the Resident Care department is viewable without as much scrolling. The user may click on the arrow next to the Maintenance department to open up the schedule again.