How to Edit Role Information
Keep your Role information accurate! This guide provides simple steps for adding, editing, deactivating, or deleting Roles. The guides also outlines how to add employees to a Role, to ensure employees can work the appropriate shifts!
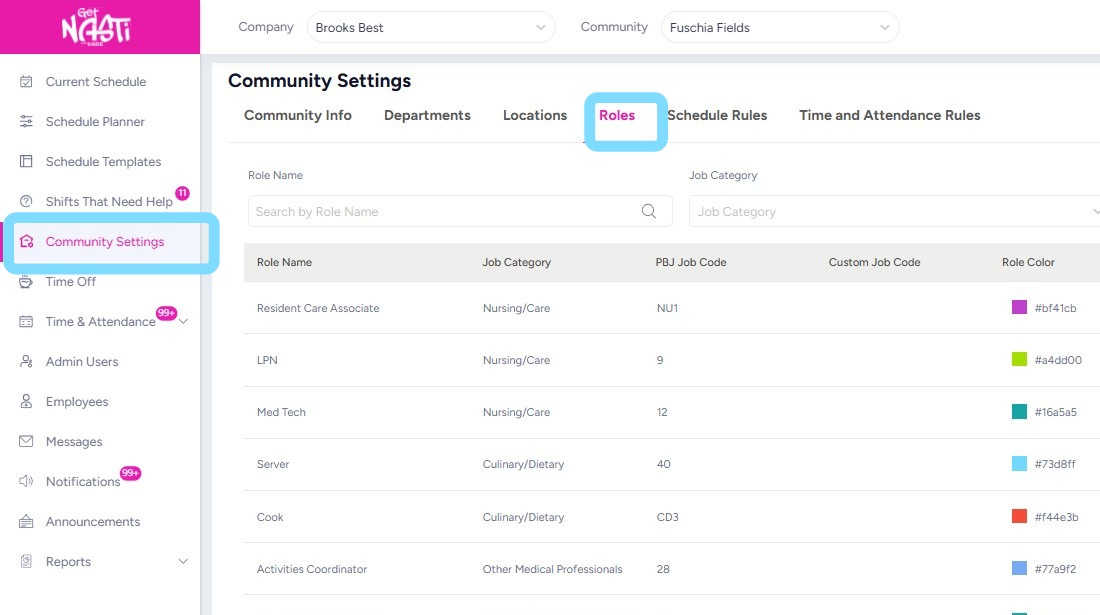
1. Navigate to Community Settings
Select Roles
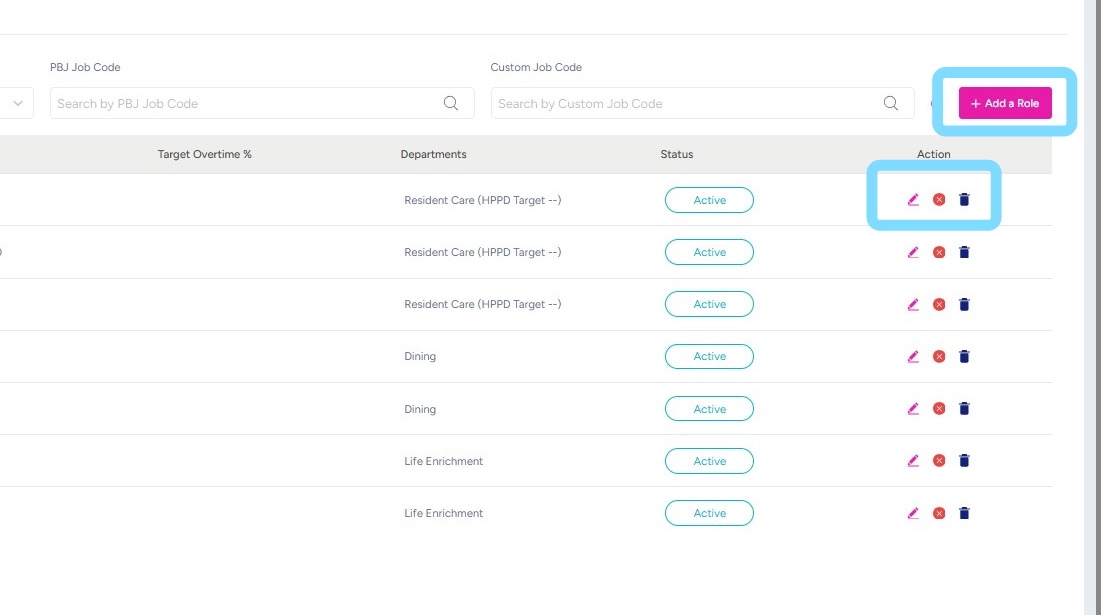
2. Admin User may add a role by selecting + Add a Role
or Admin User may edit, deactivate or delete a Role by selecting the corresponding icons
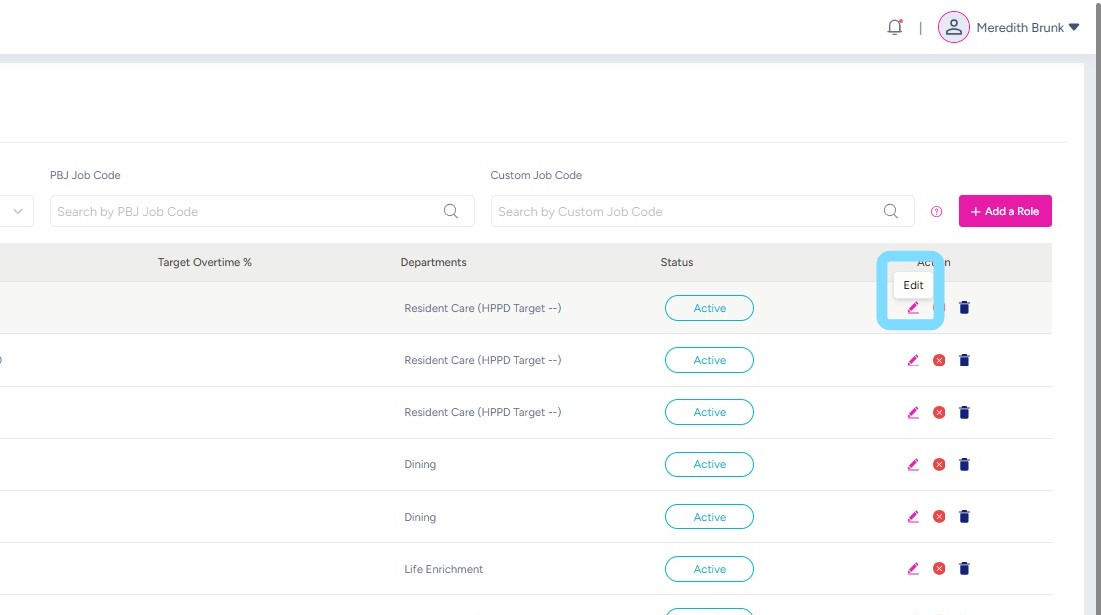
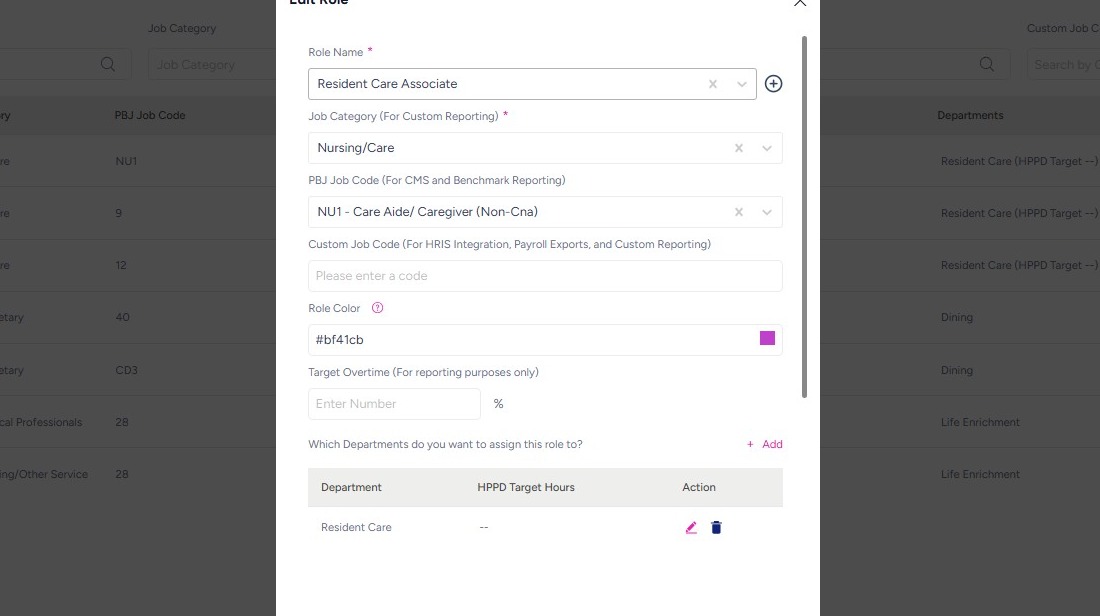
3. To edit Role information, select Edit icon
4. Make edits as needed.
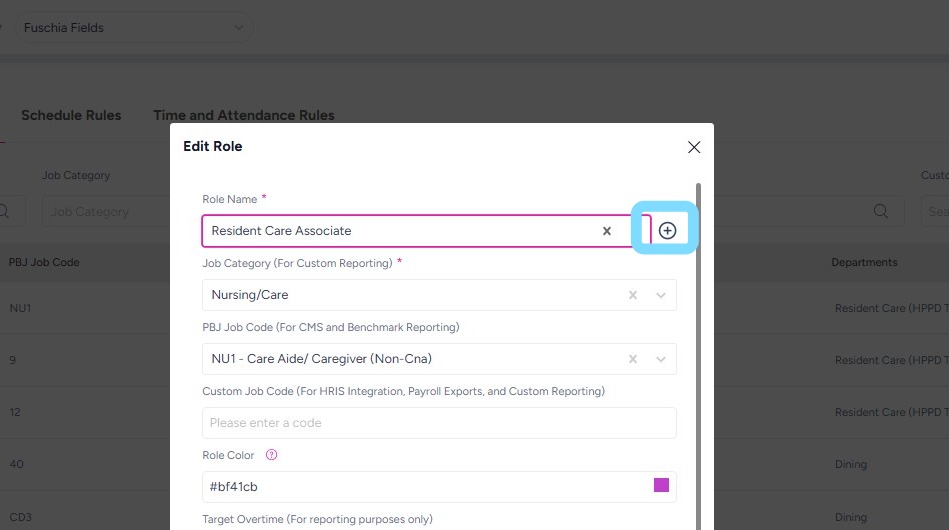
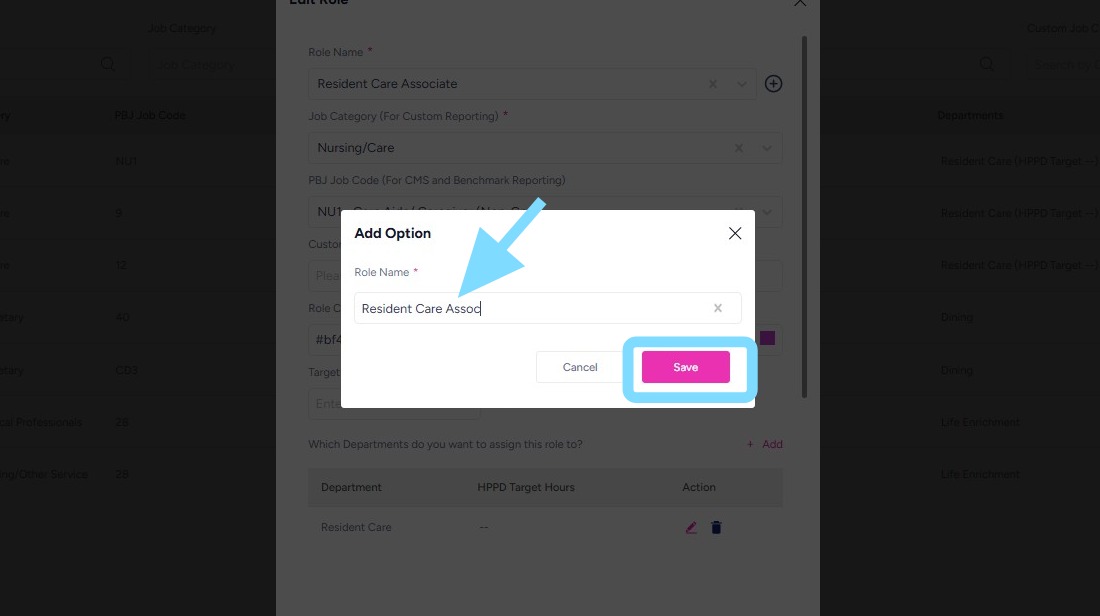
5. In this example, the user is changing the name of the Role by selecting the + icon
6. After edits are made, select Save.
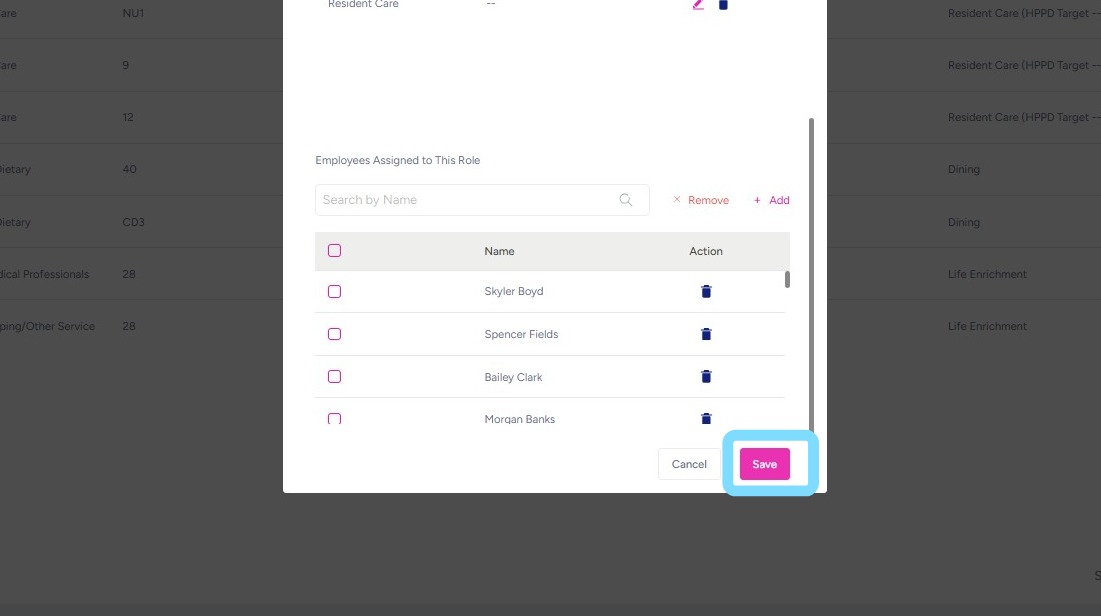
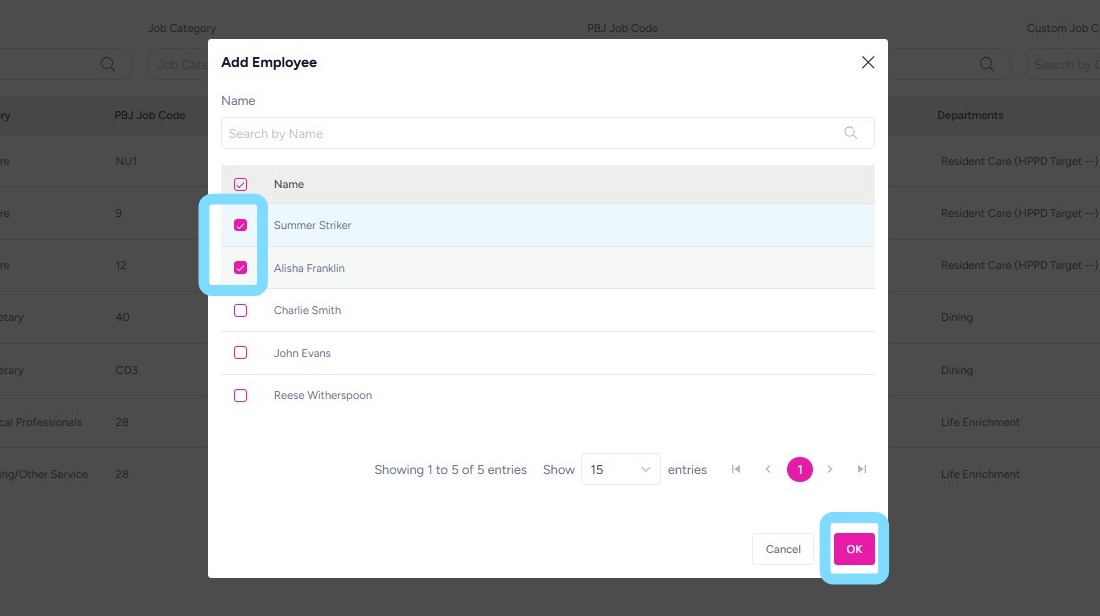
7. In this example, the user is assigning additional employees to this Role by selecting +Add under Employees Assigned to This Role.
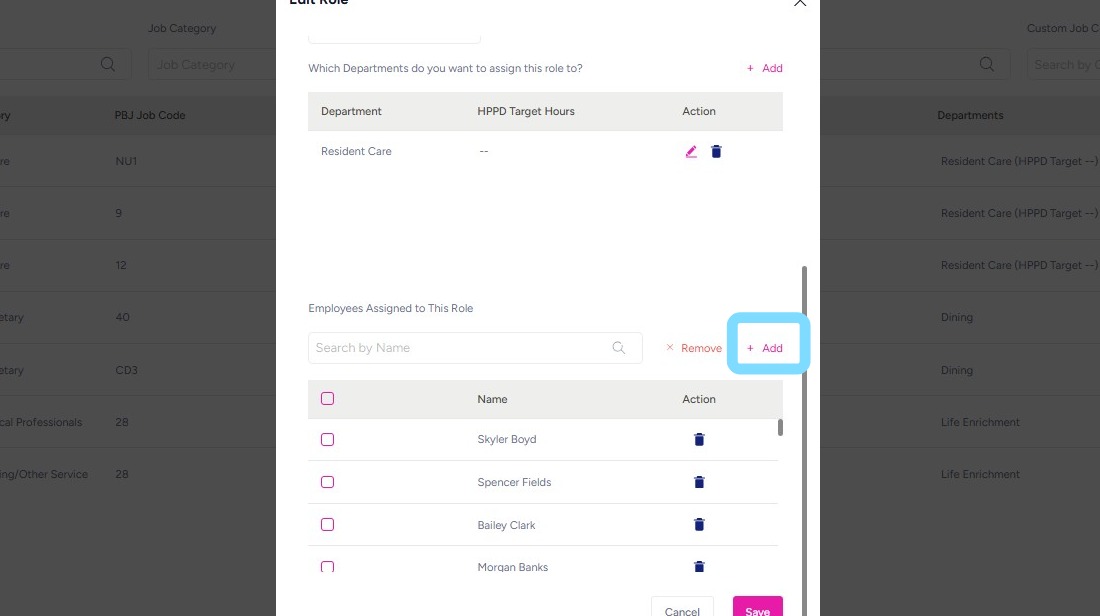
8. The user is checking the boxes next to employee names for addition of these employees to this Role.
Select OK when finished.
9. Select Save after all edits have been made, to ensure edits are saved.
That’s it! You’ve got this down!