How to Edit Community Settings
This guide provides easy steps for editing community settings, empowering users to customize their environment effectively. Note: to edit Community Settings, the Admin User must have these permissions.
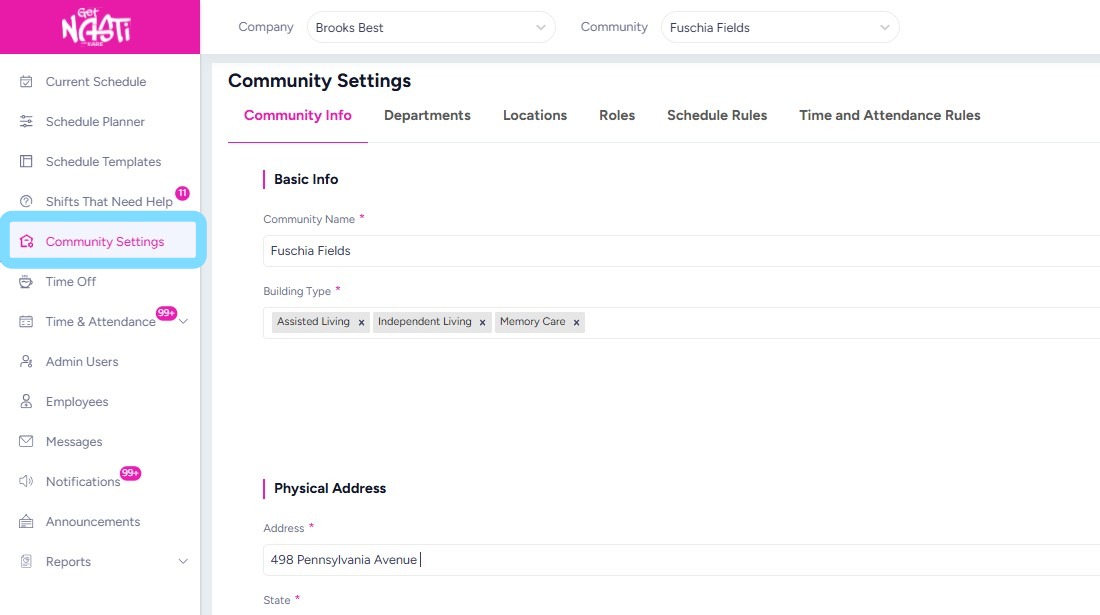
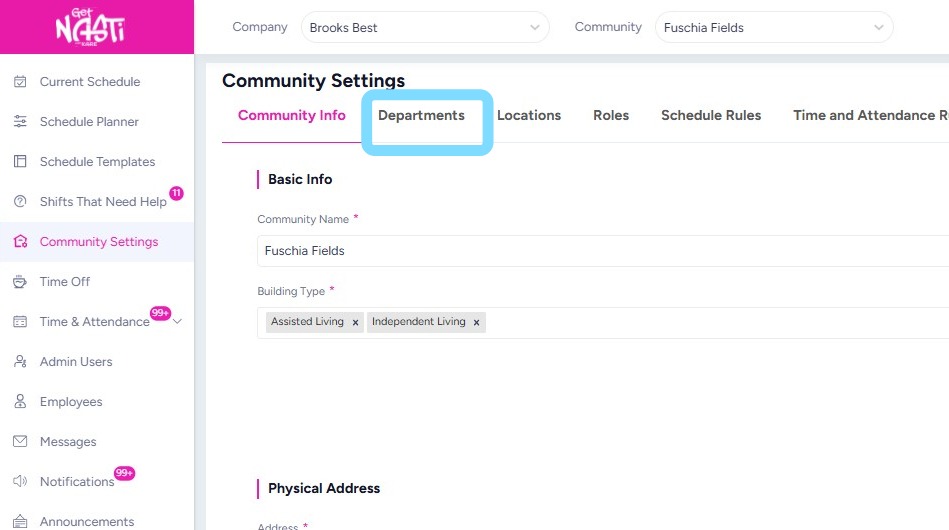
1. Navigate to Community Settings
Reminder: you need to have permissions to edit community settings. If there are items that are greyed out, this means you do not have editing capabilities. Follow up with your supervisor or primary NASTi Admin to discuss!
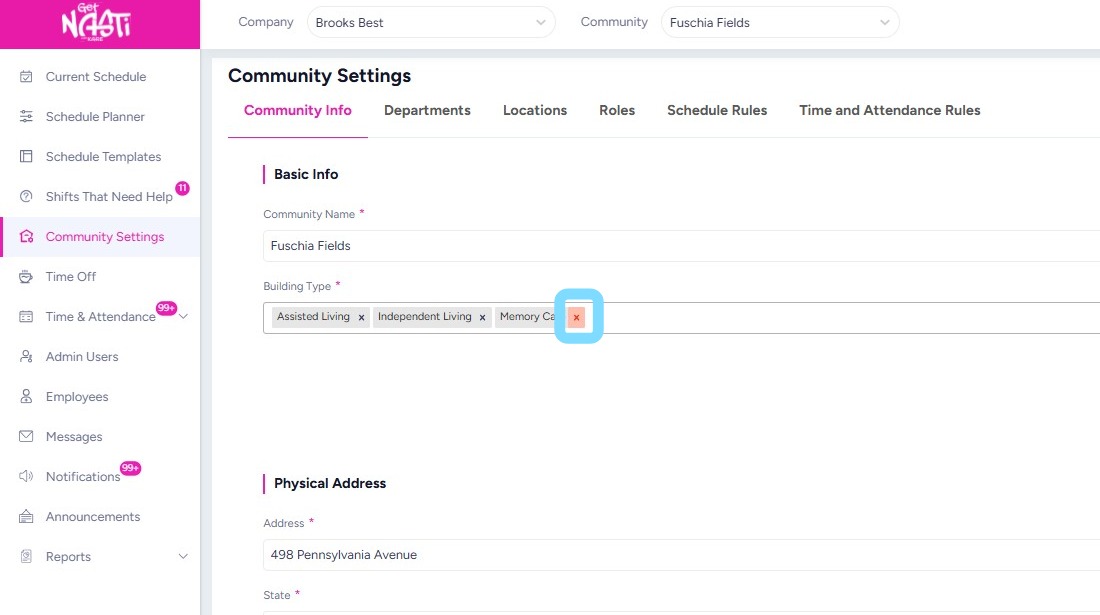
2. Edit as needed.
For example, remove Memory Care as building type
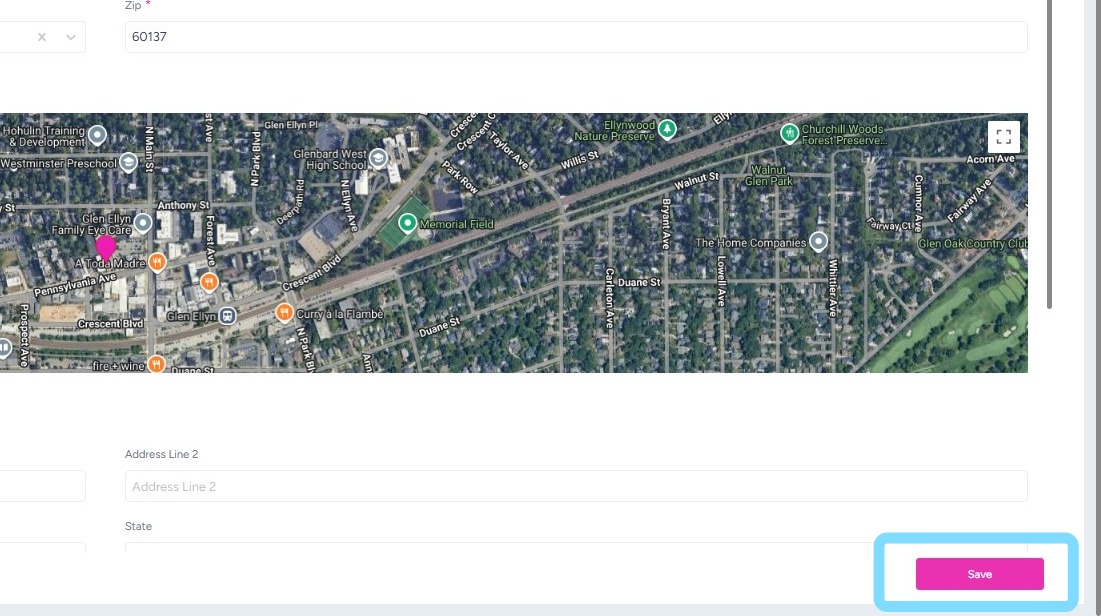
3. Select Save to ensure edits are saved.
4. Continue editing anything else as needed – Departments, Locations, Roles, Schedule Rules and Time and Attendance Rules.
In this example, the user is editing Department information by selecting Departments
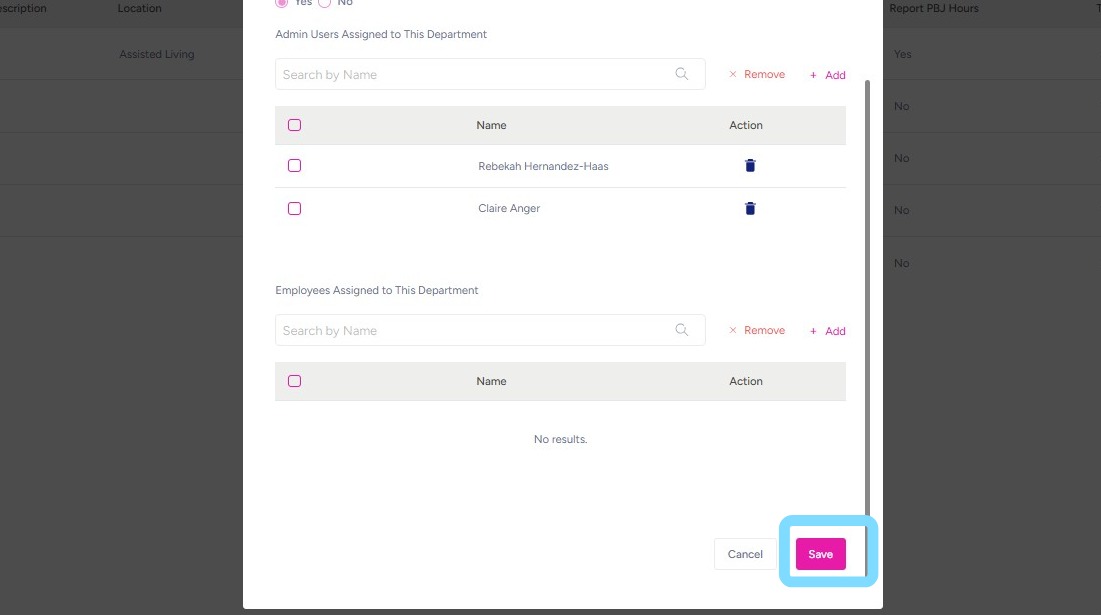
5. Then the user selects the Edit icon.
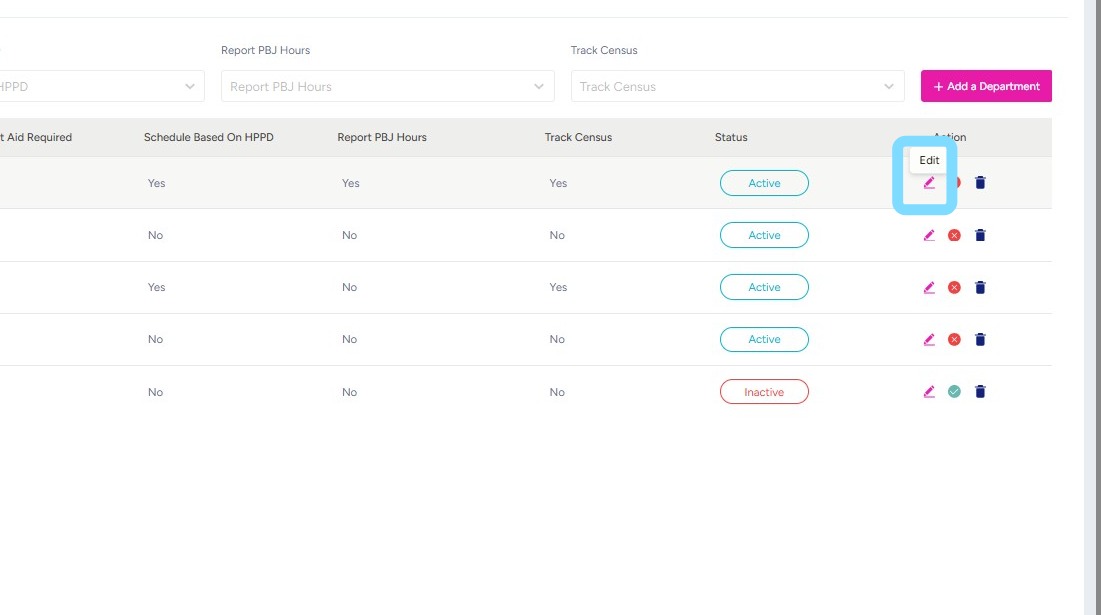
6. Ensure edits are Saved.
That’s it! You have control over your Community Settings and can continue to customize as needed!