How to Add Shifts to a Published Schedule
This guide walks you through adding shifts to a published schedule to ensure your community stays fully covered. After adding shifts, you can republish the schedule to make those changes live, and employees will receive an in-app notification. Important: Changes made on the Current Schedule apply only to that specific week. If you want shifts to apply to future weeks, update the Schedule Template instead.
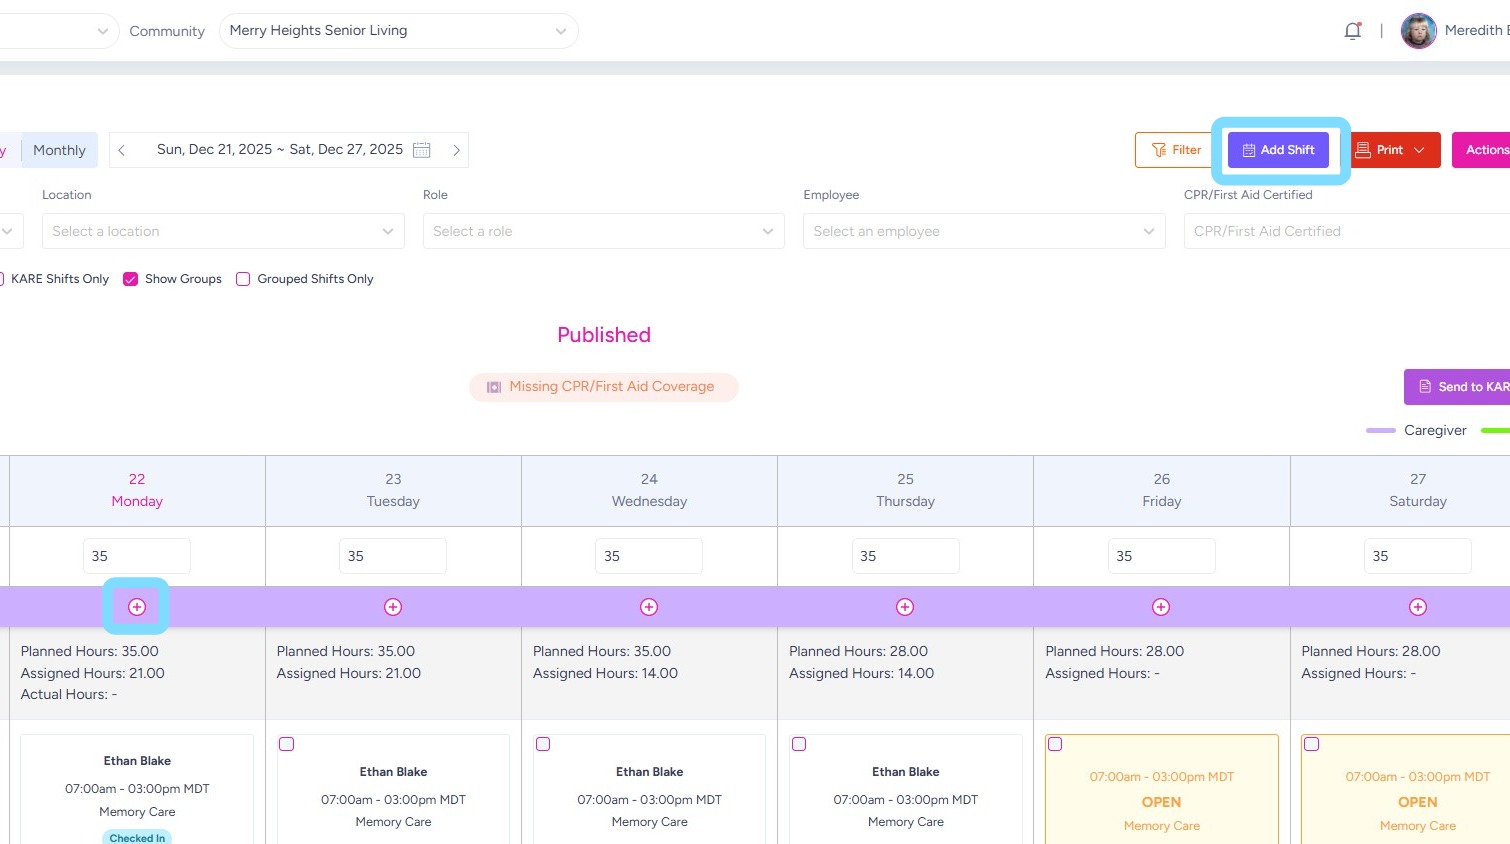
1. Within the Current Schedule, there are two ways to add a shift:
-
Select Add Shift
-
Select the + icon under the desired date
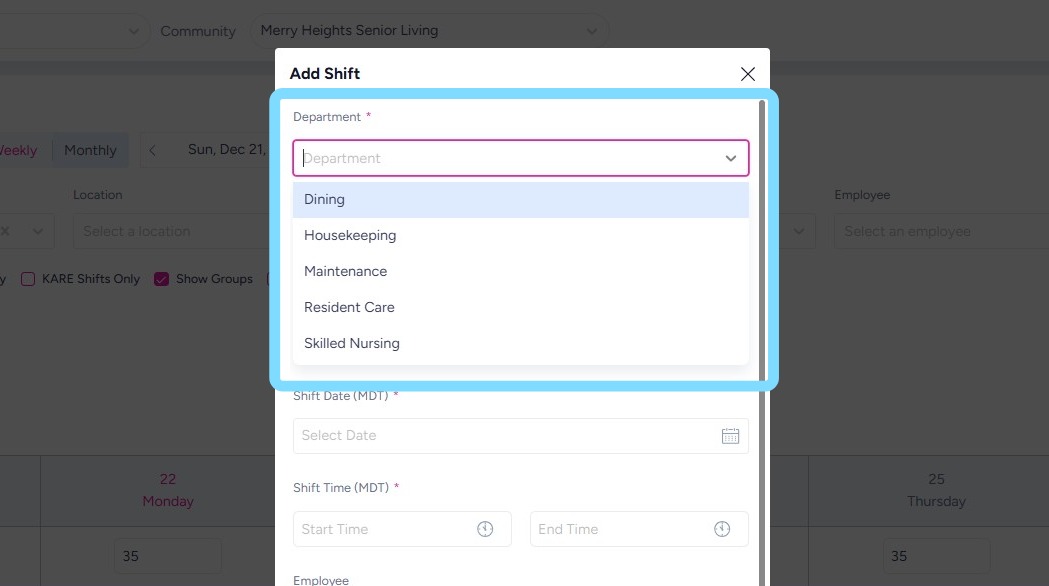
2. Select a Department from dropdown list.
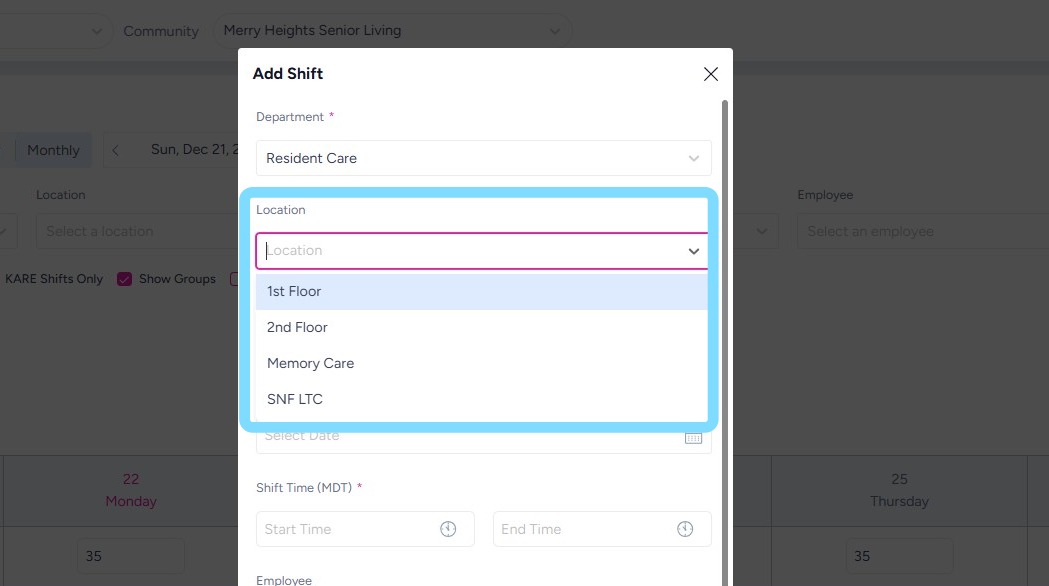
3. Optional: Select Location from dropdown
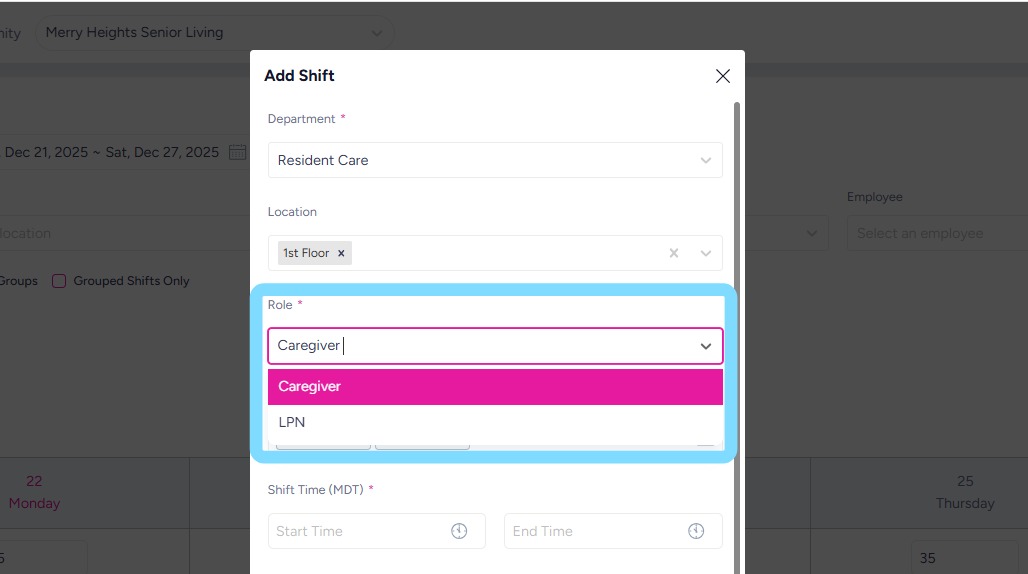
4. Select Role from dropdown
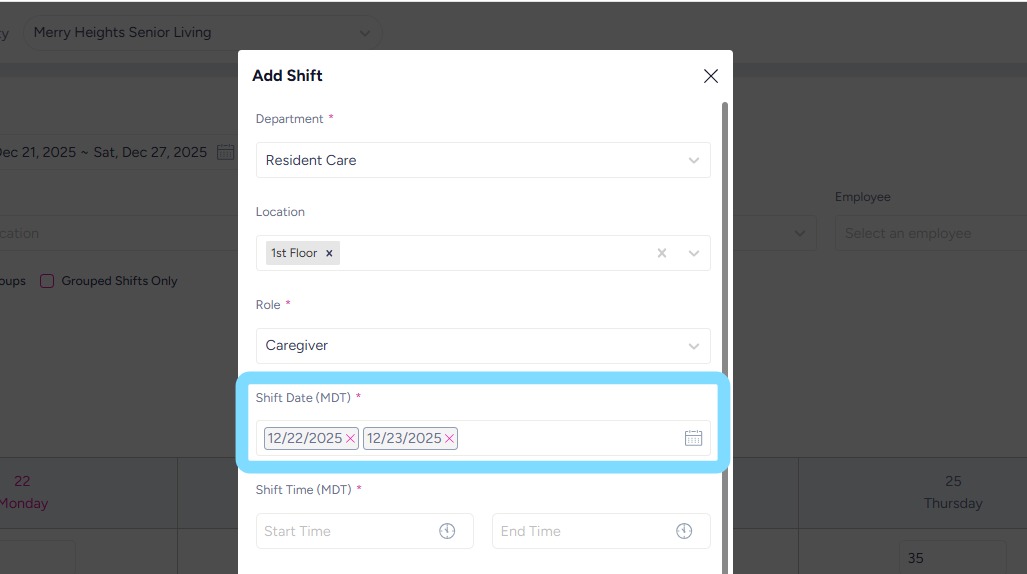
5. Select one or more dates to which these shifts will be added.
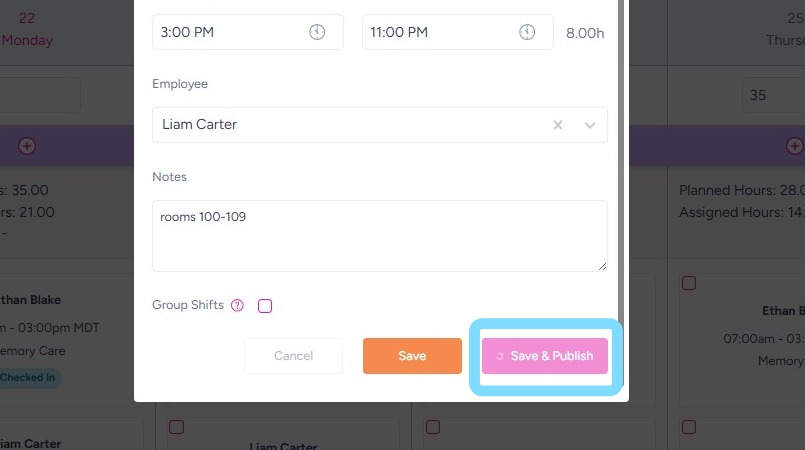
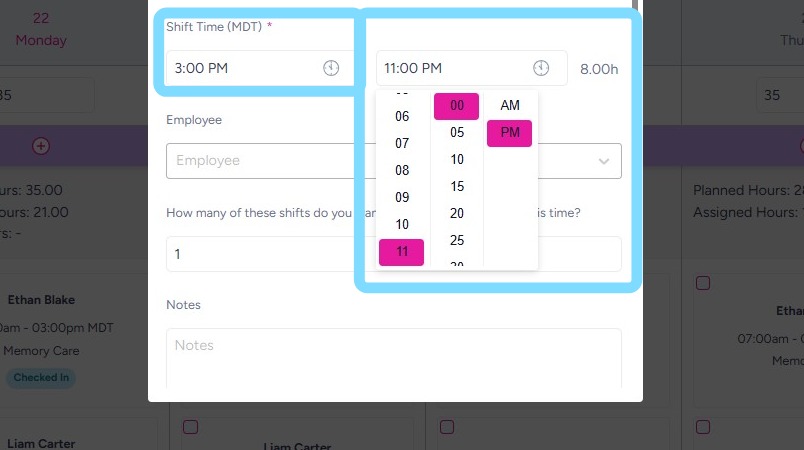
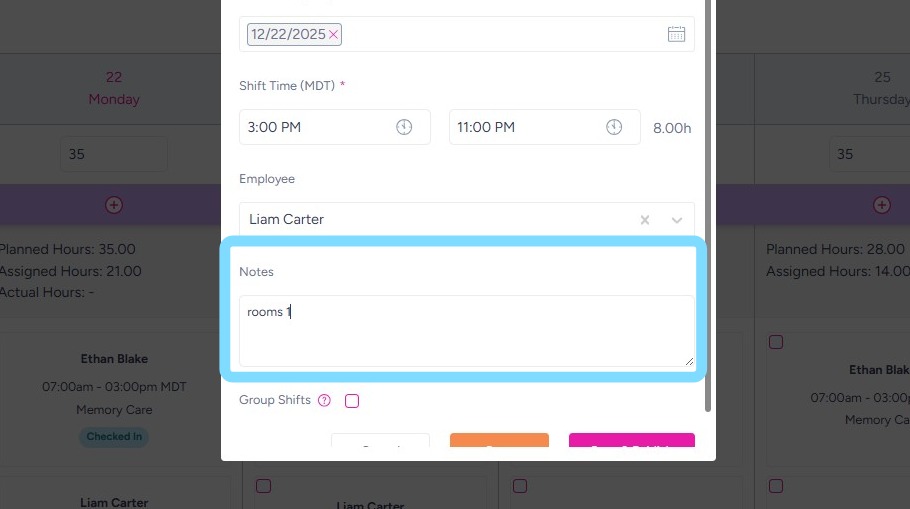
6. Select shift start and end times.
7. Under Employee, select an employee to assign shift, or leave unassigned to keep as open shift.
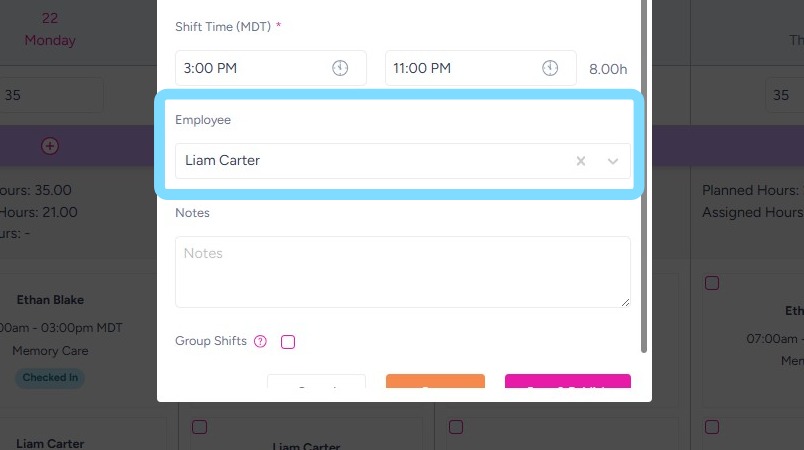
8. Optional: Enter notes in the Notes section to inform employee of something specific related to that shift. Notes are not visible on the Current Schedule but are viewable when the Shift Details are opened by employee and admin.
9. Select Save & Publish for shift additions to go live.